| To finalize the Customer’s quote, return to the Quotation and Estimating module. |
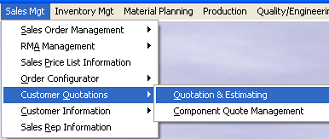 |
Find the Customer Quote using the procedures above. You will note that the information from the Component Quote Management module has forwarded into the Quotation and Estimating module, as illustrated below:
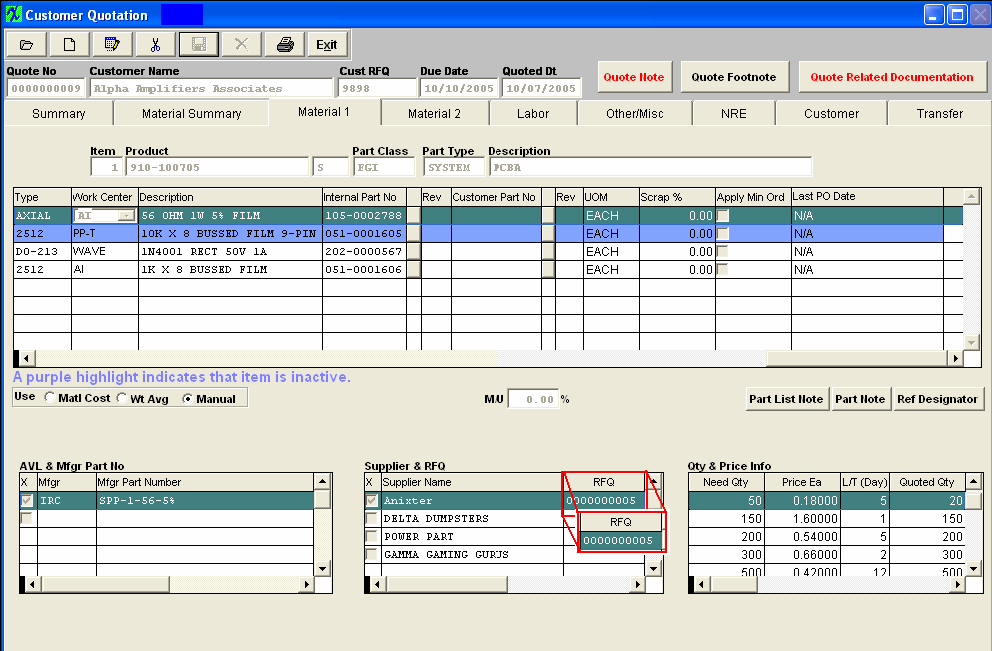
If you are NOT going to update costs from the Component Quote module and have entered all of the pertinent costs manually, depress the Material Summary tab. Depress the Calculate & Display Material Costs button. The Markup and Charge Each will automatically update for items included in the Inventory Master for the Material 1 tab and any manually added costs in the Material 2 tab. The total number of components is calculated from the qty each column in Material 1 and Material 2.
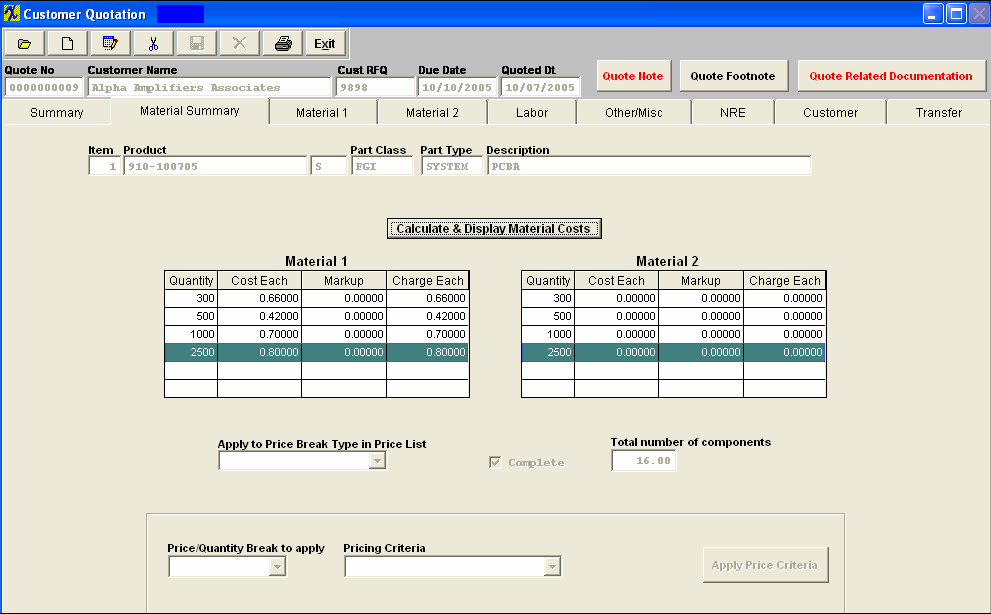
Depress the Edit button if you would like to:
| This gives the user the option to Apply a Price Break Type to the Price List to the existing quote |
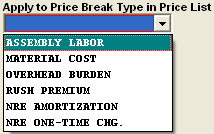 |
| This gives the user to option to Apply a Price/Quantity Break to the existing quote |
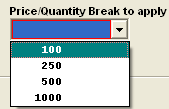 |
| This gives the user the option to Apply a Pricing Criteria to the existing quote |
 |
| Once all the selections have been made depress this button to apply them and prices will be updated. |
 |
Depress the Summary tab.
Depress the Product Cost Summary button. The screen will update as displayed:
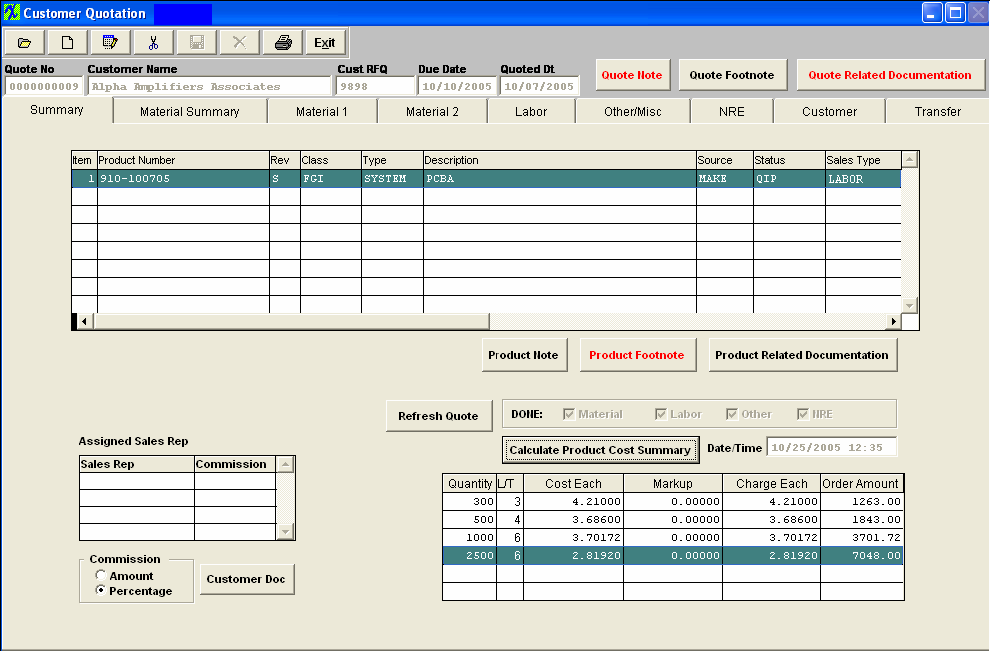
Now the user may print out the Customer Quotation and related reports.
Transfer tab
Once the customer has accepted the quotation and the user now wants to add the new product to the Inventory Master and create a new Bill of Materials for the new product, the user may accomplish this by depressing the transfer tab. Note that once the Transfer process is completed, no further changes are allowed to the Quote and that the status of the quote will change to Transferred.
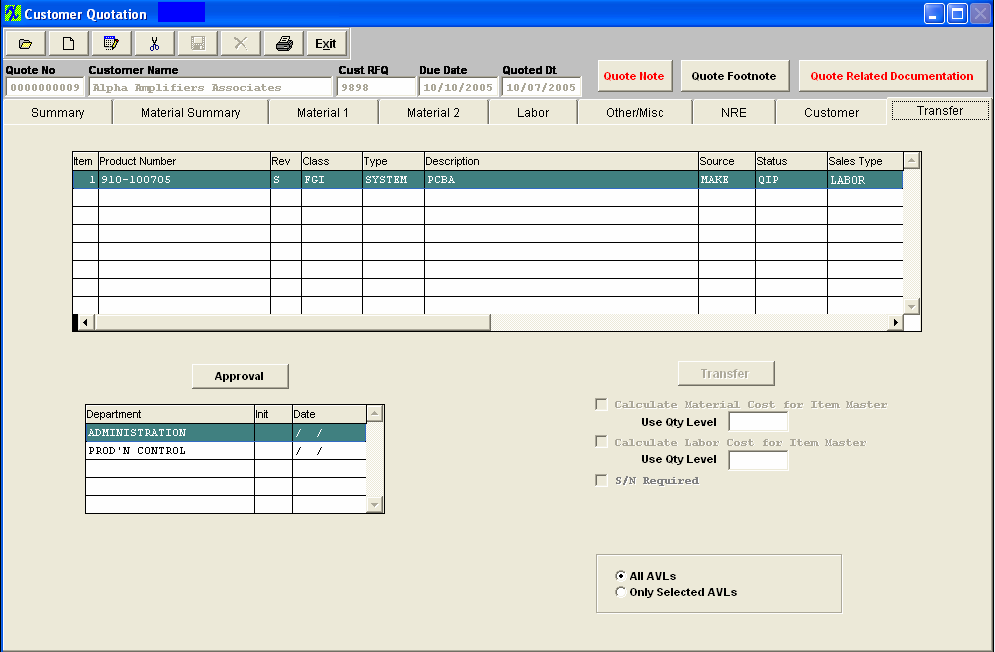
NOTE: For this tab, a serial of approvals must be entered. In this example, approvals are required by a user assigned to the departments listed. Depress the Approval button. Have a user from engineering (for example) type in his/her password. Continue down the list until every department has the initials and date displayed.
Depress the Edit button. Type in the password.
|
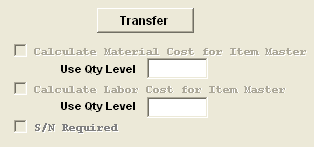
The Transfer button and the check boxes will be available:
If you want Standard cost calculated for the Item Master, check that box and indicate the Quantity Level which is to be selected.
If you want the Labor cost calculated and transferred to the Item Master, check that box and indicate the quantity level.
If you want to mark that for this product, a serial number is required, check the box.
|
 |
| Check the radial to transfer All AVLs or Only Selected AVLs |
 |
Depress the Transfer button, enter password and Quote status will change to Transfer, when the transfer is complete.
Note: If new part numbers are created within the Inventory Control module via the quote transfer all the defaults will be carried forward for the new part from the Part Class/Type Setup screen.
|