| Add - Upload a New SO |
|
Enter the SQLMANEX.EXE (within the ManEx root directory)
This action will then prompt the user for a password
|
 |
The following screen will be displayed, enter the Sales/Sales Management/Upload New Sales orders
NOTE: If user wants the system to auto approve and/or auto acknowledge when uploading Sales Order from the XL file, the auto approve and auto acknowledgement boxes must be checked in the Sales Order Setup module.
|
 |
The following screen will be displayed:
|
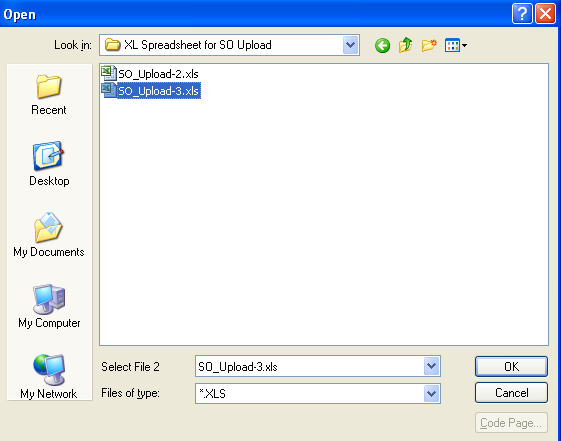
Locate XL File to Upload
|
 |
This message will appear. This message is for user to verify the number of recorrds being loaded from the import sheet. User may depress "YES" to continue the upload or "NO" to abort the upload.

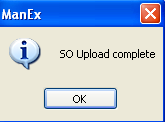
| If system does not find any problems with the template the user will be prompted the following message that the SO Upload was complete |
 |
|
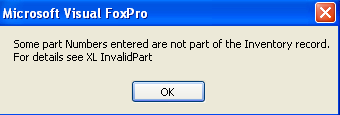
If the system finds any problems with template the user will be prompted the following message and exception XL file will be created in the SO Exception XL directory on the server.
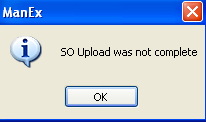
Depress OK and user will receive the message (shown below) that the "SO Upload was not complete" and system will abort.
|
 |
|
If any of the information is missing from the required fields in the first row of the XL file, user will receive the following message.
Depress OK and user will receive the message (shown below) that the "SO Upload was not complete" and system will abort.
Note: Even though user has the SO's set to auto, you can NOT upload a SO without something in this column and all other required fields.. Something has to be entered in this column along with all other required fields so the system can distinguish one so line item from another SO line item on a different SO. If there is no data in this column or the other required fields the program will think the rest of the spreadsheet is also blank. SO Upload will group per change in Sonum field (it will then use the Sonum field as a reference to change). If manual SO numbering is setup: SO Upload will group per change in Sonum field (it will then use the Sonum field as a reference to change) when uploaded system will use SO numbers entered in XL spreadsheet.
|
 |
| The user will be prompted the following message that the SO Upload was not complete and system will abort. |
 |
|
|
|
|
|
|
|
|
|
| Article ID: 5554 |