|
Enter the SQLMANEX.EXE (within the ManEx root directory)
This action will then prompt the user for a password
|
 |
|
The following screen will be displayed, select Material Planning/Material Requirements Planning(MRP)/Material Requirements Planning (MRP)
|
 |
The following screen will be displayed:
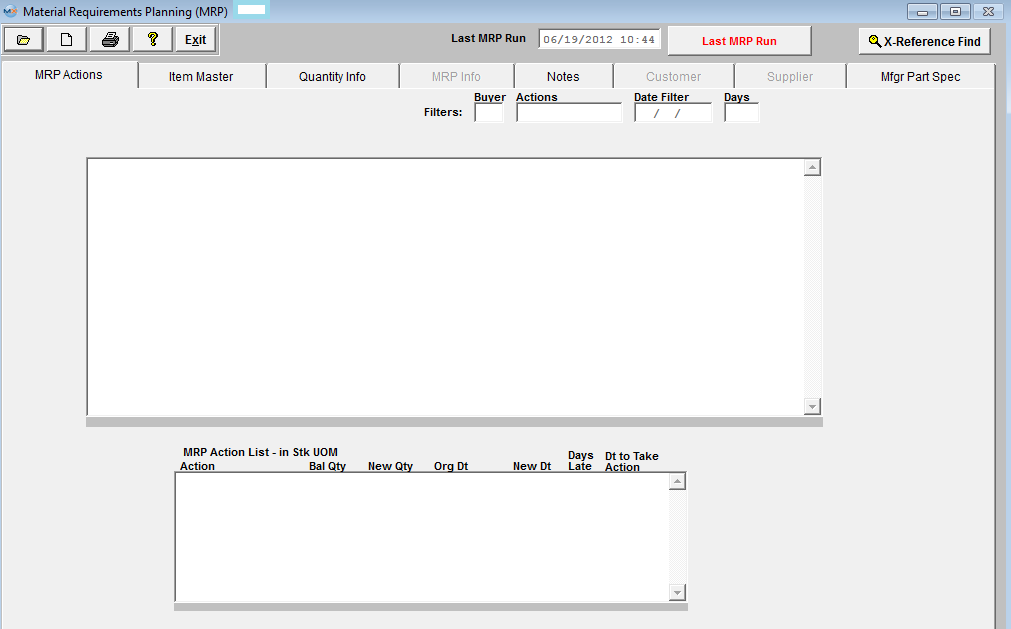
Note: To start creating POs from the MRP action list, make sure you have run MRP creating a fresh MRP action list, and user must have "ADD" rights to the PO module in Security setup.
Find an MRP record.
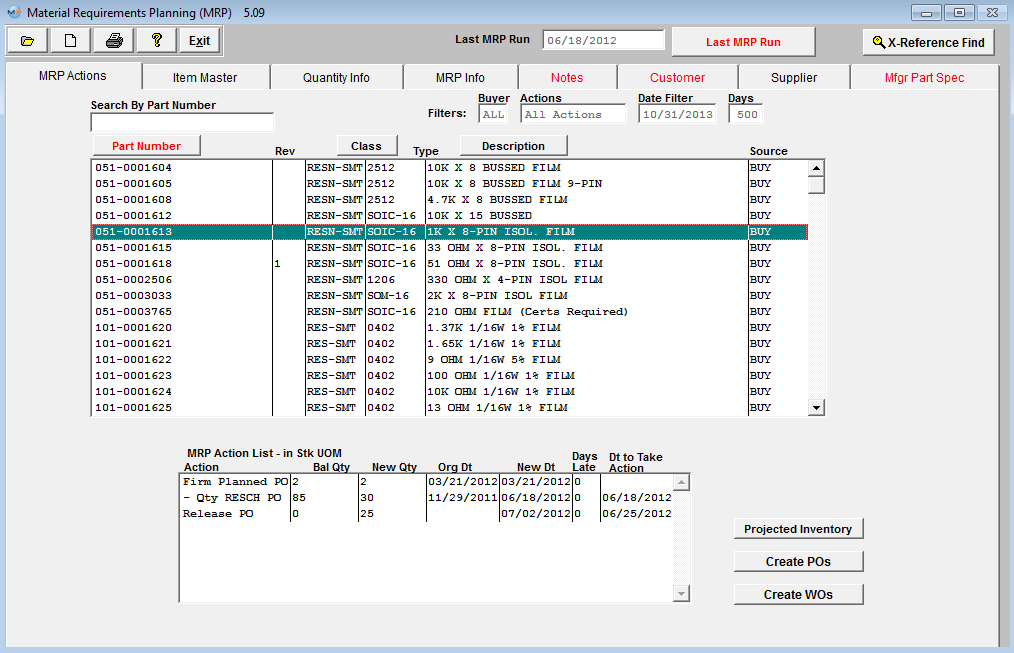
Highlight a part number of interest and depress the Create POs button in the bottom right hand corner, enter user password (user must have "ADD" rights to the PO module), and a list of Release PO suggestions based on the MRP filter that was applied and displayed within the MRP screen will appear. This will allow the buyers to auto created purchase order records based on what MRP is suggesting (mfgr, mfgr pn, etc...)
Note: ManEx does offer a pull down next to the Mfgr to select from listing only the approved AVL's for that BOM. Double clicking on MPN field will open a web browser session and navigate to Calculquote's web site Search.calculquote.com allowing you to use their search engine to find a matching part for quoting purposes. More info on Calculquote and how it integrates with ManexERP can be found here. Calculquote.com
Note: If the AVL suggested to the PO action is flagged as "DO NOT PURCHASE" MRP will give Release PO actions if there is a need for the part and the part will be displayed on the Create PO screen with the Mfgr and MPN fields blank. This should flag the user to further investigate and see that it is flagged as "DO NOT PURCHASE" and that they will need to either remove the flag or add additional AVL's to ful-fill the demands. Notice at the top there is a note that explains what the empty "MFGR" field means.
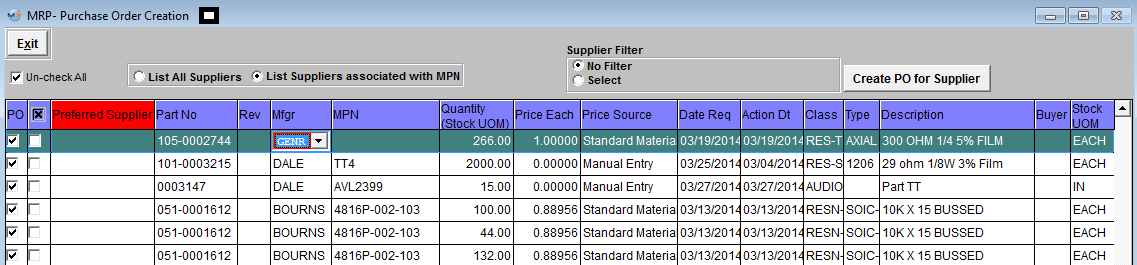
User may view records by selecting All Suppliers or only Suppliers assigned to the MPN in the ICM module. User may also use the Supplier filter to view records for one supplier at a time.
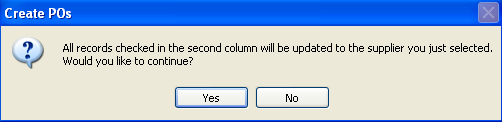
User may manually select the records to have POs created by placing a check in the box in the PO column. If no supplier is defaulted in the Preferred Supplier column from the ICM module, user may check item in the "x" column, select a supplier from the pull-down and receive the following message:
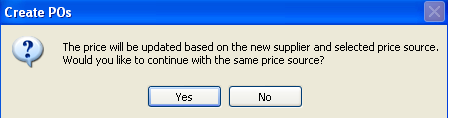
Depress "Yes" to continue and user will receive the following message:
Depress "Yes" and all the records that have the check box to the left of the "Preferred Supplier" column checked will be updated with the selected supplier.
The Cost Each is defaulted in based on the "Price Source" column (which is setup in the Purchase Setup module). The standard Material Price and the Target Price defaults in from the Inventory Control Mgmt module. The Contract Price is defaulted in from the Supplier Contract Mgmt module. The Quote Price is defaulted in from the Quotation & Estimating module. The quote MUST be approved. If the part is on more than one quote the system will use the price from the most recent quote. The Mfgr and Supplier listed on the Auto PO screen must match the Mfgr and Supplier that was selected on the quote. The Last Purchase Price and Last Purchase Price for a Supplier will only be listed if they are within the last 6 months, if not then zero dollars will be displayed. Manual Entry allows user to manually enter in a cost each.
NOTE: The Auto PO screen will only find existing parts entered in the "Material 1" screen. There is no way to identify parts from "Material 2" screen. There is no connection between part entered in the quote module "Material 2" screen and the part before it becomes an Inventory part in ManEx until after the "Transfer".
All coulmns in the grid are sortable. To sort on the specific column click the header of the column. By default the items are sorted by "Preferred Supplier" column (red color of the header indicates that the data sored by the values in the column). Part No and Rev columns are both sorted by Part No and Rev vaules. If the cursor is in Part No, Mfgr,or MPN columns and the user begins to type the information, the interactive search will be performed and the record pointer will be moved to the appropriate record.
Once user has selected the records, they can depress the "Create PO for Supplier" button and PO's will be created (one for each supplier).
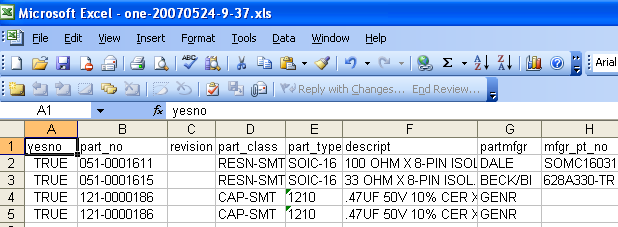
Once the POs have been created an xls report will be generated in the Manex local directory for review. The XL file name is based on the user initials plus the date and time the file is created. For Example if the file created has a name "ONE-20070524-9-37.xls" "ONE" - this is the user's initials; "20070524" - is the date when file was created (YYYYMMDD); "9-37" is the time (Hours-Min) when file was created, so this file was created at 09:37 am.
User has the option of opening the created excel file by depressing Yes or No.
|