|
|
Enter the SQLMANEX.EXE (within the ManEx root directory)
This action will then prompt the user for a password
|
 |
|
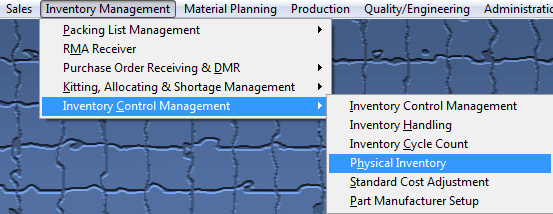
The following screen will be displayed, select Inventory Management/Inventory Control Management/Physical Inventory Module
|
 |
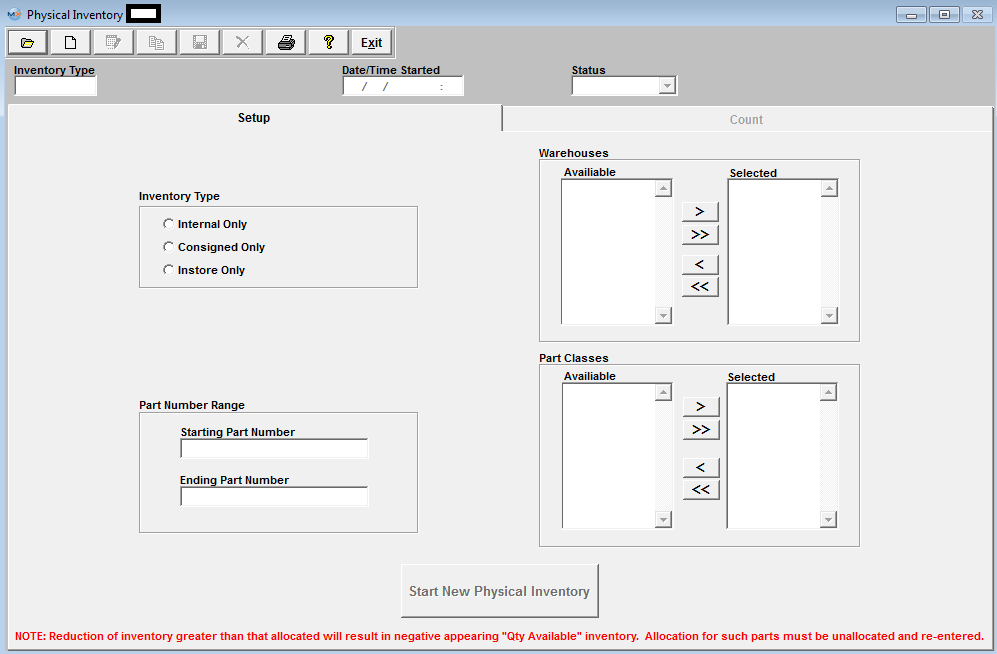
The following screen will be displayed:
Depress the Add record action button. Type in your password. The following warning will appear:
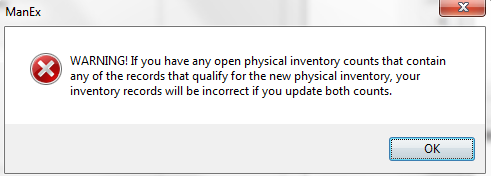
Depress Ok and the following options screen will appear:
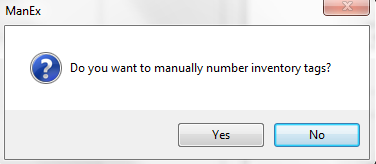
Selecting “Yes” will allow the user to manually number the inventory tags, item by item.
Selecting “No” causes the system to automatically number the tags.
Please refer to the Tags and Work Sheets instructions.
The following screen will appear:
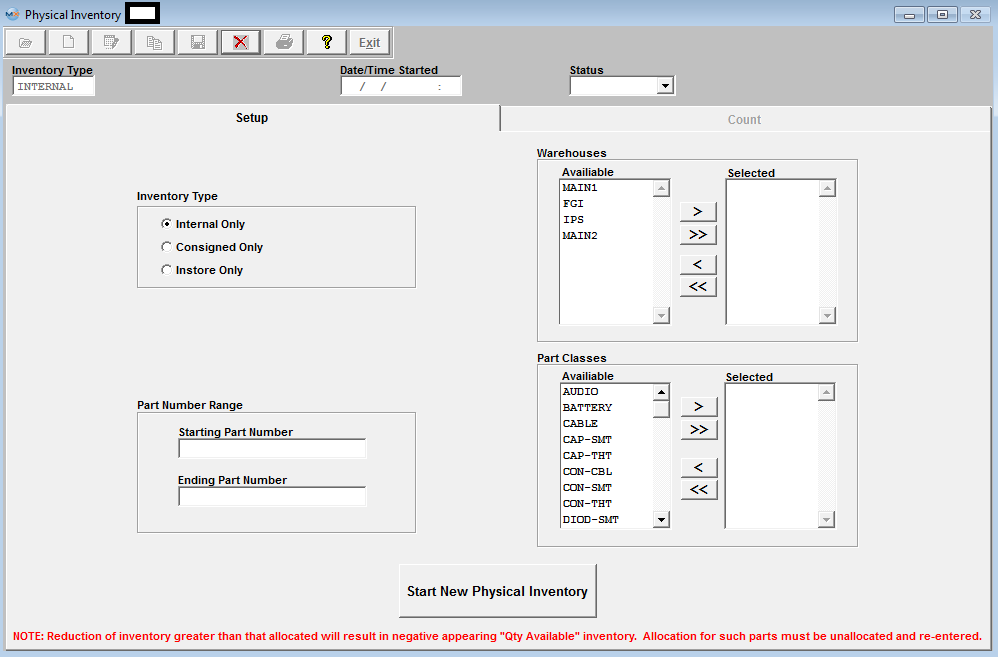
Select the Inventory type by clicking on the appropriate radial. Select from Internal, Consigned or In Store Inventory. Internal inventory represents user-owned inventory. Consigned inventory is owned by the user’s Customer. In Stores inventory is owned by the Supplier.
In-Store purchasing overview: In-Store is the situation where the Supplier has placed raw materials in the user’s warehouse. The raw materials still are owned by the Supplier. When the user is ready to use the Supplier’s raw materials, he/she issues an In-Store Purchase Order. For In-Store POs, the user may select by Supplier or by Part Number. Then the user may find records according to the selection. Once found, the user may create a PO for the In-Store Consumption. In-Store Purchasing also includes receiving.
If you select the Inventory Type to be Consigned, a list of customers will appear:
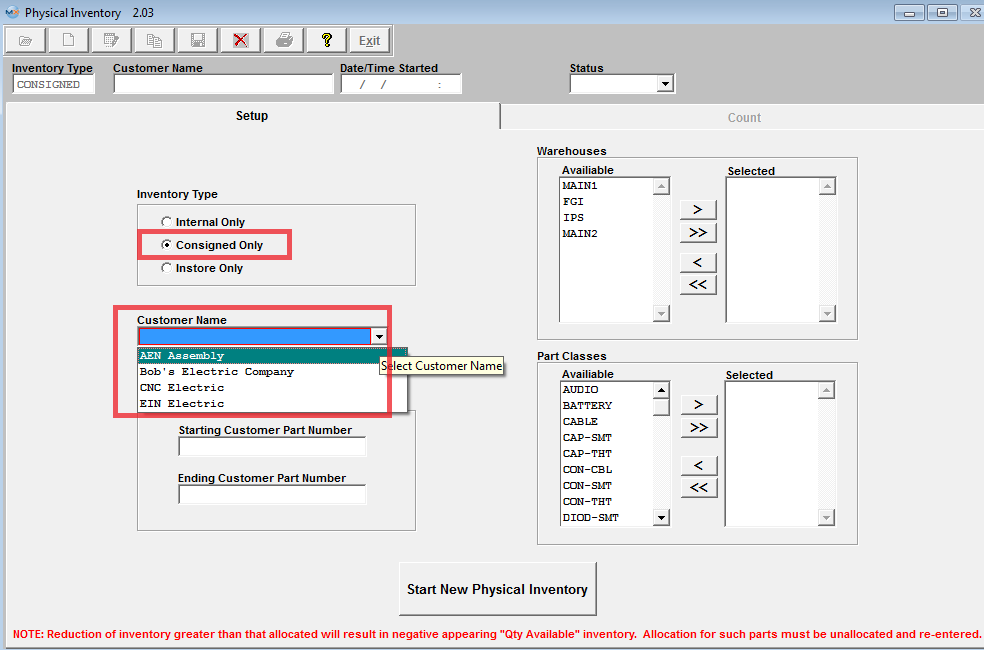
Select the Customer.
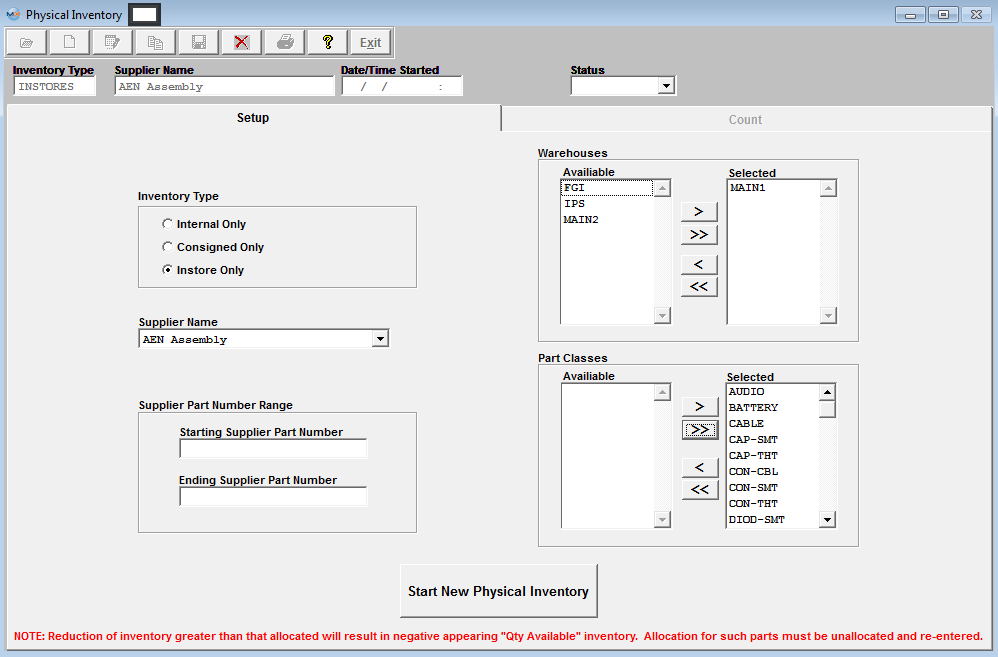
If you select In store Inventory, a list of Suppliers will appear:

Select the supplier.
Select the warehouses to be counted by highlighting a warehouse and depressing the > button. If you want to count all warehouses, depress the >> button.
To select part number range, enter the starting part number and the ending part number.
To select the part classes, highlight the class desired and depress the > button. For all of the part classes, depress the >> button.
A view of the screen would be as follows:
Depress the button to Start New Physical Inventory. A message will appear on the screen:
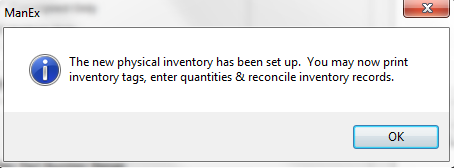
Depress the OK button. Information is transfered to the Count Tab.
Important Caution: The user must finish the Physical Inventory completely before the system is enhanced.
|