|
|
Enter the SQLMANEX.EXE (within the ManEx root directory)
This action will then prompt the user for a password
|
 |
|
The following screen will be displayed, select Accounting/Accounts Receivable/A/R Offsets
|
 |
The following screen will be displayed:
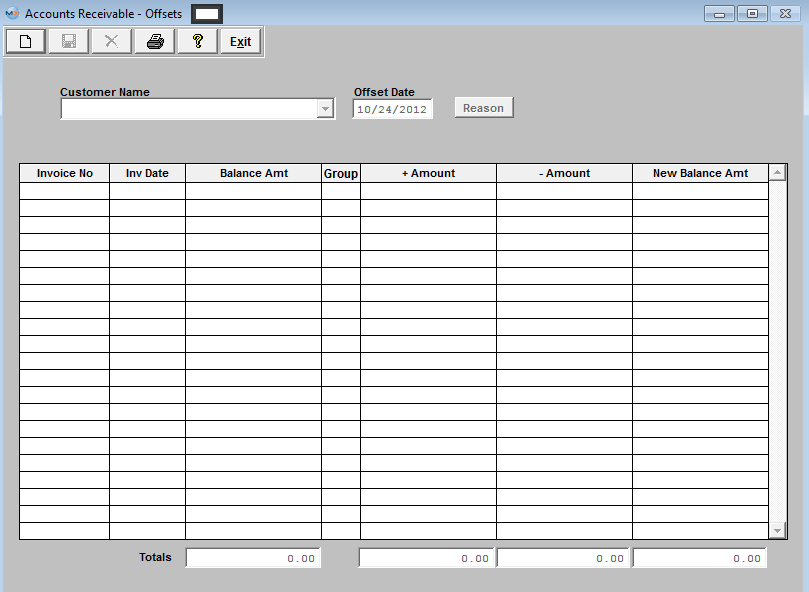
Depress the Add record action icon, user will be prompt for a password, after entering their password, the module will become editable.
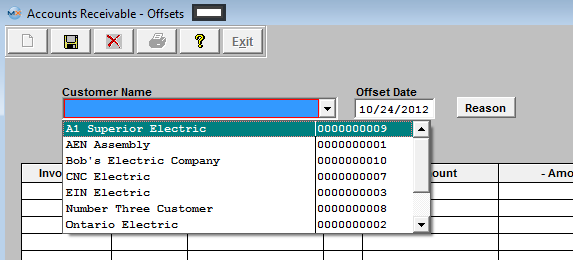
Select a Customer from the pull down list. Once the desired Customer to Offset is selected, the receivable records are displayed.
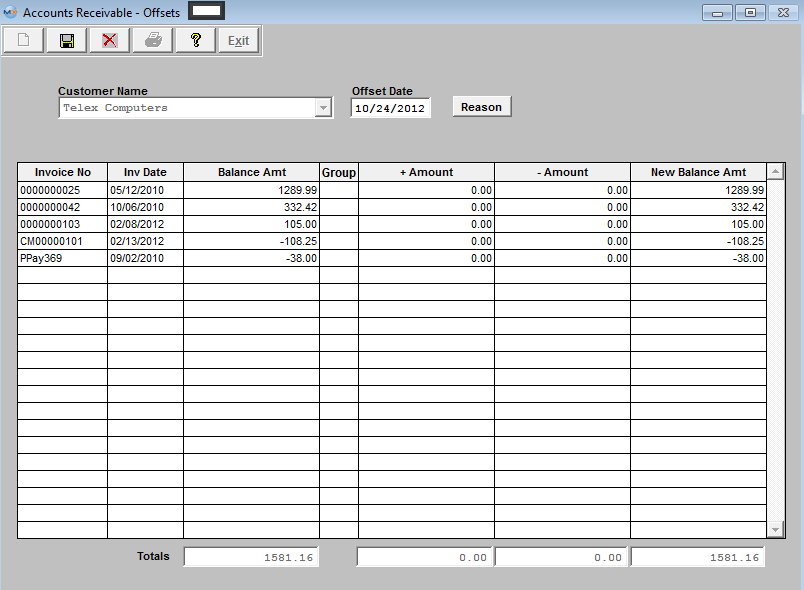
The user may then use the +Amount and -Amount columns to Offset payments against invoice, as illustrated.
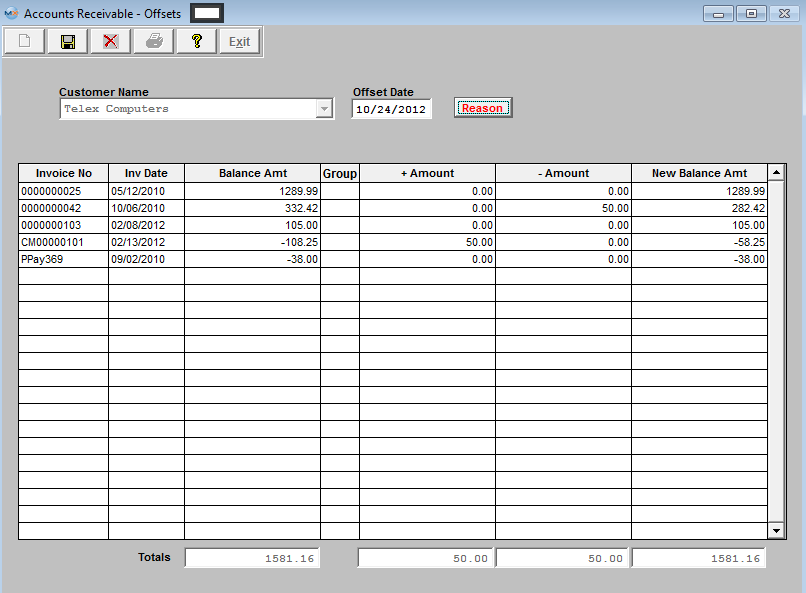
Only when the total amounts of the additions and subtractions are equal does the save button become enabled.After verifying the correct application of offsets, the user may save the information.
On saving the information, the user will be prompted to enter a reason note for the Offset.
Depress the Reason button on screen. Then depress the Edit button, enter the reason, depress the Save button. Depress the Exit button. You’ll be returned to the prior Offset screen. Depress the Save record action button or the Abandon changes action button.
|