ArticlesArticles Most Helpful ArticlesMost Helpful Articles Language SettingsLanguage Settings LoginLogin
RSS Feeds
DrillDown Icon Table of Contents Back
 . . . . . . . . . . . . .
DrillDown Icon Hardware and Software Requirements for Installing SQL Server
DrillDown Icon List of Modules Converted to MANEX Client Server
DrillDown Icon Installing SQL Server
DrillDown Icon System Administrator
DrillDown Icon Security System
DrillDown Icon Accounting Setup
DrillDown Icon System Setup
DrillDown Icon Operations Manuals
DrillDown Icon Sales
DrillDown Icon Sales Management
DrillDown Icon RMA Management
DrillDown Icon Sales Price List Information
DrillDown Icon Customer Information (CI)
DrillDown Icon Sales Representitive Information (SR)
DrillDown Icon Prerequisites
DrillDown Icon Introduction
DrillDown Icon Fields & Definitions
DrillDown Icon How To ....
DrillDown Icon Find a Sales Rep
DrillDown Icon Add a Sales Rep
DrillDown Icon Edit a Sales Rep
DrillDown Icon Inventory Management
DrillDown Icon Material Planning
DrillDown Icon Production
DrillDown Icon Quality/Engineering
DrillDown Icon Administration
DrillDown Icon Accounting
DrillDown Icon System Utilities
DrillDown Icon SQL Server Memory Settings and Performance
DrillDown Icon Definitions
DrillDown Icon How to schedule and automate backups of SQL Server databases in SQL Server Express
DrillDown Icon SQL_FAQ's
  Email This ArticlePrint PreviewPrint Current Article and All Sub-Articles
 
Edit a Sales Rep

Enter the SQLMANEX.EXE (within the ManEx root directory)
This action will then prompt the user for a password

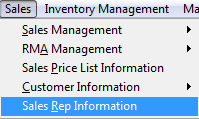
The following screen will be displayed, enter Sales /Sales Rep Information


The following screen will be displayed:
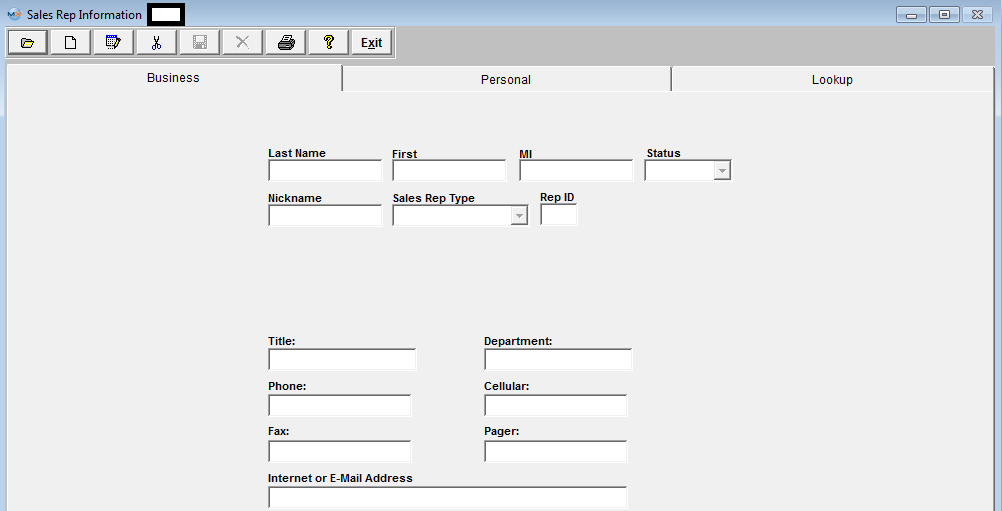
Depress the Find action button. The following selection screen will be displayed.  To find an existing Sales Rep select one of the following:  Sales Rep Name, or Sales Rep Type.

The user may exit the selection screen without a selection by selecting the X button.


Once you have made your choice, the information will be displayed as follows:
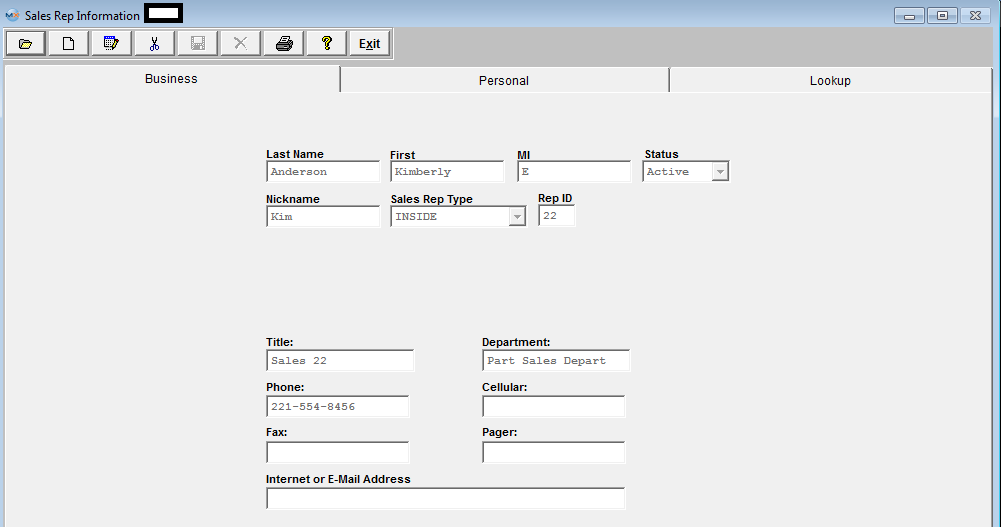
Depress the Edit action button.  Enter password.

All fields available for editing will be enabled for modification. 

At the conclusion of the modifications process, the user must Save changes, or Abandon changes using the action buttons. 

 Depress the Exit action button to return to the previous screen.

Article ID: 4737