ArticlesArticles Most Helpful ArticlesMost Helpful Articles Language SettingsLanguage Settings LoginLogin
RSS Feeds
DrillDown Icon Table of Contents Back
 . . . . . . . . . . . . .
DrillDown Icon Sales
DrillDown Icon Inventory Management
DrillDown Icon Material Planning
DrillDown Icon Production
DrillDown Icon Quality/Engineering
DrillDown Icon Administration
DrillDown Icon Accounting
DrillDown Icon Accounts Receivable (AR)
DrillDown Icon Accounts Payable (AP)
DrillDown Icon PO Receipt Reconciliation
DrillDown Icon Manual A/P Entries
DrillDown Icon AP Recurring Entries
DrillDown Icon A/P Aging
DrillDown Icon Payment Sheduling
DrillDown Icon Prerequisites
DrillDown Icon Introduction
DrillDown Icon Fields & Definitions
DrillDown Icon How To ....
DrillDown Icon Batch Scheduling
DrillDown Icon Check Maintenance
DrillDown Icon Automatic Bank Deduction
DrillDown Icon Check Register
DrillDown Icon Pre-Pay Supplier
DrillDown Icon Reports
DrillDown Icon AP Offset
DrillDown Icon Debit Memo
DrillDown Icon General Ledger (GL)
DrillDown Icon Bank Reconciliation
  Email This ArticlePrint PreviewPrint Current Article and All Sub-Articles
 
How To Pre-Pay A Supplier
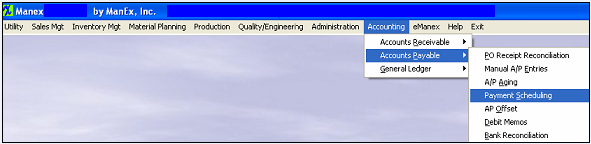
Prepare the check for the prepay manually, then select Payment Scheduling
 
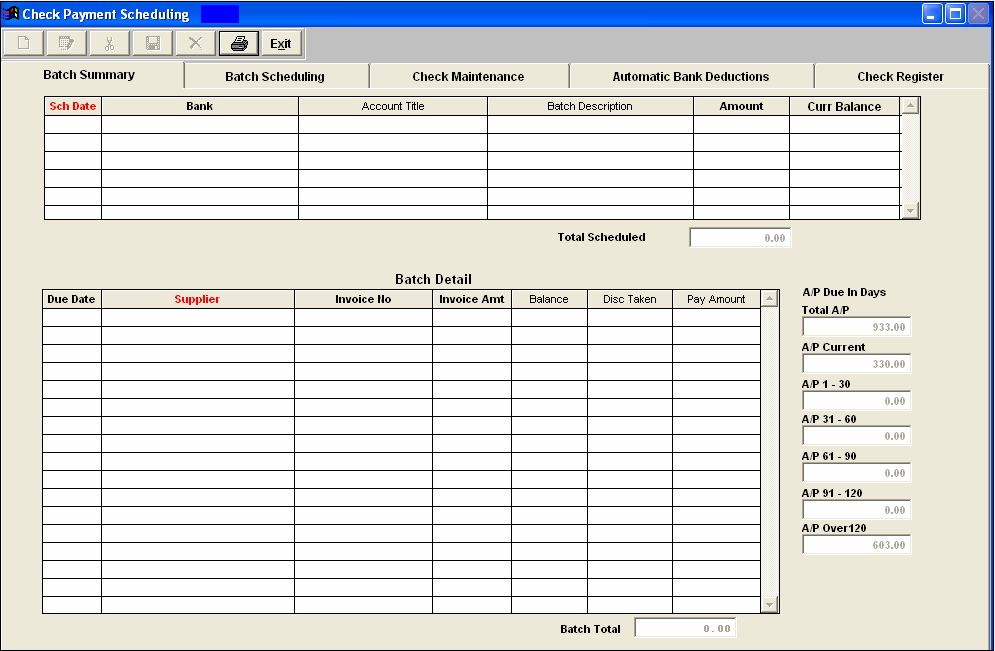
The following screen will appear:


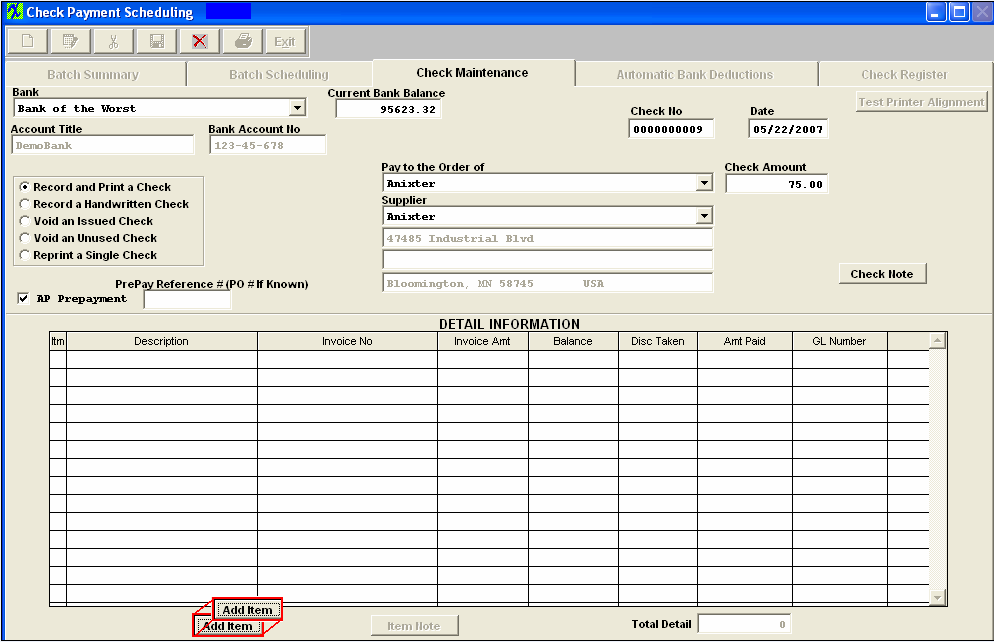
Depress the Check Maintenance tab.  User can enter all of the information for a manual check on this screen. 
 
Select the Add button.  Select the Bank.  Choose the Record and Print a Check radial.  Check the AP Prepayment box.


Once the AP Prepayment box is check, an additional box will appear for user to enter a Prepay Reference number (if applicable).  We suggest that you populate it with Prepayment Reference # or Purchase order if known)  NOTE:  A Prepay GL number must be setup in the GL Acct Setup screen and the Purchase AP Setup  in order to use this option. 

Check number and date will default in, but may be edited:  

Select the Supplier (payee)  from the pulldown and enter the Check amount.

The "Add Item" button at the bottom of the detail info screen will become available:   


Depress this button and the detail information will default in, enter a GL number:


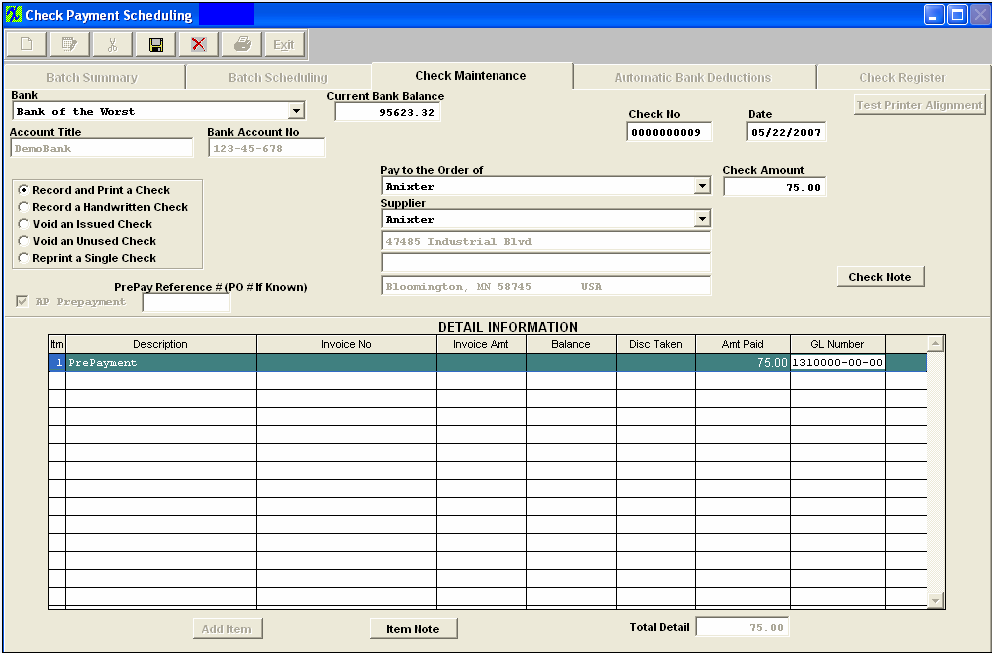
Save Record and print check. 
The entry will record as follows:
 
 
Article ID: 4654