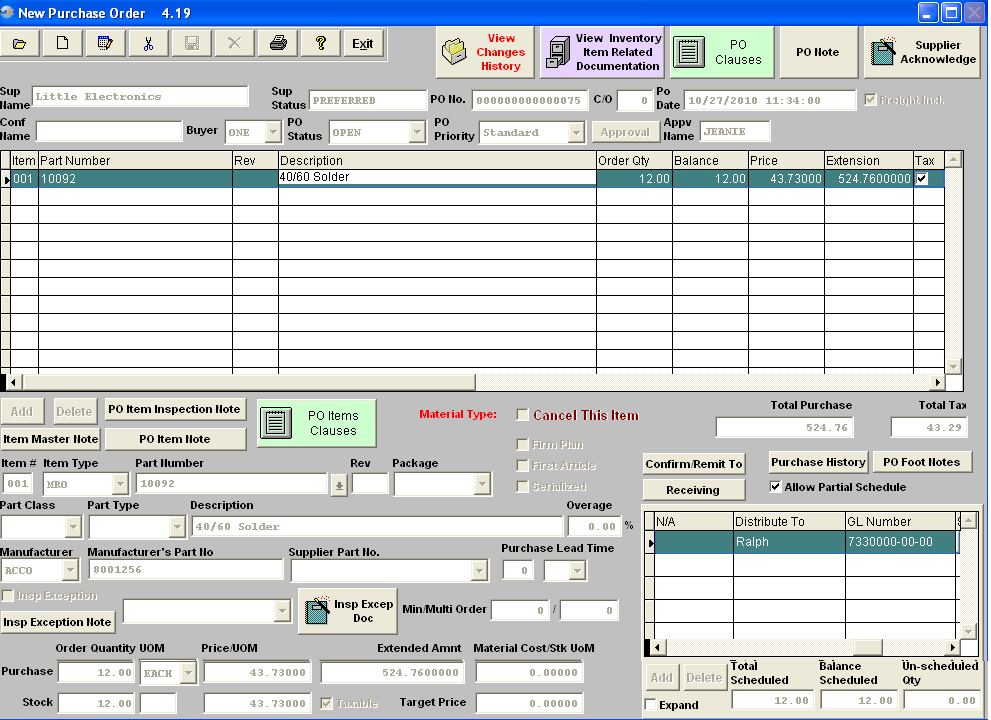
MRO stands for Management Required Options. Generally this is used for supplies, etc. purchases.
After selecting the Item Type to be "MRO"
If the MRO item is included in inventory
a. The user may jump directly to the part number box (click on it) and enter a part number. Or, the user may step through the Part Classes and Part Types to narrow
the focus and then select a part from the desired part type.
b. Fill in the quantity and unit price.
If the MRO item is NOT included in inventory
a. The user may enter in a part number manually (or leave blank) and then jump to the description field and enter the description.
The finished screen should look like the screen displayed:

- Check the Expand box in the Schedule screen.
- Enter schedule dates and quantity scheduled.
- Type in the title or name of the person requesting the item in the “Distribute To” field.
- Enter or Select a General Ledger account number in the GL Number field. These GL numbers are defaulted in from the Purchase Setup module.
The completed Schedule screen will appear as follows:
- At the conclusion of entry for the item, the user may depress the Save record action button or the Abandon record action button.
- User must then Approve the Purchase order.
|