Adding Manual Invoices
Manual AP Entry tab Note: Do NOT use for inventory receipts!
|
Enter the SQLMANEX.EXE (within the ManEx root directory)
This action will then prompt the user for a password
|
 |
|
The following screen will be displayed, select Accounting/Accounts Payable/Manual A/P Entries
|

|
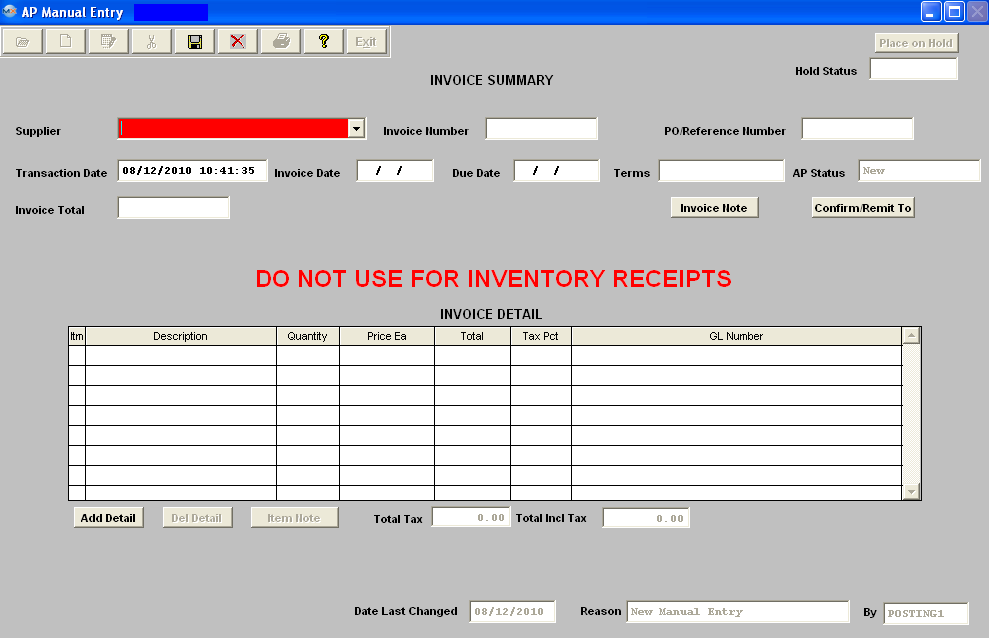
The following screen will be displayed:
Select the Add button and enter in your password. The following screen will appear: The transaction date will default in for the current day and time, but is editable.
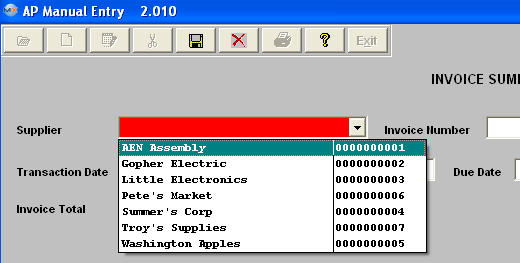
| Depress the down arrow next to the Supplier Name field. The following list will appear:
Select the Supplier. Once the suppler is selected the Terms will default in from the Supplier Info.
|
 |
Enter an Invoice Number ("DM" is disallowed as the two left characters of the invoice number) and Invoice Date.
Enter a PO/Reference number if applicable.
Enter in the Invoice date and the Due date.
Enter in the total amount of the Invoice.
If you want to add an Invoice Note, depress the Invoice Note button. Depress the Edit button. Type in the invoice note. Depress the Save button. Depress the Exit button.
If you want to check on the Supplier’s CONFIRM/REMIT TO information, depress that button. Information regarding the Supplier addresses will appear on the screen.
The user may change the TERMS by depressing the down arrow next to the Terms field and selecting a new term. The user may also change the CONFIRM TO address or the REMIT TO address by depressing the arrows next to those fields and selecting a new address.
Depress the Add Detail button at the bottom of the screen.
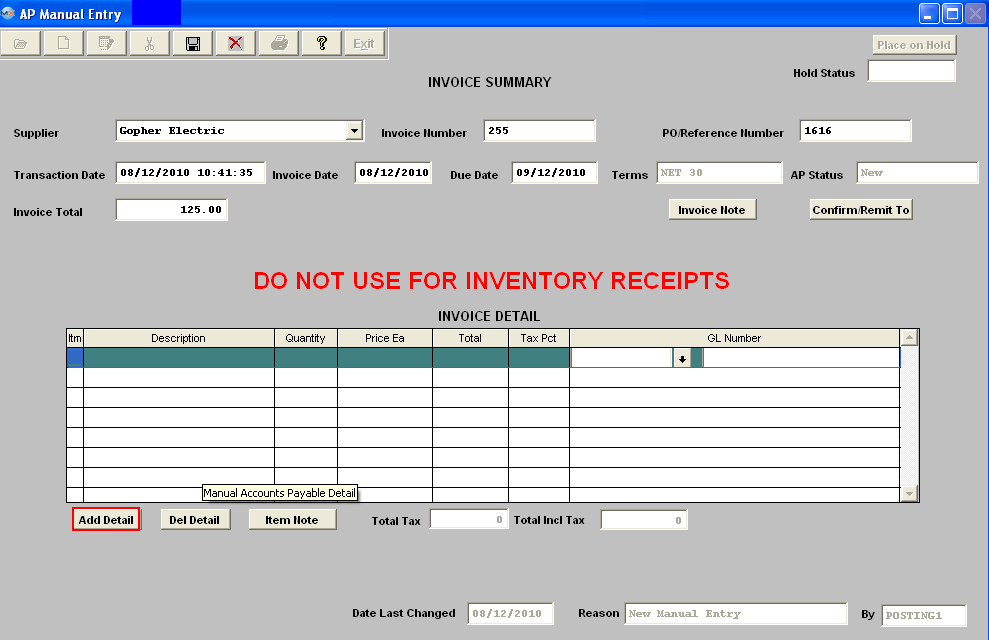
In the Invoice Detail Information section, enter in the Item Number, Description, Quantity, and Price Each. The Total column will update automatically. Enter in the Tax Percentage.(For example, a tax rate of 8 1/2 percent would be entered as 8.50), if applicable. Enter in the General Ledger Account Number.
| To look up a GL Account Number. Double click in the GL Number field. The following screen will appear: |
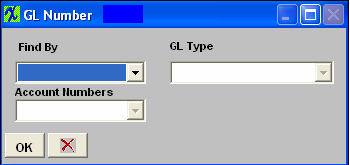 |
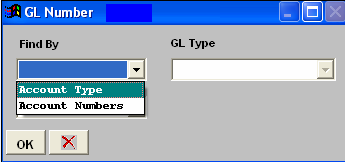
| Depress the arrow next to the Find By field. The following selection will appear: |
 |
|
If you select Account Type, the following list will appear:
|
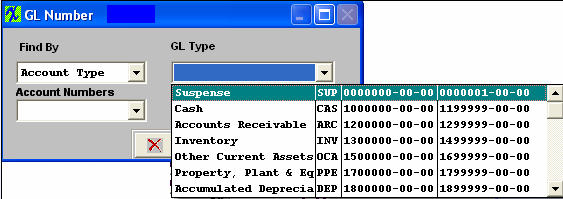 |
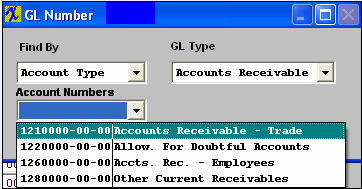
Select the GL Type. The following list of accounts within that type will appear:
Select the desired GL Account Number. Depress the OK button.
|
 |
|
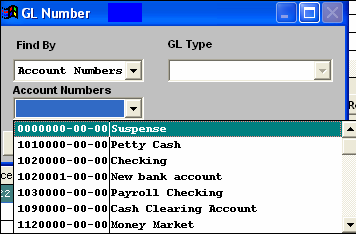
If you select Account Number, the following list will appear:
Select the desired GL Account Number. Depress the OK button.
|
 |
To add an Item Note, depress the Item Note button. Depress the Edit button. Type in the note. Depress the Save button. Depress the Exit button. The note button will light up in red.
Continue to add detail using the above procedures until the entire invoice amount has been covered and exactly matches the total amount column in the top section of the screen.
Depress the Save button at the top of the screen the Status will update from "New" to "Editable" and user will receive the following message:
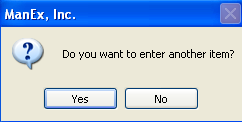 .
Note: If the two total amounts do not exactly match user will receive the following message:
If the Transactions Date is left blank user will recieve the following message and will NOT be able to Save the record until this field is populated:
Invoice will then be transfered to the Release and Post screen . Once the record has been released and posted to the GL the status will updated from "Editable" to "Released to GL".
|