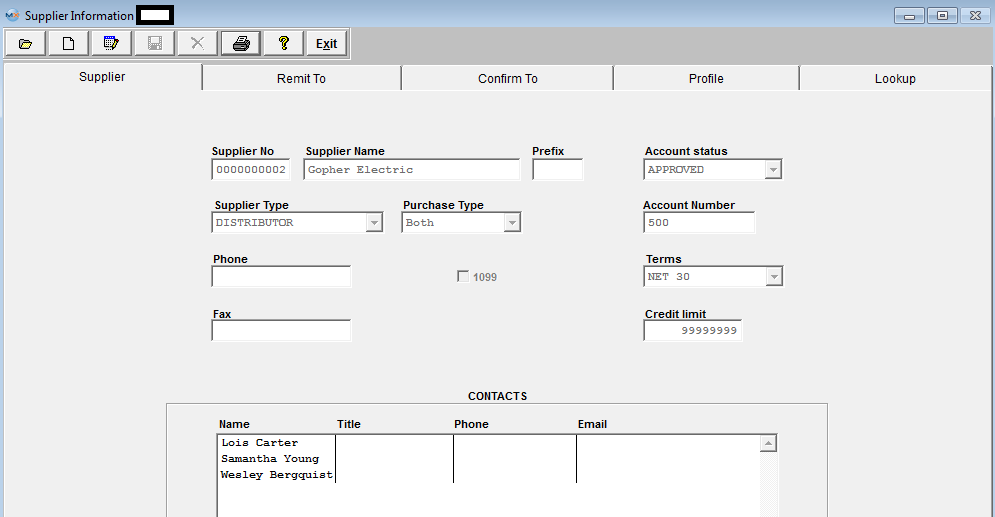
Find the Supplier Information you need to edit.
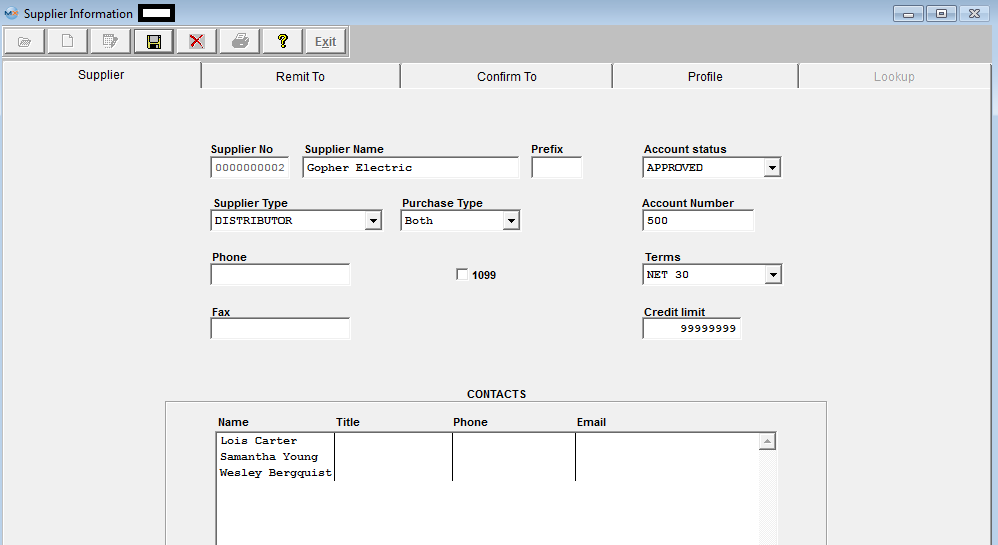
Depress the Edit action button. All fields on the Supplier tab will be enabled for modification.
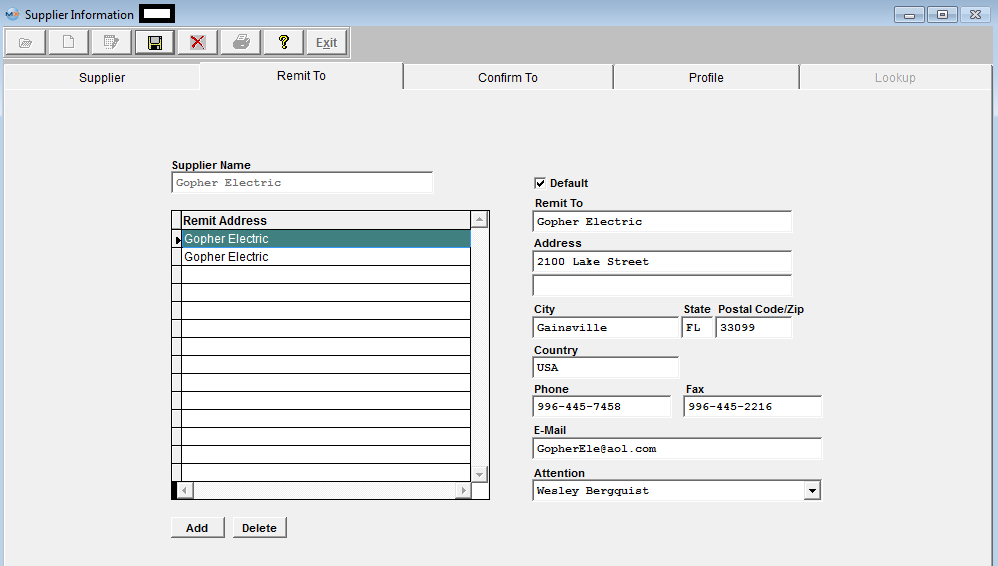
All fields on the Remit To tab will be enabled for modification.
Note: The system will keep the address information (on existing PO's) that was actually selected at the time the PO was created. If you add a new Supplier Remit To address and mark the new address as the Default. The previously created PO's will still carry the original Remit to (ManEx cannot assume that the user wants to change all Remit To's across the board for already created and approved PO's). The user will be required to edit each PO that the change affects and update the Remit to with the new default (any new PO's created will properly take the new default).
The Invoices created through the PO Reconciliation module also carry the original Remit to Address information. Any invoice that already was created and remains on your AP Aging will need to be edited through the Manual AP Entry screen. IF it was already released to the GL at that time, I don’t think that the Edit feature would be available. If you are unable to edit the Remit to information via the Manual AP Entry, then you can control the Remit to information that will print on the AP Check, by creating a Manual check through the Check Maintenance screen.
If you completely delete a Remit To address any previously created PO's will no longer have a Remit to address to refer to, therefore the remit to information on existing PO's will be blank. The AP check module prints the checks per the Remit To information that is associated with each PO, so the address printed on the check will also be blank. So, each PO that still has invoices residing within the AP Aging, will have to be edited and the Remit To information will have to be updated with the new address, if a Remit To address is deleted. We would suggest that the person making changes to the Remit To Address information is careful before deleting one from the system. You have to make sure that any record that has already been associated with that record has been processed through the system, and/or updated with the new address information.
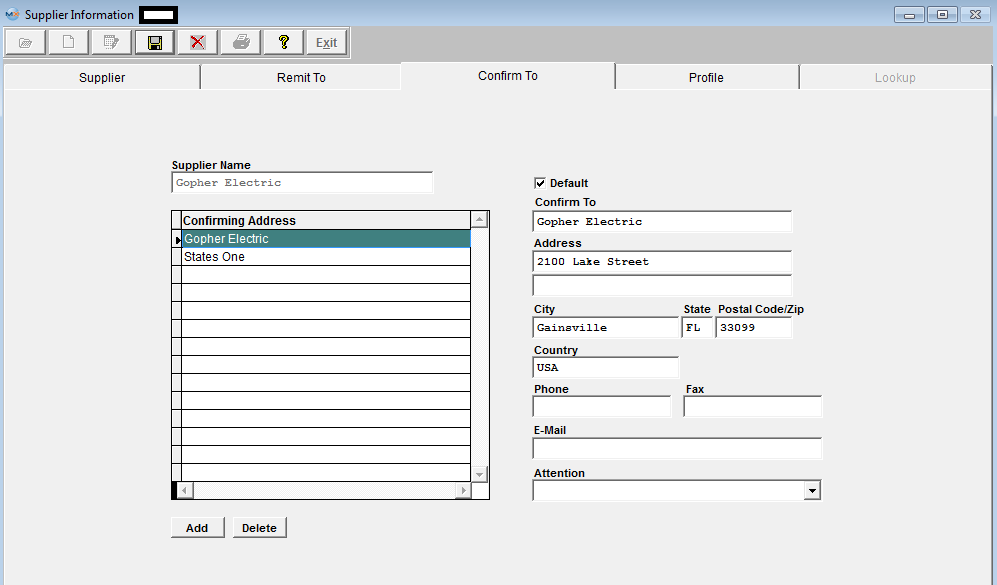
All fields on the Confirm To tab will be enabled for modification.
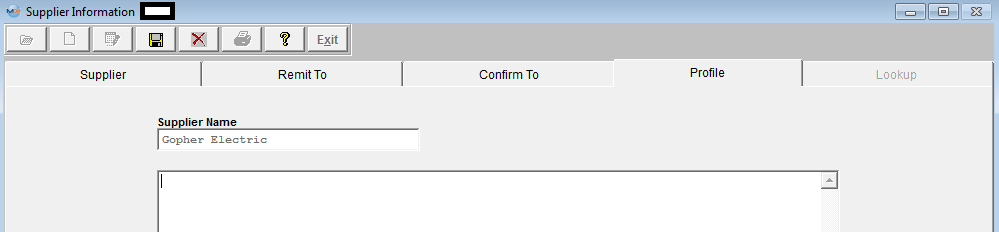
All fields on the Profile tab will be enabled for modification.
At the conclusion of the modification process, the user must either depress the Save action button or the Abandon changes action buttons.
|