|
|
Enter the SQLMANEX.EXE (within the ManEx root directory)
This action will then prompt the user for a password
|
 |
|
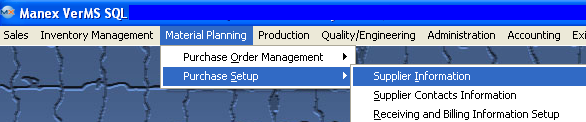
The following screen will be displayed, select Material Planning/Purchase Setup/Supplier Information
|
 |
The following screen will be displayed:
To ADD a new Supplier, the user selects the Add action button, enter password, this enables the fields on the screen for data entry.
Enter the following fields:
The Supplier Number assigned to the Supplier. If automatic numbering assignment was selected in Number System Setup, it will be completed when the data is saved. If manual, it must be entered.
The Supplier Name.
A Prefix if desired.
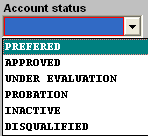
The Account Status, such as preferred, approved, etc. Select from the pulldown:
Note: "APPROVED" will default in upon depressing the Add button, but can be changed.
|
 |
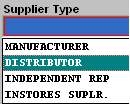
| The Type of Supplier, such as Distributor, Manufacturer, etc.Select from the pulldown: |
 |
| The Type of Purchase, such as inventory, MRO, or both.Select from the pulldown: |
 |
Enter the user’s Account Number with the Supplier.
Enter the Phone Number of the Supplier.
Check the box nex to (1099) if the Supplier is to receive a 1099.
|
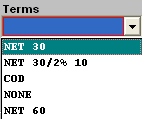
The Terms the Supplier has for the user, such as Net 30, 2% 10, COD, etc..... Select from the pull down:
|
 |
Enter the Fax Number of the Supplier.
Enter the Credit Limit established by the Supplier for the user.
When this screen is viewed for an existing Supplier, Contacts entered in the Contacts Module will show for this Supplier. This field is NOT editable from this module.
After completing the Supplier information screen, the user may tab (clicks on the next) to the Remit To screen.
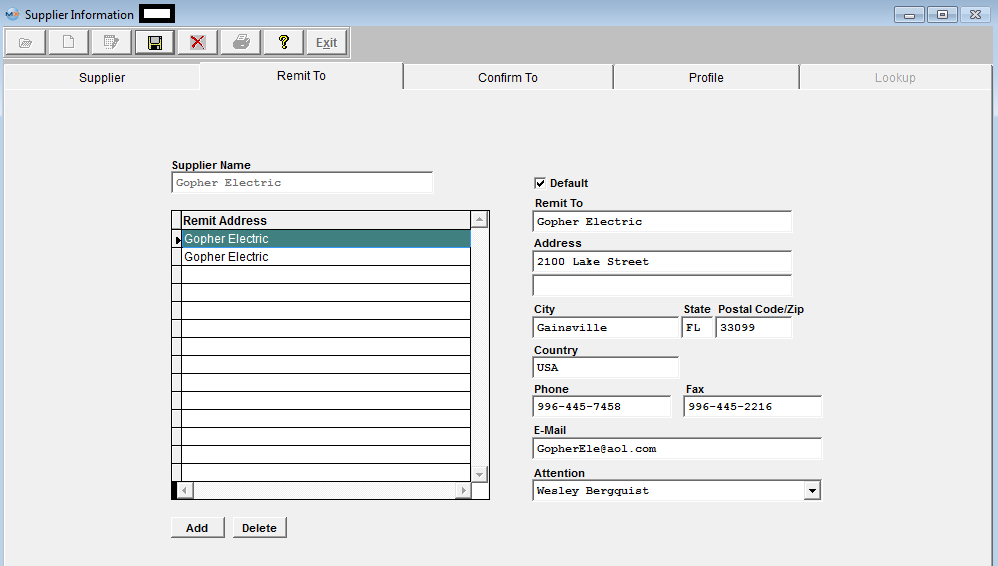
In this screen, the user defines the Supplier information for payment purposes.
The Supplier Remit-To Directive buttons will now be active:
 |
This button allows the user to define multiple remit-to locations for the Supplier.
|
 |
This button allows the user to modify existing remit-to information about a Supplier. If more than one remit to address exists for a Supplier, the address highlighted is the one that will be opened for editing. |
 |
This button allows the user to delete an existing remit-to record for a Supplier.
|
 |
This button allows the user to save the modified bill-to information.
|
 |
This button will cancel any modifications made to the screen after the edit button has been pressed.
|
 |
This button is selected for the default Remit-To location. The Remit to address with the default checked is the one that will automatically be placed in New Purchase Orders. However, the user still has the opportunity to change the remit to address in the Purchase Order module by selecting another address. Note: There must be one Default Remit To address.
|
Enter information as follows:
The name of the Supplier, Defaulted from the first screen, but may be over-written.
A list of Remit-To addresses created for the Supplier, from which to choose for editing data.
The name of the organization to which payment is to be sent. (It may be a different division.)
Enter the Supplier Remit-To Address (may use two lines).
Enter the City, State and Zip Code for the Supplier Remit-to Address.
Enter the Supplier Country.
Enter the phone number at the Supplier’s Remit-to Address.
Enter the Fax Number of the Supplier’ Remit-to Address.
Enter the e-mail address of the Supplier Remit-to Address.
The Contact Name at the Remit-to address (if established in the Contacts Module).
After completing the Remit To information screen, the user may tab (clicks on the next) to the Confirm-To screen.
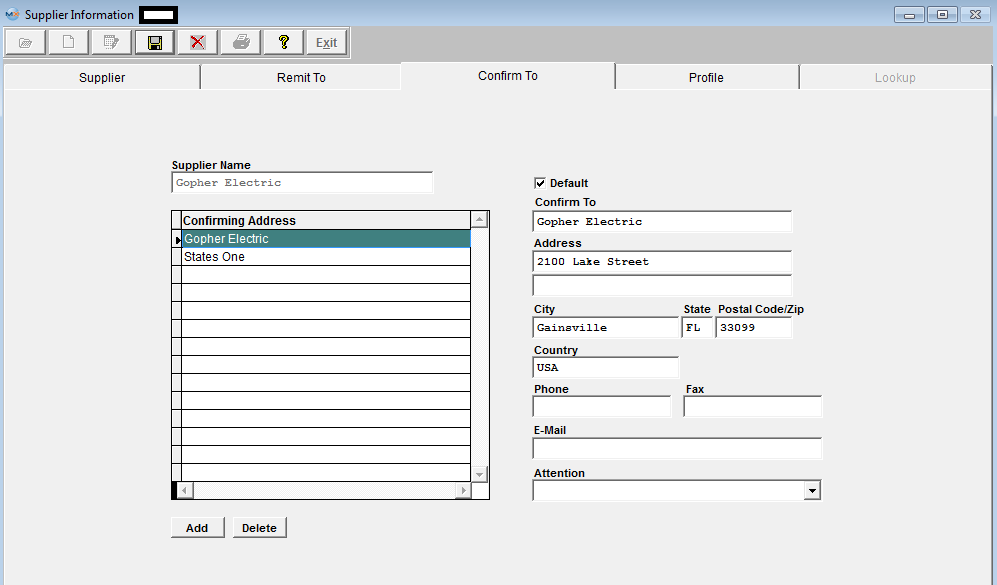
In this screen, the user defines the Supplier information for ordering purposes.
This screen and fields are identical to the Remit-to screen, except that the information will be used for the mailing address of the Supplier.
Pressing the Add action button will automatically fill the information from the Remit-to screen, if it has been completed. All data may be edited and saved, or new data may be added to the database. Note: There must be a default Confirm To address.
After completing the Confirm-To screen, the user may tab (clicks on the next) to the Profile screen.
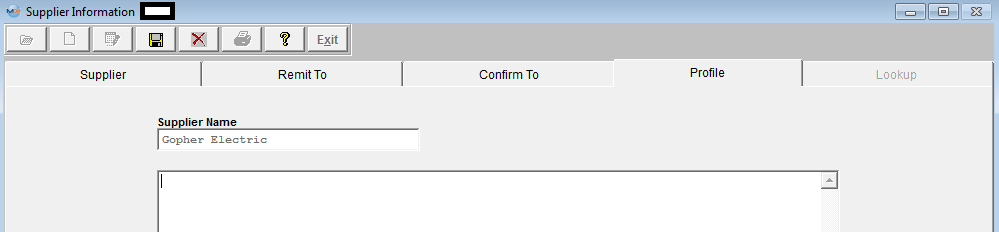
In this screen, the user defines the Supplier Profile notes for internal purposes. This screen is a memo field that may be used to record Supplier company information.
Once all of the data entry is complete. Depress the Save action button. You will be asked if you want to create another Supplier.
|