|
Enter the SQLSYSSETTING.EXE (within the ManEx root directory)
This action will then prompt the user for a password
|
 |
|
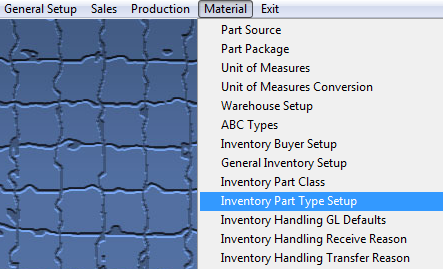
The following screen will be displayed, enter the Material/Inventory Part Type Setup Module
|
 |
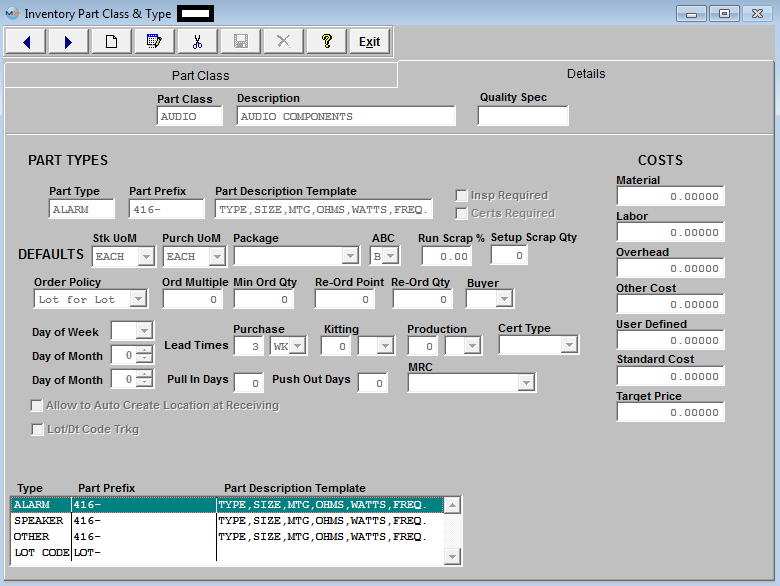
The following screen will be displayed: The main screen, Part Class, lists the existing records. Highlighting a part class will show the corresponding types linked to it on the right. The second screen, Details, is where records are created.
Re-Order - This gives the user the option to re-sort the order the part types are displayed in the pulldown when setting up parts in the
Inventory Control Mgmt module.
First select the Part Class, the Part Types for this Class will be displayed on the right. The Part Types may be re-sorted by clicking on the REORDER button, click on and drag the box on the left side of the part type desired to the (vertical) position desired. When completed with the re-order, click on the DONE button. This order will be the order displayed in the pull downs when using this list in other modules within the system. Suggestion: Have the one most used at the top of the list.
To add a new part type to a class you must first highlight the Part Class that you want to add the part type to, then enter the Details tab:
Depress the
Add button from the main tool bar:
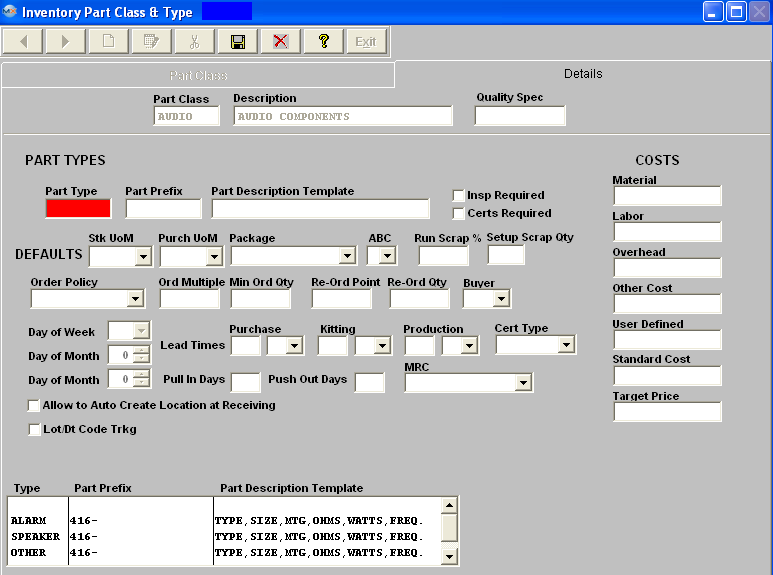
Enter the Part Type, Part Prefix, and Part Description Template. Check whether Inspection and/or Certificates are required. Select the Stock Unit of Measure, Purchasing Unit of Measure, Package, ABC code and Buyer code by depressing on the down arrow next to the field. Type in the Run Scrap %, Setup Scrap Quantity and Cost Information – Material, Labor, Overhead and/or User Defined. The total of the Costs entered will appear in the Standard Cost field. Important Note - If accounting is installed: For all buy parts, the material cost field must have data entered. If this data is missing (or wrong), the Raw Materials Inventory and the Work In Process (WIP) will be incorrect for the accounting records. All make parts which are not labor only (the customer brings you the kit and all you do is apply the labor), must have data entered in the material cost field. Additionally, the data entered in the material cost field for the make part must equal the sum of the Bill of Materials components. (Please refer to Bill of Materials Reports – Bill of Material With Standard Cost.) If the data is missing or wrong on a Make Part, the Work In Process, Cost of Goods Sold and Finished Goods Inventory will be wrong for the accounting records. If the sum of the Bill of Materials components does not equal the standard cost per the Item Master, a configuration variance will generate.
Select the Order Policy by depressing on the down arrow next to the field. Enter in the Order Multiple, the Minimum Order Quantity, Re-Order point and Re-Order Quantity. Select the Certificate type by depressing the down arrow next to the field. Select the Day of the Week or Day of the Month by depressing on the down arrow next to the field. Select the Purchase, Kitting and Production Lead Times by entering the number in the appropriate box and depressing on the down arrow to select the Days, Weeks or Months. Type in the Pull In or Push Out days. Check the Lot Code box, if desired. If you select Lot/Date Code tracking, you’ll also be prompted for Auto Date for all Lots and for the product expiration days, as displayed below.

If the user wishes to edit or delete part type information, pressing the Edit or Delete button from the main tool bar enables the user to choose a part type used in the class (assuming there is more than one) and edit or delete it. (NOTE: Users will not be allowed to delete a part type which has active inventory or orders.)
After Adding, Editing or Deleting a part type, the user must save the data, by depressing the Save button from the main tool bar.
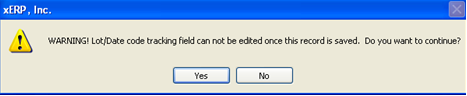
When saving a new part type the user will receive the following message to remind the user that once this record is saved the Lot/Date code tracking field can not be edited:
At this time the user can select "YES" to continue the save or "NO" to abort the save.
Where Used: In all Material functions.
«Mark as Completed in RoadMap in Sect. B Item 4-g»