Copy a Part Number
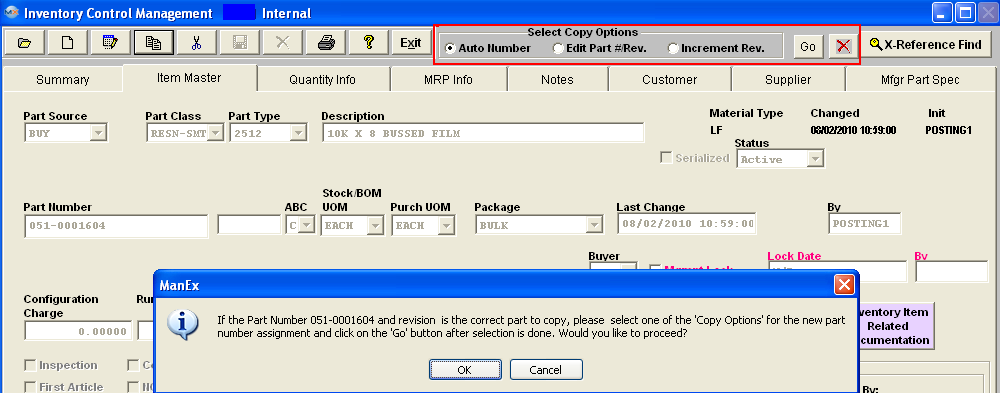
To copy an existing part, Find the part you want to copy, using Find an Inventory Control Record. Highlight that part number and then depress the Item Master tab. Depress the Copy icon at the top of the screen. The following message will appear along with the "Select Copy Options" at the top of the screen.
Selecting Auto Number will create a copy, and open the Item Master Screen. The fields which may be edited are highlighted.
|
Selecting Edit Part # Rev. will bring up a reminder message:
Depress the Ok button.
The Item Master Screen will open. All of the fields which can be edited, including the part number and the revision number, will be available for editing.
|
 |
Selecting Increment Rev, will cause the system to assign the same part number and the revision number will automatically increment by 1. In the Item Master all the fields which may be edited are highlighted, as illustrated below:
Edit an Inventory Item
Depress the appropriate tab which needs to be modified. Depress the Edit button. Enter your Password. The items displayed in Black may be edited:
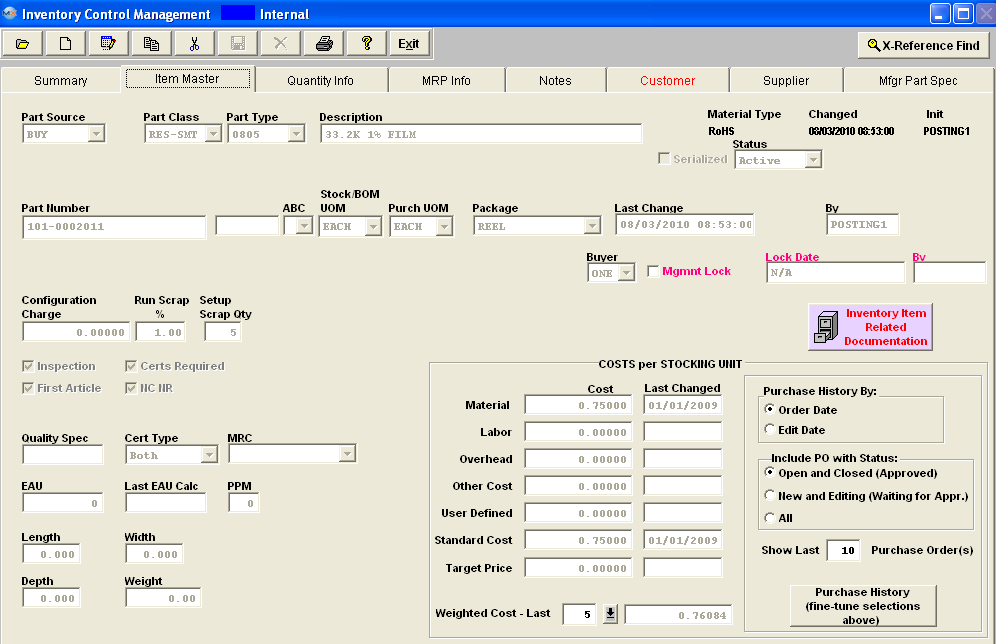
ITEM MASTER TAB
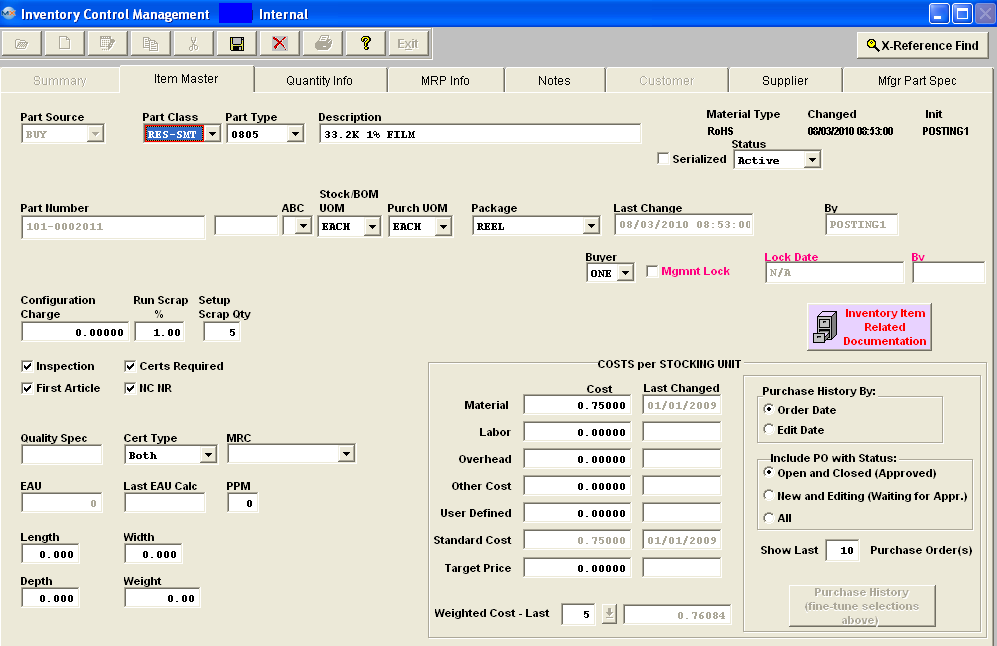
| Item Master tab |
The following fields are all editable: Part Class, Part Type, Description, Material Type, Serialize box, Status (for status defintions see Article #924), ABC code, Stock / BOM UOM, Purchase UOM, Package, Buyer, Mgmt Lock, Configuration Charge, Run Scrap %, Setup Scrap Qty, Costs (see NOTE below), Inspection box, Certs Required box, First Article box, NC NR, box, MRC, PPM, Length, Depth, Width, & Weight.
Users should use caution when changing the lot code tracking status. When lot code tracking status is change the entire history of the lot code for this specific part is removed from system.
We do NOT recommend users to change the Unit of Measure while there is qty on hand within the system. For further detail see Article #3414.
If the part souce on a product is originally setup as a MAKE the user WILL be allowed to edit the record and change the part souce to Make/Buy and/or Phantom/Make. For further details see Article #3289 . After all these criterias are passed, if the part has quantity on hand, the user has to enter the serial numbers to match the quantity on hand.
Note re Editing Standard Cost: You will need a Supervisors Password to change the Standard Cost. The best procedure is to use the Standard Cost Adjustment module. The Standard Cost Adjustment module will update the Inventory records AND will create the appropriate accounting entry. If you edit the cost in this screen, a manual accounting entry will be required.
User can select how they would like to view the Purchase History either by Order Date or Edit Date, also which PO's to include by status and the number of Purchase Orders viewed on screen. NOTE: These changes will NOT change the Standard Cost. These changes will only affect how the PO's will be viewed on screen when the Purchase History button is selected.
|
Changing a non-serialize part to a serialized part
BUY - If a user changes a non-serialized BUY part to a Serialize part the system will check. *If the part has allocated qty, (user has to un-allocate parts before the system will allow user to check the "Serialize" box). *If the part has any OPEN kit (kit in process), (user has to de-kit or close kit before system will allow user to check the "Serialize" box). *If the part has un-reconciled PO (user has to reconcile all receipts before system will allow user to check the "Serialize" box).
MAKE or a Make/Phantom Part - If a user changes a non-serialized MAKE part to a Serialize part and the part has quantity in FGI the following message will appear:
Changing a Lot Coded Part to a Non-Lot Coded Part or Vis-Versa - ManEx does NOT recommend users changing parts from Lot Coded to Non Lot Coded or vis-versa unless it is absolutely necessary.
If a user is changing a Non Lot Coded part to a Lot Coded part they will receive the following message informing the user that "Dummy" lot codes will be setup for existing oh hand quantities and asking the user if they would like to continue.
If a user is changing a Lot Coded part to a Non Lot Coded part they will receive the following message informing them that any existing Lot Code information for this part will be deleted from the system if these changes are saved and asking the user if they would like to continue.
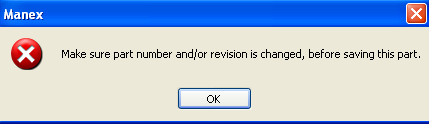
If a user is changing a Lot Coded part to a Non Lot Coded part or vis-versa and the part is also serialized and if there is qty on hand, user will receive the following message and will be unable to save the change.
|
Material Type
|
Select from the pull down, Unk, LF-P/N, LF-Date, LF-Mark, RoHS-P/N, RoHS-Date, RoHS-Mark. See Article 4002 for definitions. These choices have been defaulted in. Customers may establish the logic by which the material type for the parts are established by the material types at the AVL level in System setup/Material Type Setup.
The AVL Material Type is carried forward for the consign part when the consign part is first added to the system or when new AVL was added to the internal part and the user elects to add this AVL to the existing consign parts. If the user later changes the Material Type on the internal part, the change is NOT carried over to the consigned.
If the inventory material type update is set to "Auto" (within the Material Type Setup), everytime the user modifies a part or AVL, the program will update the inventory material type automatically, if the control is set to "Manual" then user will be able to modify inventory material type on "Quantity Info" page via a Material Type pulldown, the program will not validate if the material type in inventory and AVL levels are in sync.
|
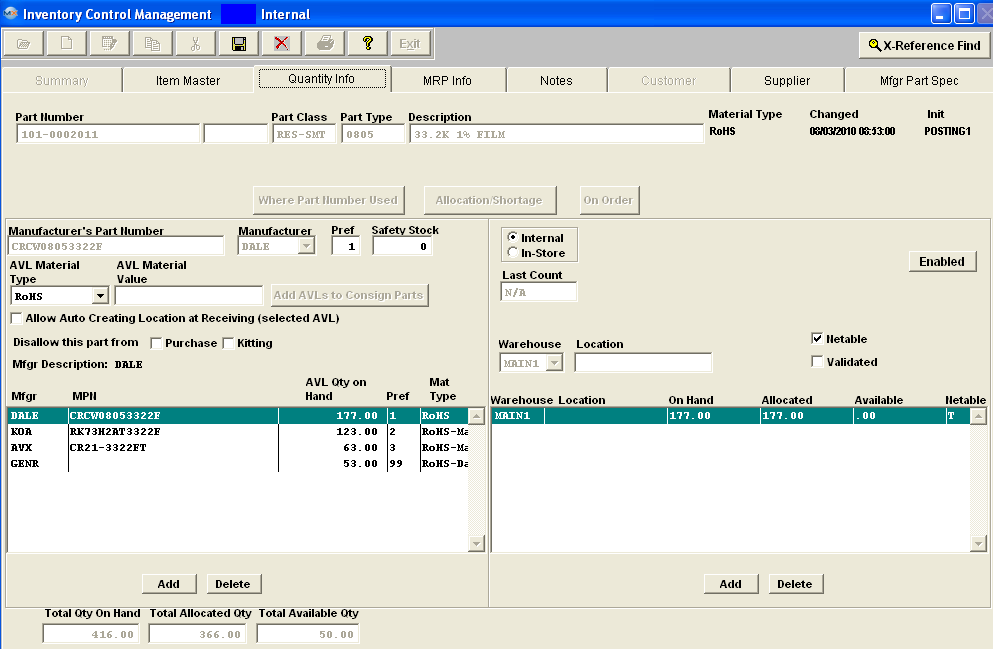
| AVL Info |
User can edit the Pref Code, Safety Stock, AVL Material Type, Enter AVL Material Value info, check the Allow Auto Creating Location at Receiving (selected AVL) and/or Disallow this part from Purchasing and/or Kitting (if applicable). Depress the ADD button to enter a new mfgr and mfgr PN. Highlight an existing mfgr and mfgr PN in the box and depress the DELETE button to delete an existing mfgr and mfgr PN (if there is no qty on hand). Note: When deleting an MPN - keep in mind that the MPN will be deleted from the screen but NOT from the tables. The MPN's that have been deleted are retained in the tables for history tracking purposes.
If the user changes the preference code or material type these changes are not carried forward to the existing consigned parts.
System will not allow users to have duplicate AVL/MPN combinations. If user has same mfgr and mfgr PN but different material types, we suggest that the user create a new AVL with a dash (or any other symbol) and use that designation to transfer to the UNK material type parts or create a different location for the same part, but have it be non-nettable, making it ineligible as a source for MRP.
|
| Warehouse Info |
User can edit a location to an existing Warehouse, check or uncheck the Netable and Validated boxes. Depress the ADD button to add a new Warehouse. Highlight an existing warehouse in the box depress the DELETE button to delete an existing warehouse (if there are no qty on hand). Caution on deleting warehouses: Please remember if you delete a warehouse for a given part number, that you are ALSO deleting some of the history for that part at that location. If you think that such history will be required in the future, then DO NOT delete the warehouse. NOTE: When removing/changing WH/Location system will prompt the user if any POs are open, which are using the modified location. This prompt will allow the user to abort or continue with the change. |
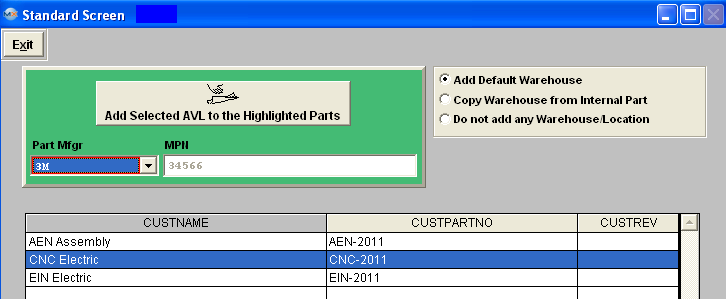
| If the user adds new AVL's to the Internal part number, they may click on this button and it will bring up the following screen. |
 |
Highlight the Consigned part number (s) you want to add AVL to. Select the radio button for the Warehouse you want to add to the AVL. Select the Part Mfgr from the pull down you want added to the consigned part number (s) highlighted. As shown in the screen above.
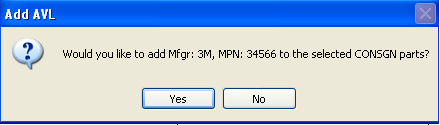
Depress on "Add Selected AVL to the Highlighted Parts" The following warning will appear.
|
If "yes" is depressed you will receive the following screen:
If "No" is depressed the action will be deleted.
Depress "OK" and the transaction is completed
|
 |
MRP INFO TAB
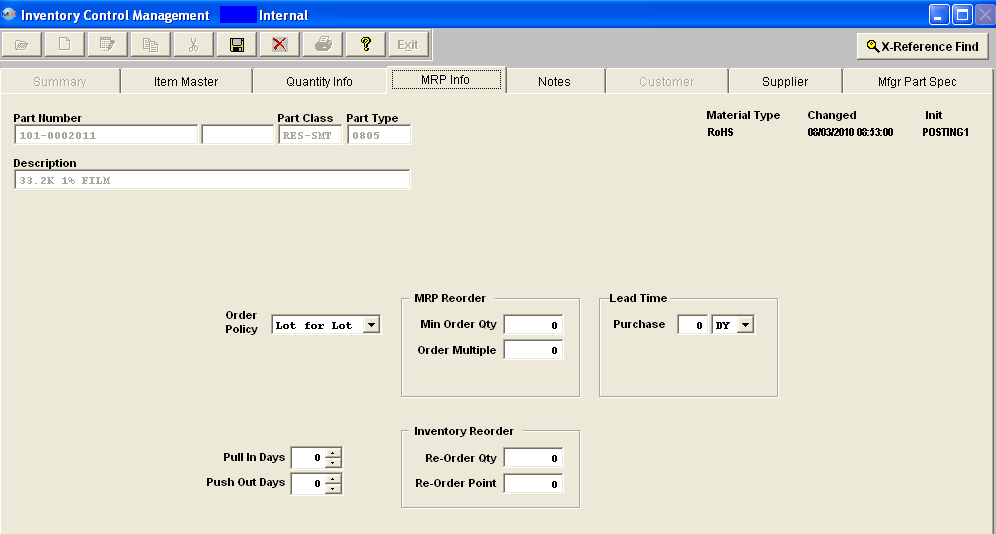
| MRP Info Tab |
Order Policy, Min Order Qty, Order Multiple, Purchase Lead Time, Pull In Days,Push Out Days, Re-Order Qty, Re-Order Point |
CUSTOMER TAB
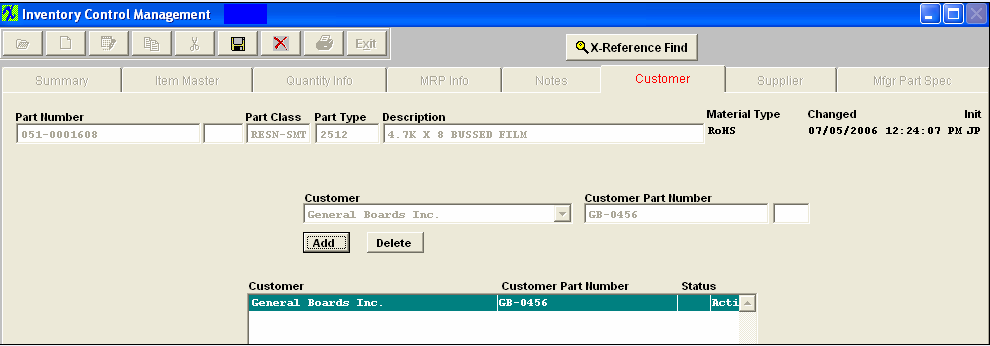
| Customer Tab |
Add or Delete a Customer and Customer PN. |
SUPPLIER TAB
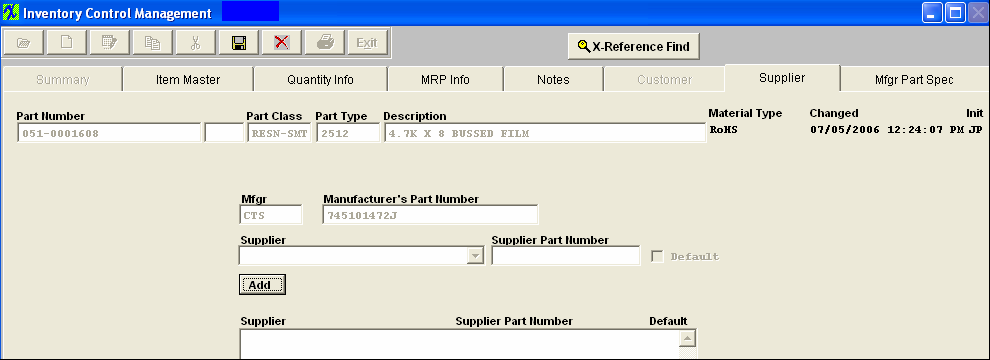
| Supplier Tab |
Add or Delete a Supplier and Supplier PN. |
MFGR PART SPEC
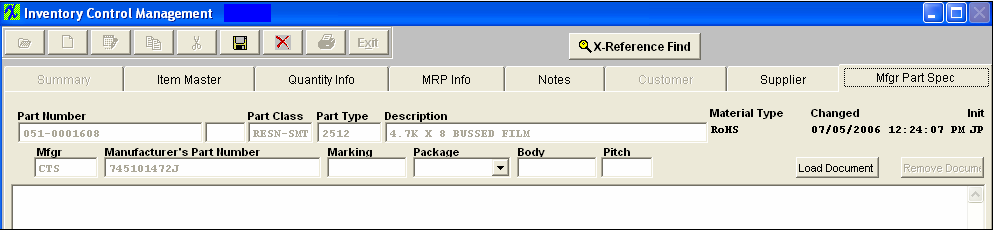
| Mfgr Part Spec |
Load/change picture or .pdf file. |
Depress the Save Action button at the completion of each edit.
|