|
|
Enter the SQLSYSSETTING.EXE (within the ManEx root directory)
This action will then prompt the user for a password
|
 |
|
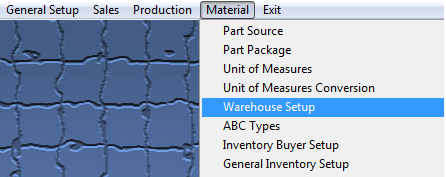
The following screen will be displayed, enter the Material/Warehouse Setup
This setup screen is used to enter all the warehouses used in your company. This information is used when adding and editing the item master. When an item master record is created, the system will add by default the designated default warehouse. The default warehouse assignment is accomplished by checking the default box for the selected default warehouse. Note: ManEx does NOT recommend to change the default warehouse once you’ve assigned inventory parts to that default.
|
 |
The following screen will appear:
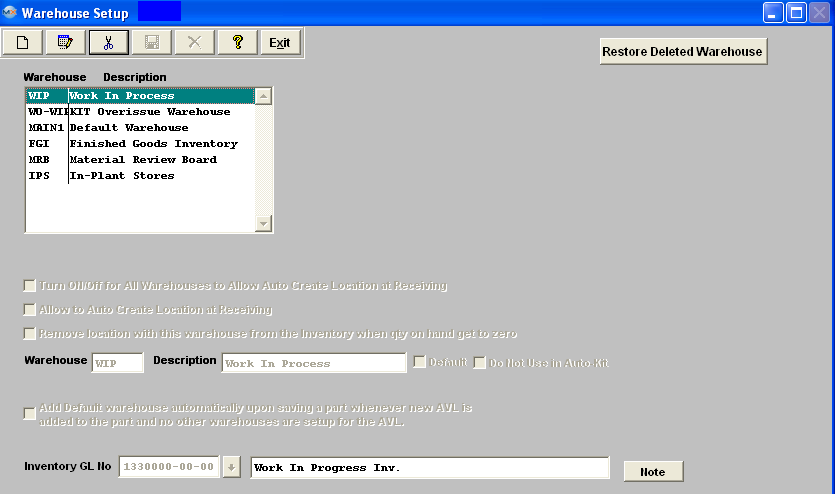
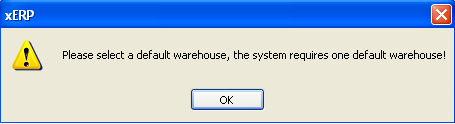
To add a new warehouse, depress the Add button. Enter your password. Type the Warehouse abbreviation into the Warehouse window. Type the Description pertaining to the warehouse into the Description window. If this is the default warehouse, check the Default box. (You may have only one default Warehouse, but MUST have at least one.) If there is not default warehouse setup using will receive the following warning upon save:
Turn ON/Off for All Warehouses to Allow Auto Create Location at Receiving Box -If this box is UNCHECKED it will not “Allow Auto Create Location at Receiving” for all Warehouses listed in Warehouse setup.If this box is CHECKED it will “Allow Auto Create Location at Receiving” for all Warehouses listed in Warehouse setup.
Allow to Auto Create Location at Receiving Box - checking this box will allow user to create a location a the PO level or PO receiving level for this warehouse. Unchecking the Auto Create disables that warehouse from being used on the fly.
Remove location with this warehouse from the Inventory when qty on hand gets to zero Box -This will only be available if user checks the “Allow to Auto Create Location at Receiving” box.You would check this box if you want the Warehouse and location created at the Inventory level, PO level or PO Receiving level to be rendered inactive (made invisible in most screens) from that Inventory part once the inventory reaches “0”. If the user de-kitted the work order, that same warehouse would be reactivated and product inserted.
Default Box – If none of the WHSE or Inventory AVL's are marked for Auto-location creation then the system will automatically assign the default whse upon creation of a brand new part number/avl. If you have the auto-location creation option enabled for the WHSE and AVL then the system will leave the WHSE section blank for new parts, and allow users to create new locations from PO Receiving.
Do Not Use in Auto-Kit – If this box is checked this warehouse will not be used in Auto-Kitting.
Add Default warehouse automatically upon saving a part whenever a new AVL is added to the part and no other warehouses are setup for the AVL -If this box is checked the system will add a warehouse within the Inventory module upon saving the record even if the Allow to Auto Create Location at Receiving box is checked.
|
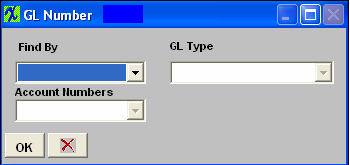
If accounting is installed, depress the Inventory GL No field down arrow. The following GL Number account selection will appear:
Depress the down arrow next to the Find By field. Choose between Account Type or Account Numbers. Depending upon your selection, either GL Types or Account Numbers will appear.
Highlight the number of choice. Depress the Ok button. he account number will appear in the Inventory GL Number field.
|
 |
Repeat this process for the selection of the Shrinkage GL number. (Note: The GL numbers are required if the ACCOUNTING Module is active. ManEx recommends choosing the accounting GL numbers with care because we do NOT recommend changing them once the selection is saved. WIP and MRB GL numbers must be unique.
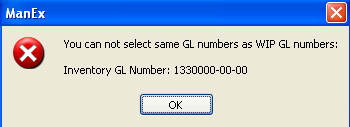
| WIP and MRB GL numbers MUST be unique. The system will not allow GL numbers that have been used by other warehouses to be entered for WIP and/or MRB warehouses and other warehouse can not use the same GL numbers that are used by WIP and/or MRB warehouses. If users trys to enter a GL number for a warehouse that is used for WIP or MRB or vis- versa the following message or a similar message will appear: |
 |
Depress the Save button. The following message will appear:
If you are totally satisfied with your selection, depress the OK button.
If there has been no activity in the Warehouse, the user may delete it. Highlight the warehouse. Depress the Delete button. (Note: You cannot delete a default warehouse. So, if you want to delete a default warehouse, you must create or assign the default status to another warehouse first.) You will receive a message to confirm the deletion. Depress the Yes button to confirm the deletion.
Where Used: In all Materials, Production and WIP functions
«Mark as Completed in RoadMap in Sect. B Item 4-d»
|