|
Enter Manex.exe
Material Planning/Purchase Order Management/Purchase Order Management
|
 |
The following screen will appear:
Depress the Add Record Button (in the Purchase Order Tab screen) displays the following sequences:
The user will be prompted for the password. The first step is to Select Regular PO or In-Store PO
|
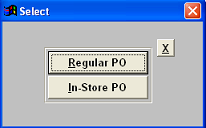 |
| If Regular PO is selected then another Selection box will appear. The user must define the supplier for the purchase order.
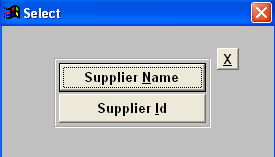
The user is asked if they wish to locate the supplier by the name or supplier ID code.
|
 |
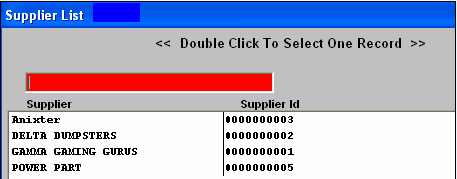
| If the user selects to find a supplier by the name, a screen is presented listing all of the suppliers in alphanumeric order |
 |
| If the user selects to find a supplier by the ID code, a screen is presented listing all of the supplier ID codes in alphanumeric order |
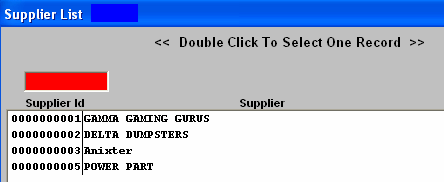 |
The user may enter the number or name in the red edit box above the Supplier or Supplier ID label, or scroll down to select a supplier. Double clicking on a supplier or pressing the ENTER key on a highlighted supplier selects the supplier and displays the Purchase Order screen with the supplier included.
Once a supplier is identified, the remaining information fields become active. The user can CANCEL the action if needed.
The user then may fill in the Confirm Name, Buyer and add items to the purchase order.
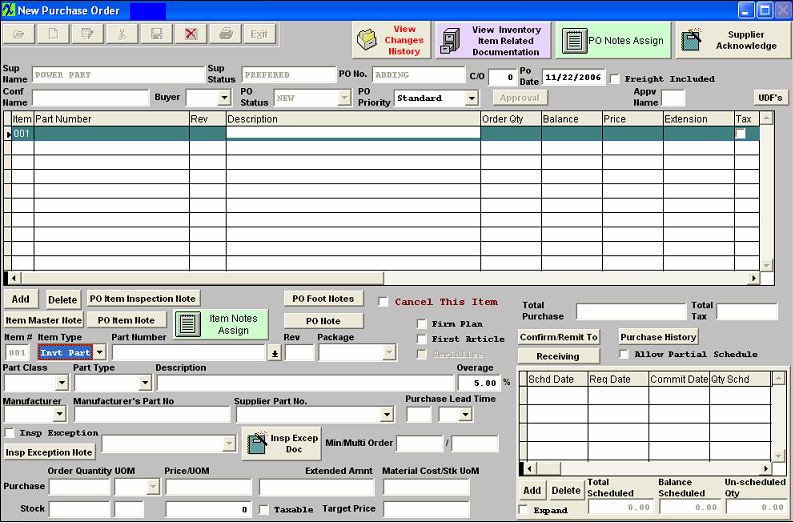
Entering Item Detail Information
|
The user must first select the Item Type to be entered as a line item. Item types include Inventory Parts (parts to be delivered to on hand inventory), MRO (expensed items) or Services .
|
 |
|