There are additional security options available within the lines highlighted in Yellow. Please note that users with a Supervisor’s Password automatically has ALL rights and that they do not have to be individually assigned.
Inventory Control
Highlight the Inventory Control line item as illustrated below:

Depress the Options tab and the following screen will appear: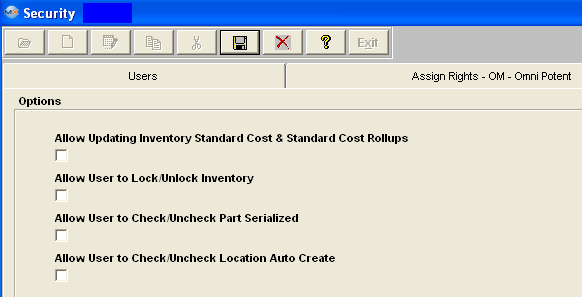
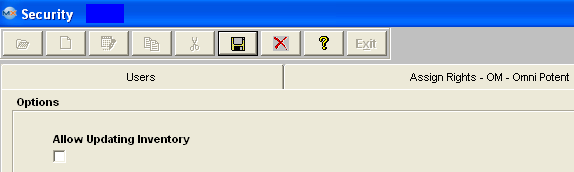
Checking the first box will allow this user to update the Standard Cost fields within the Inventory Control Management module and also within the Standard Cost Adjustment Management module. Checking the second box will allow this user to lock and unlock the inventory. Checking the third box will allow this user to check or uncheck the serial box. Checking the fourth box will allow this user to check or uncheck the location Auto create box.
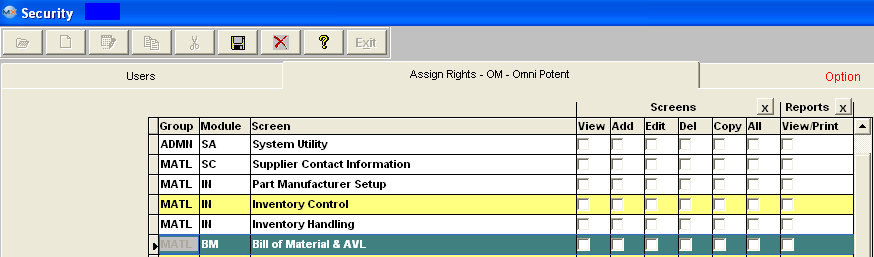
Highlight the Bill of Material & AVL line item as illustrated below:
Depress the Options tab and the following screen will appear: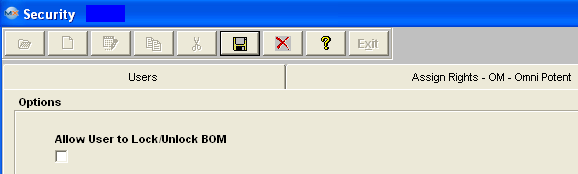
Check this box if you would like to allow this user to Lock or Unlock BOM.
Purchase Order Management
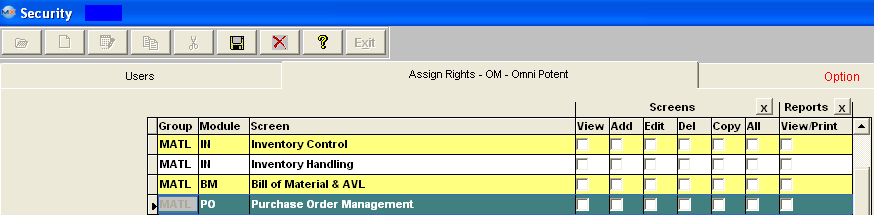
Highlight the Purchase Order Managment line item as illustrated below:
Depress the Options tab and the following screen will appear:
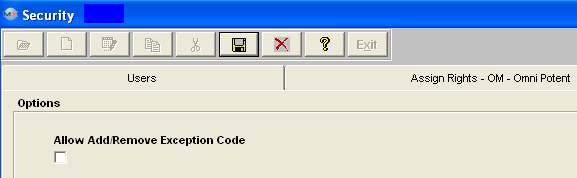
Check this box if you would like to allow this user to Add or Remove the Exception Code from PO.
PO & Dock ReceivingHighlight the PO & Dock Receiving line item as illustrated below:
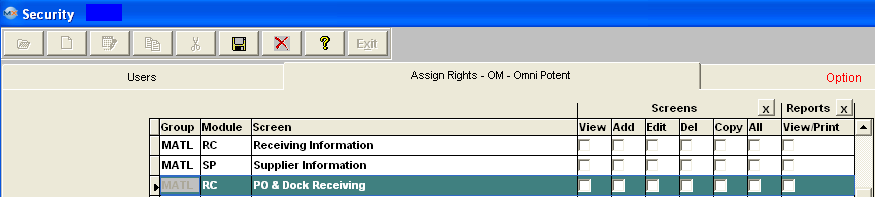
Depress the Options tab and the following screen will appear: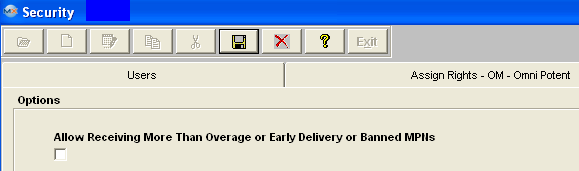
Check the box if you would like to allow this user to override the override percentage as entered in the Inventory Control Item Master, override the Early Delivery restriction setup in Purchase Setup and Banned/Blocked MPN's in the PO Receiving Module.
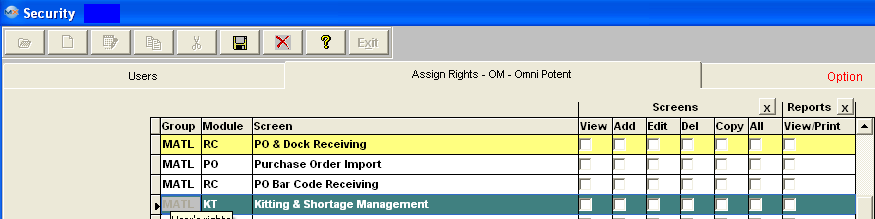
Kitting & Shortage Management
Highlight the Kitting and Shortage line item as illustrated below:
Depress the Options tab and the following screen will appear: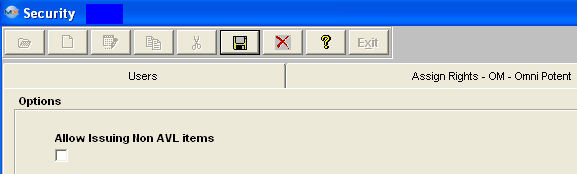
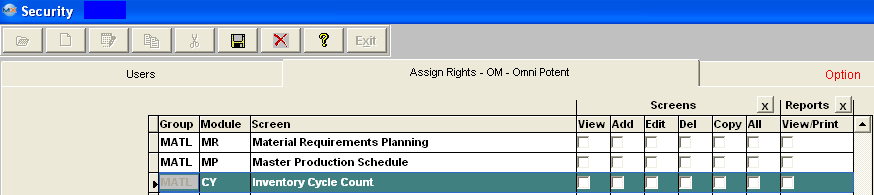
Check the box if you would like to allow this user to issue non AVL items.Highlight the Inventory Cycle Count line item as illustrated below:
Depress the Options tab and the following screen will appear: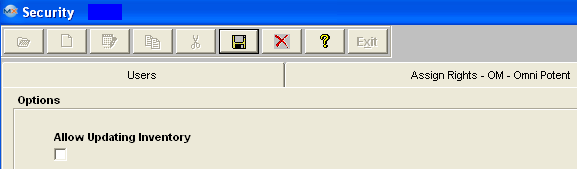
Check the box if you would like to allow this user to post any adjustments to inventory within the Cycle Count module.
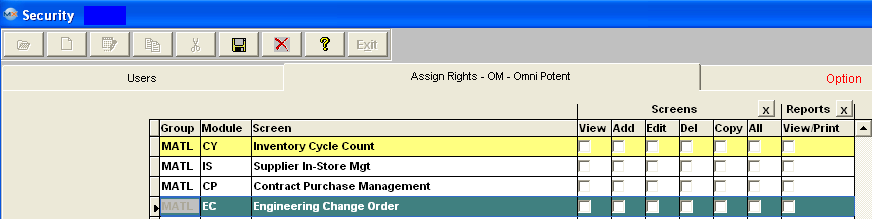
Highlight the Engineering Change Order line item as illustrated below:
Depress the Options tab and the following screen will appear: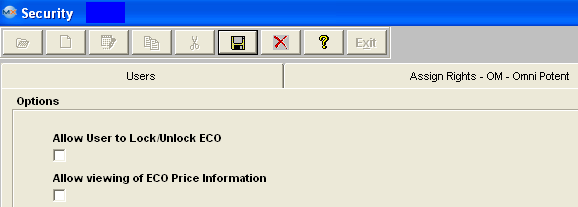
Checking the first box will allow this user to to Lock or Unlock an ECO. Checking the second box will allow this user to view the ECO Price information.
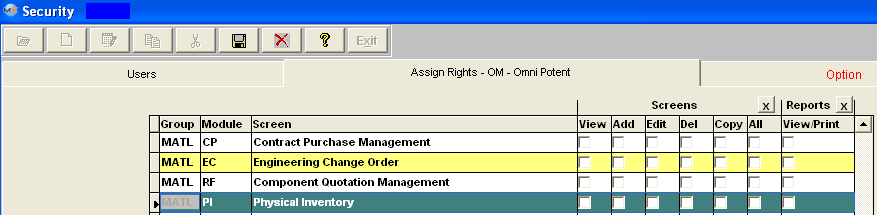
Physical Inventory
Highlight the Physical Inventory line item as illustrated below:
Depress the Options tab and the following screen will appear:
There are specialized procedures for the Physical Inventory module: The selection to post the Inventory adjustments requires either a Supervisor’s password or specific rights. Also, there is the option to print out the work sheet showing quantity. The specific rights are set up as follows:Checking the first box will allow this user to be able to update the inventory count.
Product Routing
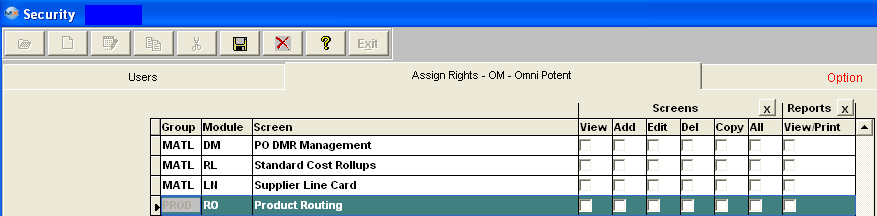
Highlight the Product Routing line item as illustrated below:
Depress the Options tab and the following screen will appear:
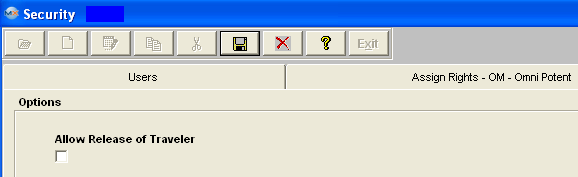
Check the box if you would like to allow this user to Release Traveler.
Product Data Management(PDM)
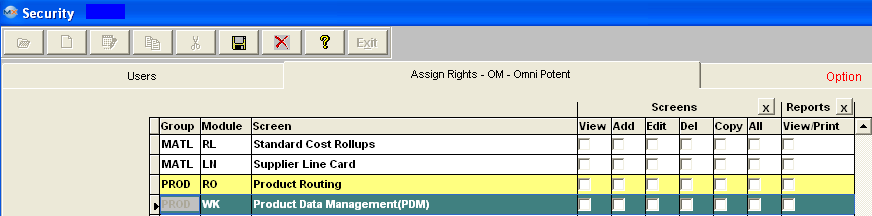
Highlight the Product Data Management(PDM) line item as illustrated below:
Depress the Options tab and the following screen will appear:
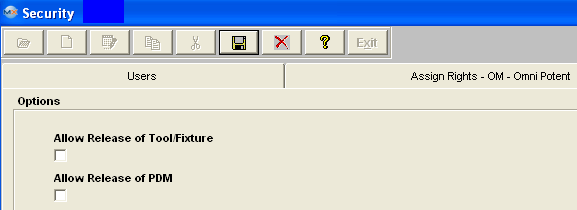
Checking the first box will allow this user to Release Tools and/or Fixtures. Checking the second box will allow this use to Release the PDM.
Work Order Shop Tracking or Bar Code Utilizations
Highlight the Work Order Shop Tracking item as illustrated below:
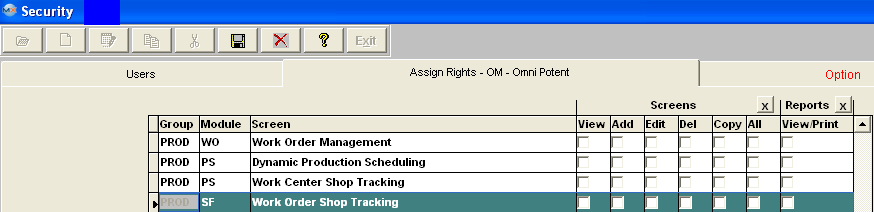
Depress the Options tab and the following screen will appear:
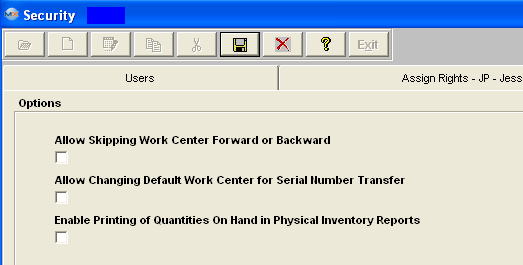
Checking the "Allow Skipping Work Center Forward or Backward" box will allow this user to skip Work Centers and move product Forward or Backward.
Checking the "Allow Changing Default Work Center for Serial Number Transfer" box will remove the restriction for this user and allow user to transfer serialized material from any Work Center with in "Shop Floor Tracking by Work Order" and "Shop Floor Tacking by Bar Code" modules, if a work station is restricted to a default work center in the Production Work Center/Activity Setup module. After a user with this options password is entered, the default work center will be changed to the one that this user entered password for. For Example: the workstation is assigned to use “TU” as default work center, now if this user chooses to use “AI” to transfer, the default work center will be changed to “AI”.
Checking the "Enable Printing of Quantities on Hand in Physical Inventory Reports" box will allow this user to be able to see the existing quantities on hand when printing the Physical Inventory reports. Note: This is NOT a recommended procedure. Usually you would want your counters NOT to know what’s expected. However, there may be occasions when the user wants a specific employee to have these. However, we stress that CAUTION must be exercised here.
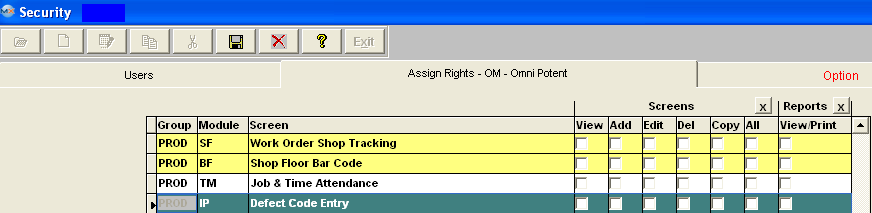
Shop Floor Bar Code
Highlight the Shop Floor Bar Code item as illustrated below:
Depress the Options tab and the following screen will appear:
Defect Code Entry In-Line Mode, the system will check to see if the serial number is currently in the Work Center which was set up in Systems Setup. If not, a special supervisor’s password is required to transfer the serial number FROM a different Work Center. After the supervisor password is entered, the system will use the new Work Center to be the default FROM Work Center until the user closes the screen. The next time the user opens the screen, the default FROM Work Center will be changed back to the one defined in Systems Setup.
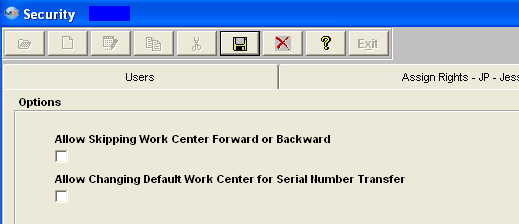
Checking the "Allow Skipping Work Center Forward or Backward" box will allow this user to skip Work Centers and move product Forward or Backward.
Checking the "Allow Changing Default Work Center for Serial Number Transfer" box will remove the restriction for this user and allow user to transfer serialized material from any Work Center with in "Shop Floor Tracking by Work Order" and "Shop Floor Tacking by Bar Code" modules, if a work station is restricted to a default work center in the Production Work Center/Activity Setup module. After a user with this options password is entered, the default work center will be changed to the one that this user entered password for. For Example: the workstation is assigned to use “TU” as default work center, now if this user chooses to use “AI” to transfer, the default work center will be changed to “AI”.
Highlight the Defect Code Entry line item as illustrated below:
Depress the Options tab and the following screen will appear: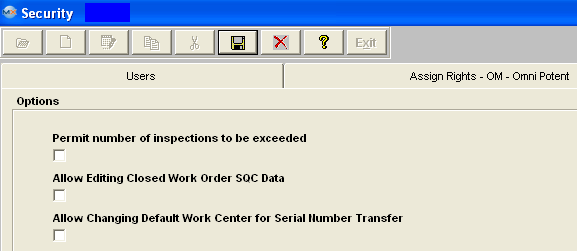
Checking the first box will allow this user to exceed the number of inspections defined in Quality Defect Codes setup module. There is a special right for “defect code entry” within the Shop Floor Tracking module. Checking the second box will allow this user to be able to edit “closed” Work Order SQC data.
Checking the third box will allow this user to change the default work centers for serial number transfer within the Work Order Traveler Setup module.
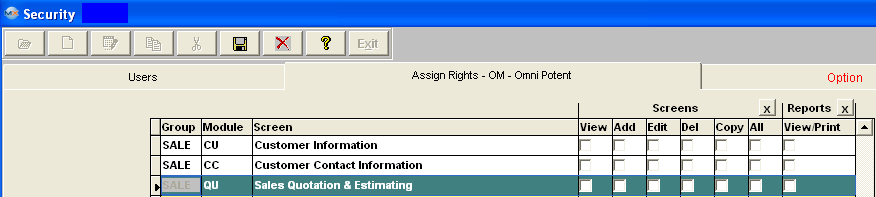
Sales Quotation and Estimating
Highlight the Sales Quotation & Estimating Line item as illustrated below:
Depress the Options tab and the following screen will appear: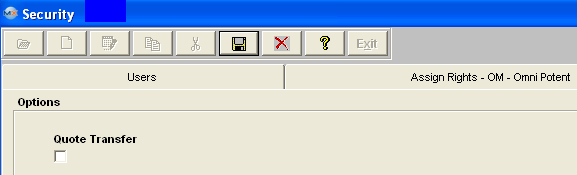
Check the box if you would like to allow this user to transfer the Sales Quotation data into the other applicable modules.Sales Order Management
Highlight the Sales Order Management line item as illustrated below:

Depress the Options tab and the following screen will appear: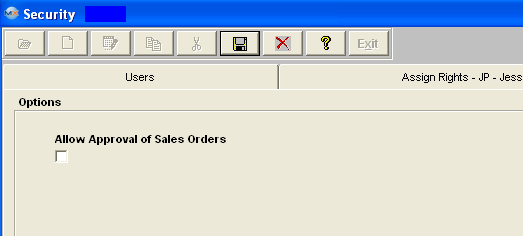
Check the first box if you would like to allow this user to Approve Sales Orders. Check the second box if you would like to allow this user to View Customer Credit Limit.Packing List
Highlight the Packing List line item as illustrated below:
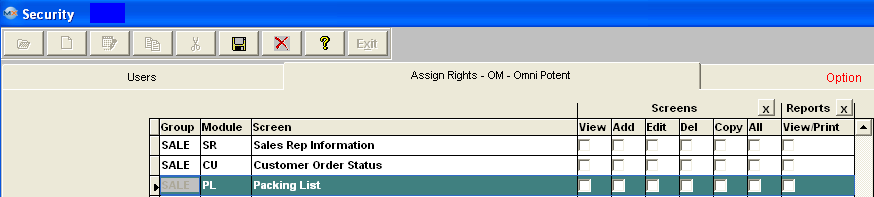
Depress the Options tab and the following screen will appear: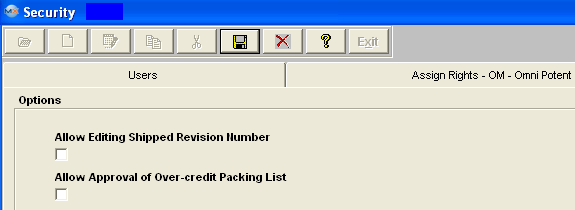
Checking the first box will allow this user to Edit a shipped revision number. Checking the second box will allow this user to Approve Over-credit Packing List.
|