This section covers the security setups to be used in all ManEx modules, excluding the Accounting modules. The security setup for the Accounting modules are done in the Accounts Access Level module.
The Security System Setup consists of setting up employees’ access capability. This information is used by the system as part of the security features within the ManEx program. With proper design, the administrator can secure individual modules as well as reports within those modules. Initially, when setting up new users, they will NOT have the ability to access any section of the program unless they are assigned rights or given supervisor access. If a user is given supervisor access, the rights tab is not available. In effect, a supervisor has full rights for the entire system, except for the accounting modules unless granted by and only by the Accounting System Supervisor. The same person cannot be a Supervisor and an Accounting Security Supervisor. A Supervisor cannot assign someone to be an Accounting Security Supervisor and cannot assign rights to any accounting screens. When modules are added to the initial system installation, you will need to give access to each of the users for the newly added modules or the modules will appear to be not installed or disabled.
Any individual user granted access to both areas (Accounting and Production) will have the same login screen, and will be able to open screens for both areas simultaneously without having to open a new ManEx License.
When ManEx is first installed at your facility, user access security database tables are empty, except for the original ManEx password. If you need assistance in obtaining this master password, please email support@manex.com. In ManEx, a user name and password is assigned to each user of the system. Whenever a user wishes to enter the ManEx program, they do so by clicking on the appropriate ICON and entering their password. The password they use at this point determines which modules are available to the individual user. Access to any ManEx module is granted only as defined in this module. An individual user may be able to view a module or not. If they can view it, they may be granted access to changes, updating, deleting, and/or creating new records.
Regardless of the access granted to the individual user signing on to ManEx, whenever a change in data is being entered (add a record, edit or delete a record), ManEx again asks for the user’s password. The purpose of password verification at this point is to ensure that whoever is using the system has access to the changes in the module. For example, user Jane may have signed onto ManEx, but has left her work area for a time, and user Joe wants to change some data. Joe must have the correct access for the changes he wishes to make, and it is his initials that are recorded on the transaction, not Jane’s. However, the system will not log Jane out and log Joe in, Joe may be logged into a different system but it will NOT require Joe to log out of that system before changing data (add a record, edit or delete a record), in Jane's system, but, only the modules accessible to Jane will be displayed. If Joe has access to other modules through his password that Jane doesn't, then Joe will have to exit ManEx and sign on again.
There are additional options available on some line items. For example, users who will be using ManEx to move material or transactions from the same location may have that department identified with their password. As an example, this may be useful when the user is moving material in the Shop Floor Tracking module from one department to another. If the user’s department name has been entered in the security section, then the Shop Floor Tracking module will default to that department as the department issuing the transaction. The user can change the department if necessary but is saved the step of constantly entering the same department for each transaction.For details regarding the Additional Options, please refer to the Options section.
Also, a “Home Screen” can be assigned to a specific user so that the preferred module will open once the user types in his/her password.
Please take time to think about how you want to use these passwords for maximum protection of your ManEx database. Some sample data is provided with this setup as a guideline.
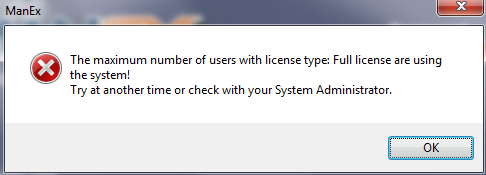
When login into ManEx desktop the system will check if enough license's is available for the next user to login, if there is enough the system will login the new user without logging out any users that have expired. If all the license's are taken then the system will remove any users that have expired from aspmnx_activeusers table, and those users will get a login form. If all license's are being used and there are none that have expired there time the following message will be displayed:
1.
|