| Add Information to the PDM Module |
|
To attach Related Documentation See Article #2396 . Once the information is loaded, the user may re-visit the Documentation in the PDM module and may also access the information from the Shop Floor Tracking Module.
See Article #3272 on how ManEx can help to simplify the process of identifying, tracking, and eliminating attrition and scrap.
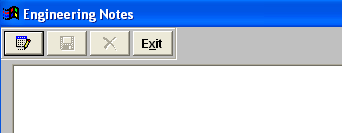
To add Engineering Notes or Production Feedback, depress the buttons, a blank screen will appear, type in the information, and depress the Save action button to save the changes or depress the Abandon changes action button to abandon changes.
|
 |
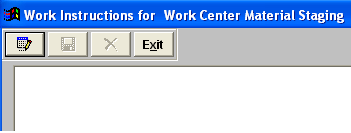
To view existing Instructions or add Work Instruction or Special Instructions, depress the buttons, a screen will appear, type in the information, and depress the Save action button to save the changes or depress the Abandon changes action button to abandon changes. To load PDF files depress the clipboard next to the Work Instruction or Special Instructions. This allows the user to load and give users access to whole textbooks from within ManEx. PDF files can be drawings, images, CAD files (as printed to a plotter) and multiple pages of mixed test and graphics. Users may also print these PDF files from ManEx. See Article #2823 for instructions on loading pdf files to the Work Instructions or Speical Instructions.
|
 |
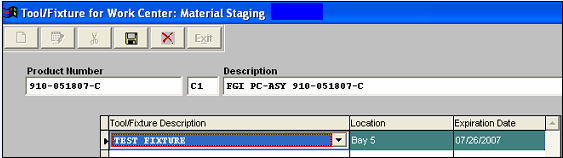
| Depress the Tool/Fixture button and this screen will appear: |
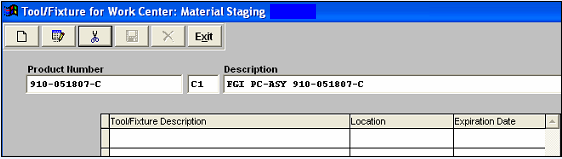 |
| Depress the Add action button. Select the Tool/Fixture from the pull down. |
 |
|
Enter the Location and Expiration Date. Depress the Save action button to save the changes or depress the Abandon changes action button to abandon changes
|
 |
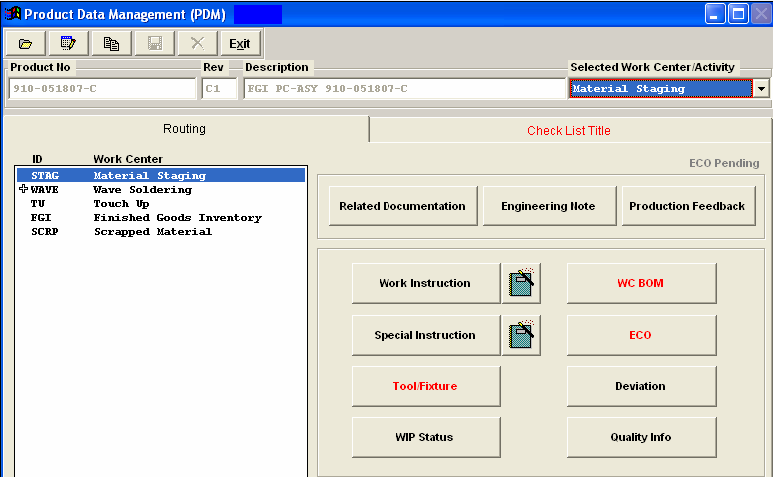
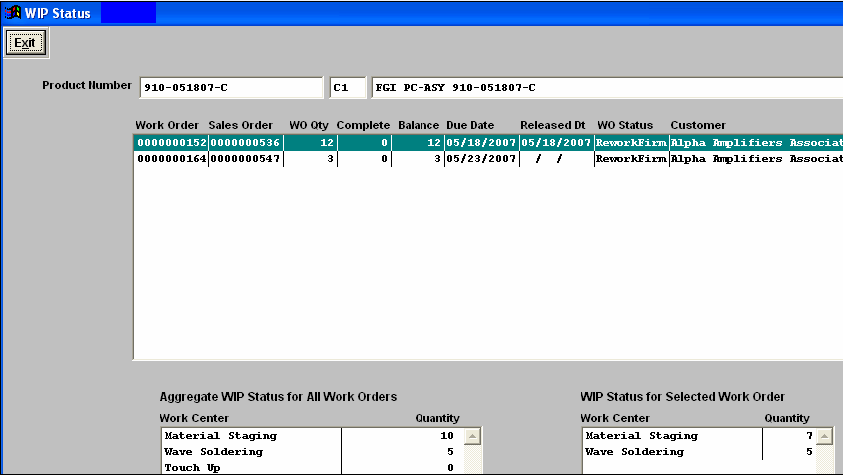
WIP Status - displays the WIP Status of all the open work orders for this product and displays where the quantities are in the shop floor.
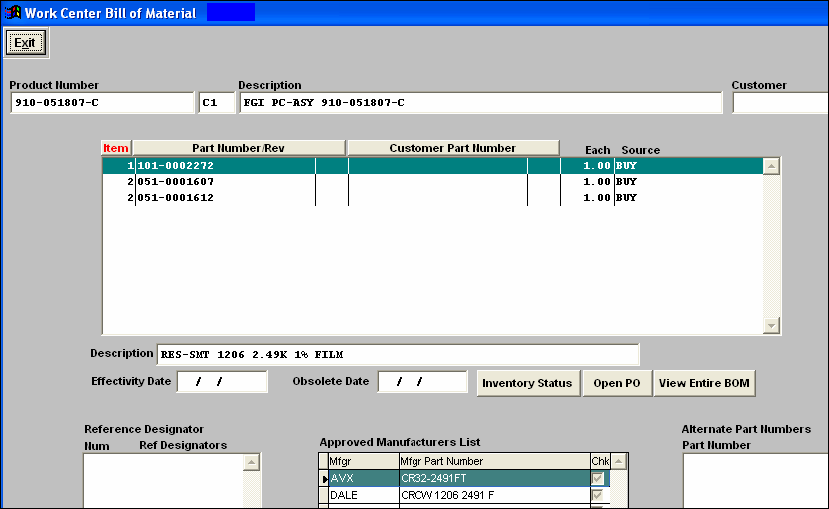
WC BOM - The part numbers that are assigned to that specific Work Center within the BOM module will be listed within this screen.
 |
Depressing the “View Entire BOM” button will then display all parts listed on that BOM regardless of the Work Center. If there is a customer part number linked to the highlighted number in the main grid, then the Customer Part number information will be displayed. The Reference Designators will be listed for the highlighted part number, which is pulled forward from the BOM module. All AVL information will be displayed in the Approved Manufacturer list, and the system will show the approved AVL’s with a check mark next to it (same as in the BOM module) Alternate Part Number section will list any Alternate part numbers that were selected within the BOM module.
|
 |
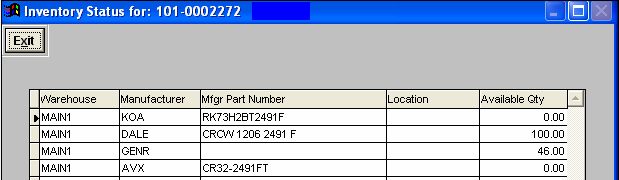
Depress the “Inventory Status” button, the following screen will be display Available Inventory information for the highlighted part number. EXIT will bring you back to the previous screen.
|
 |
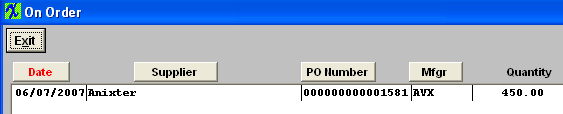
Depress the “Open PO” button. The following screen will display all open Purchase Orders and their Balance Quantities for the highlighted part number. Exit will bring you back to the previous screen. |
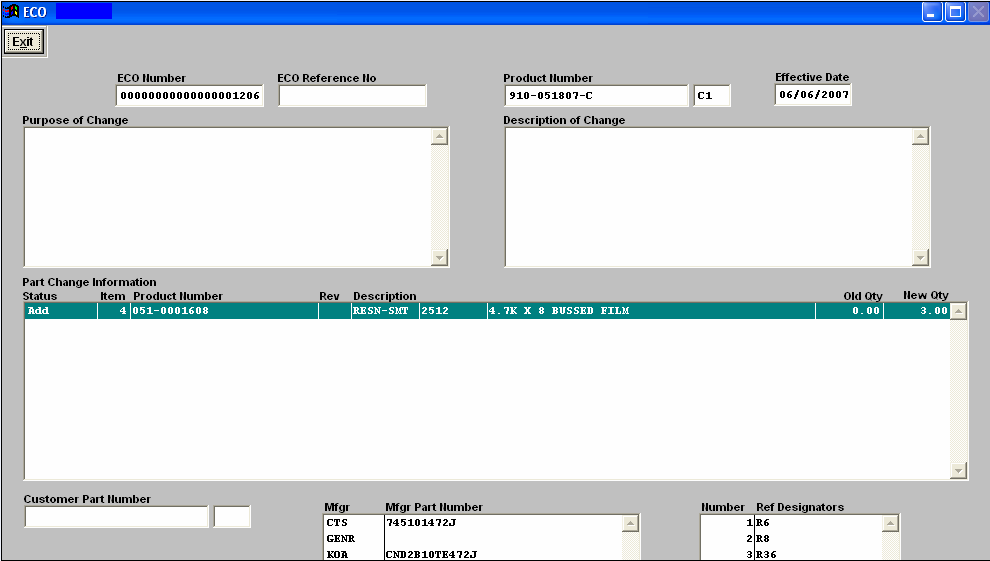
ECO - All of this information is carried forward from the ECO Control Management module. If the highlighted part number within the Part Change Information section was added as a Consigned item, then the associated Customer Part Number information will populate the field. EXIT will bring you back to the Product Data Management module.
Deviation - All of this information is carried forward from the ECO Control Management module. If the highlighted part number within the Part Change Information section was added as a Consigned item, then the associated Customer Part Number information will populate the field. EXIT will bring you back to the Product Data Management module.
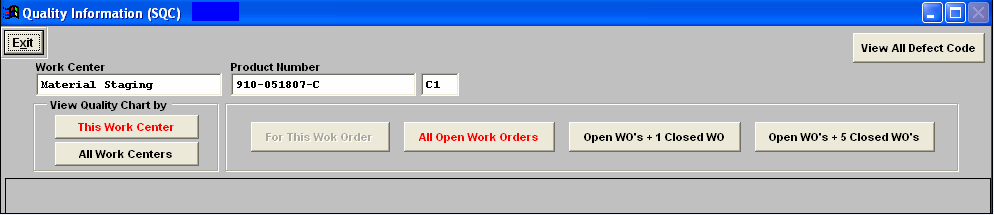
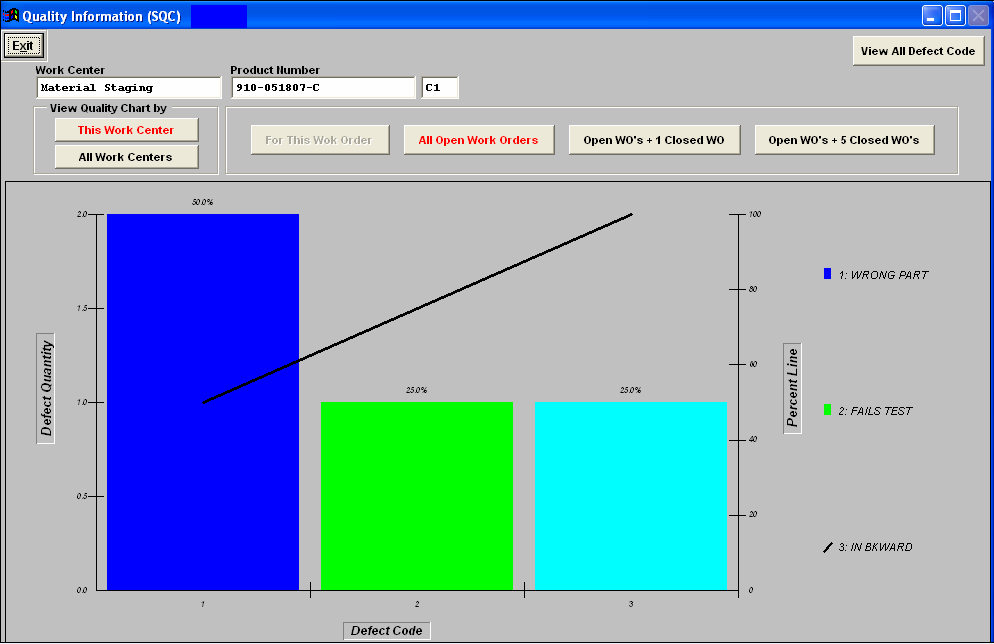
Quality Info - This screen will display Quality information for the Product that is displayed for the selected work center.
| If the highlighted work center has had not Inspection information entered against it, then the following message will be displayed |
|
Once you depress the OK button the following screen will be displayed. You can then change the selections to view All Work Centers if need.
If there has been Inspection information entered for the highlighted work center then the following screen will be displayed. The Quality information displayed on screen will appropriately update as the user selects the desired button selections. Exit will bring you back to the Product Data Management Module.
 |
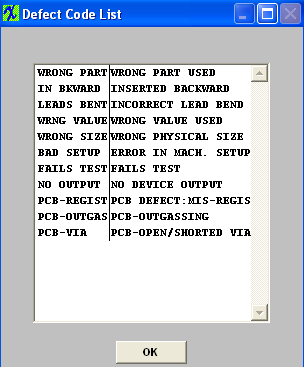
Depressing this button will display the following screen. Which is just there for reference for the users to use, just in case they do not recall what the displayed Defect Code stands for on the previous screen. |
 |
|
|
|
|
|
|
|
|
|
| Article ID: 2818 |