ArticlesArticles Most Helpful ArticlesMost Helpful Articles Language SettingsLanguage Settings LoginLogin
RSS Feeds
DrillDown Icon Table of Contents Back
 . . . . . . . . . . . . .
DrillDown Icon System Administrator
DrillDown Icon Security System
DrillDown Icon Trigger Setup
DrillDown Icon System Setup
DrillDown Icon Quick Start
DrillDown Icon Operations Manuals
DrillDown Icon Utility
DrillDown Icon Sales Management
DrillDown Icon Sales Order Mgmt
DrillDown Icon RMA Management
DrillDown Icon Sales Price List Information
DrillDown Icon Order Configurator (OPTIONAL Module)
DrillDown Icon Prerequisites
DrillDown Icon Introduction
DrillDown Icon Fields & Definitions
DrillDown Icon How To .....
DrillDown Icon Adding a New Prospect Customer
DrillDown Icon Add/Edit Order Configuration Setup
DrillDown Icon Finding an Order Configuration
DrillDown Icon Adding a New Order Configuration
DrillDown Icon Adding Configurations To Sales Orders
DrillDown Icon Creating a Packing List for Configuration Sales order
DrillDown Icon Invoicing for a Configuration Sales Order
DrillDown Icon Customer Quotations (OPTIONAL Module)
DrillDown Icon Customer Information (CI)
DrillDown Icon Sales Representitive Information (SR)
DrillDown Icon Inventory Management
DrillDown Icon Material Planning
DrillDown Icon Production
DrillDown Icon Quality/Engineering
DrillDown Icon Administration
DrillDown Icon eManEx
DrillDown Icon ManEx Minutes for All Modules
DrillDown Icon Accounting Manuals
DrillDown Icon System Utilities
DrillDown Icon Definitions
  Email This ArticlePrint PreviewPrint Current Article and All Sub-Articles
 
Adding a New Prospect Customer


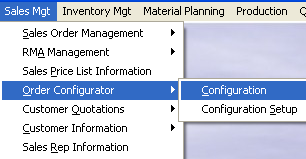
Enter Sales Mgt/Order Configurator/Configuration  

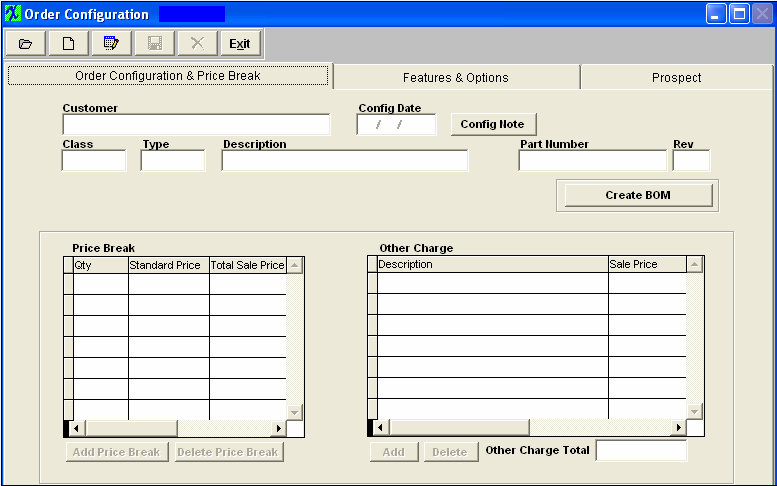
The following screen will appear:

Depress the Prospect Tab. Depress the Add button.  Enter your password. 
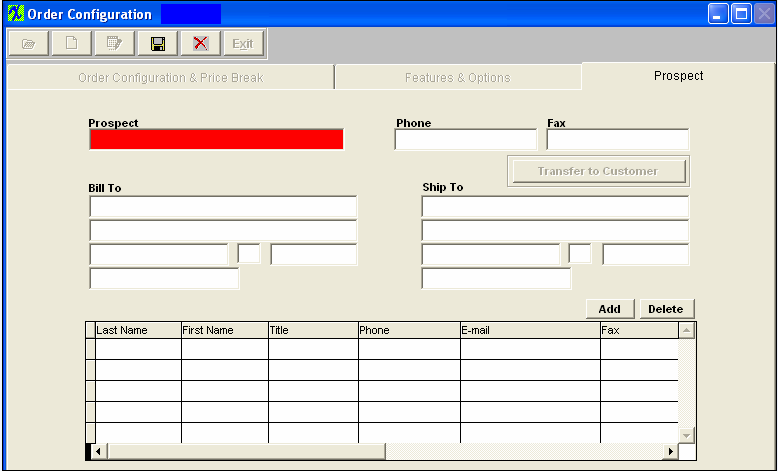
Type in the Prospect name, Phone number and Fax number.  Type in the Bill To and Ship to addresses.

Depress the Add button in the middle of the screen to enter the customer contact.

Depress the Save Action button.
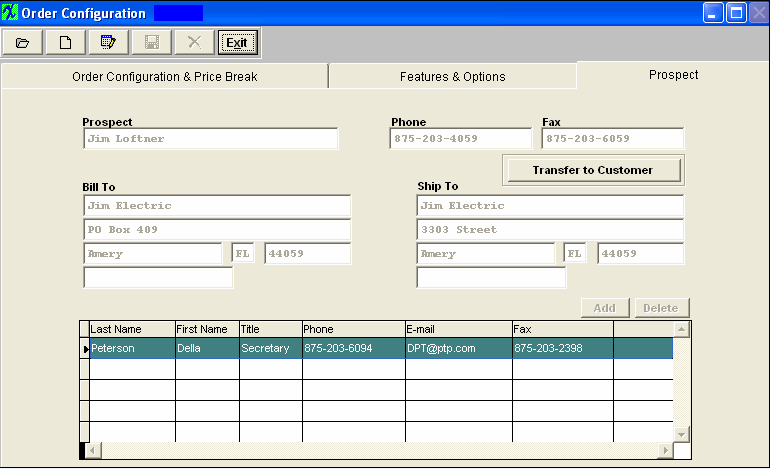
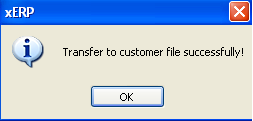
Depress the Transfer to Customer button to forward the Prospect information into the customer tables.  The following message will appear:
Note:If you set up the customer in this way, you will still have to go into the Customer Information module to set up FOB, Ship Via, Ship Charge, Account Number, Transit Days, Delivery Time, Sales Tax, Shipping Charge Tax, Territory, Sales Discount Type, Reseller Number, Terms, Credit Status, Credit Limit, Shipping Instructions and Profile.


Article ID: 2541