| Enter Material Planning/Master Production Schedule (MPS) & Forecast/Forecast |
 |
The following screen will appear:

|
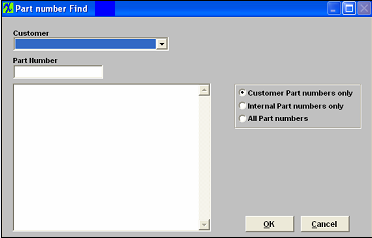
Depress the Add a record action button. The following screen will appear. Select a Customer from the dropdown list.
|
 |
|
Once a Customer is selected, the user may view a list of part CUSTOMER numbers for the chosen customer, or…
Choose from a list of INTERNAL part numbers associated with the chosen customer, or…
Choose from a list of ALL part numbers in the database.
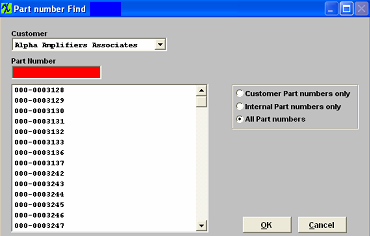
Using the Highlighted RED box, the user may type in a part number, and the dropdown list will move to show the information typed.
When the Customer and Part number are identified, depress the OK button.
|
 |
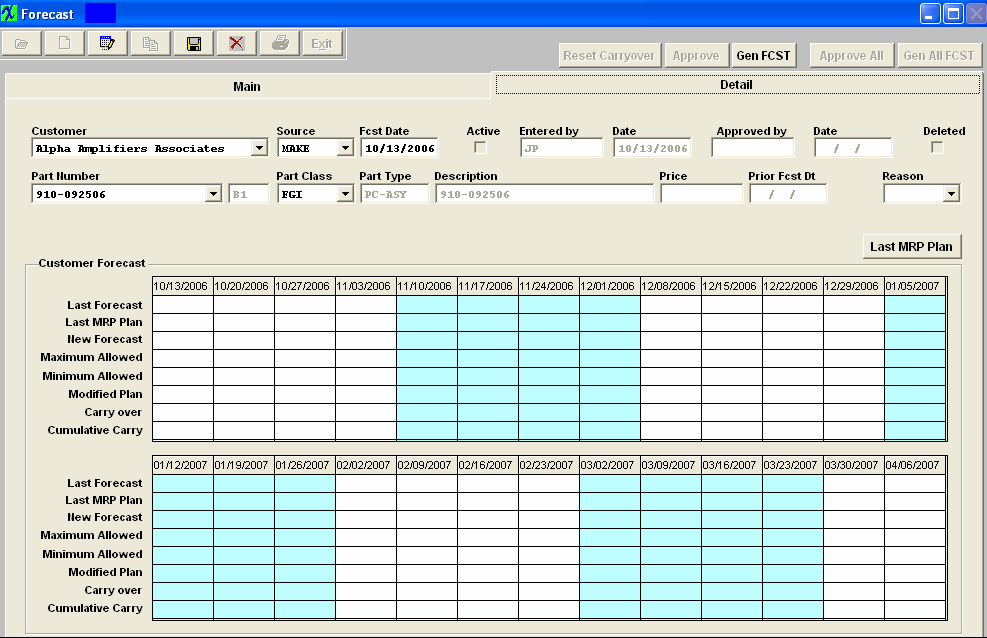
Go to the Detail Tab Screen. The header information will deafult in;

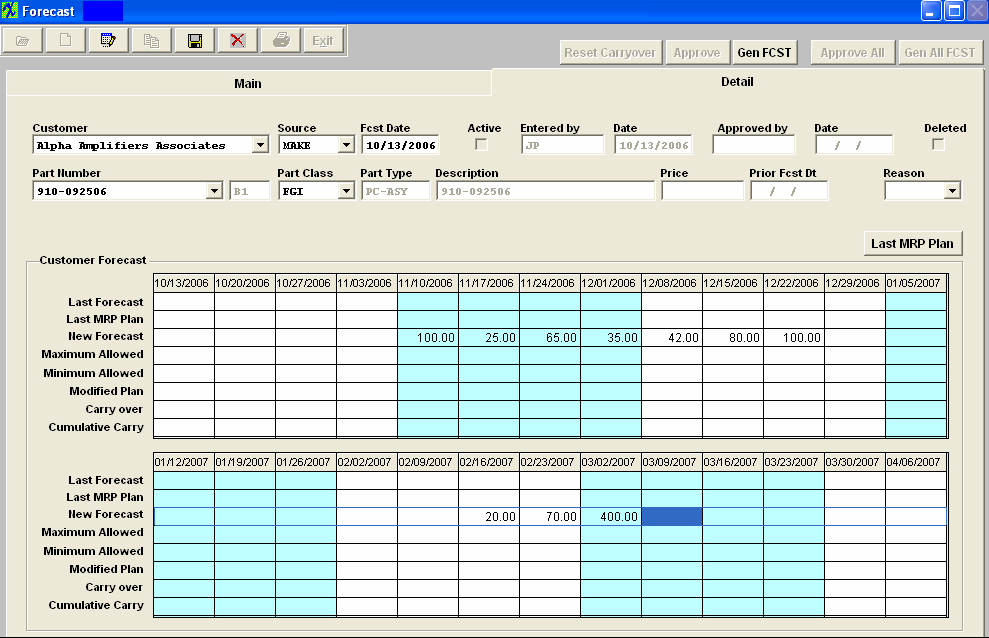
Enter in the new forecast;

Once the forecast is entered, the User should save the information by depressing the Save record action button, and/or depress the GenFCST button to extend the Original forecast to the Planned Forecast, based on the system setup for the customer.
The user may also approve the forecast, if they have the authority. If the Forecast Setup indicates that approval is NOT required, the Approval button will be inactive, and saving the forecast will automatically make it active.
|