| Enter Sales Mgt/RMA Management/RMA Management Module |
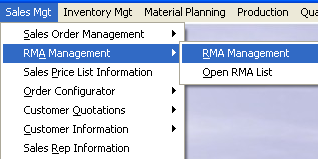 |
The following screen will appear:
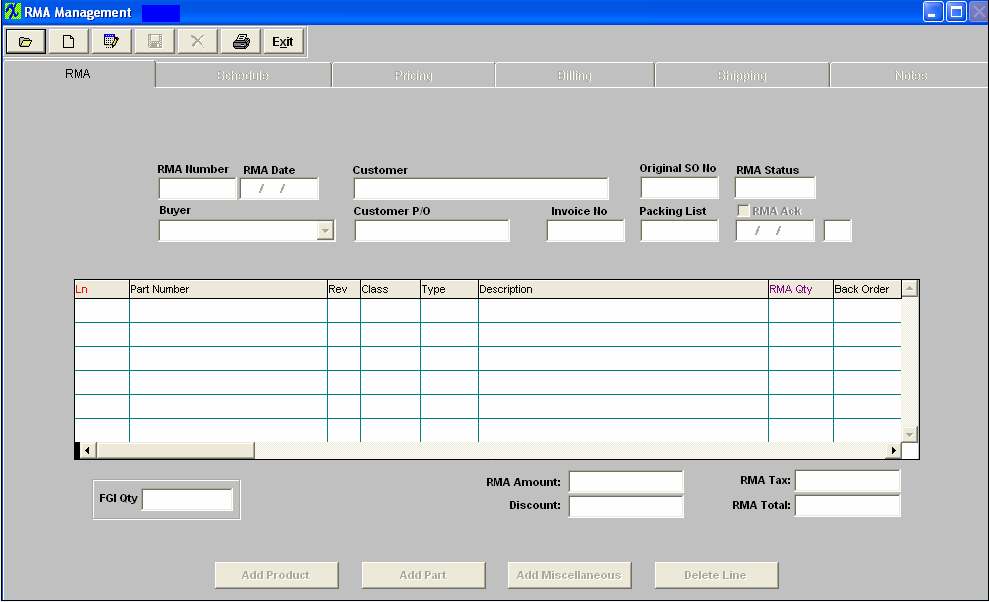
|
Depress the Add button. You will be prompted for your password. The following screen will appear:
Choose to create a Standard RMA or Stand-alone RMA.
|
 |
|
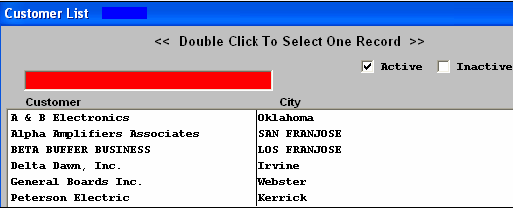
If you select to create a Stand-alone RMA the following Screen will appear:
Type the Customer name into the red box or highlight your selection and double click.
|
 |
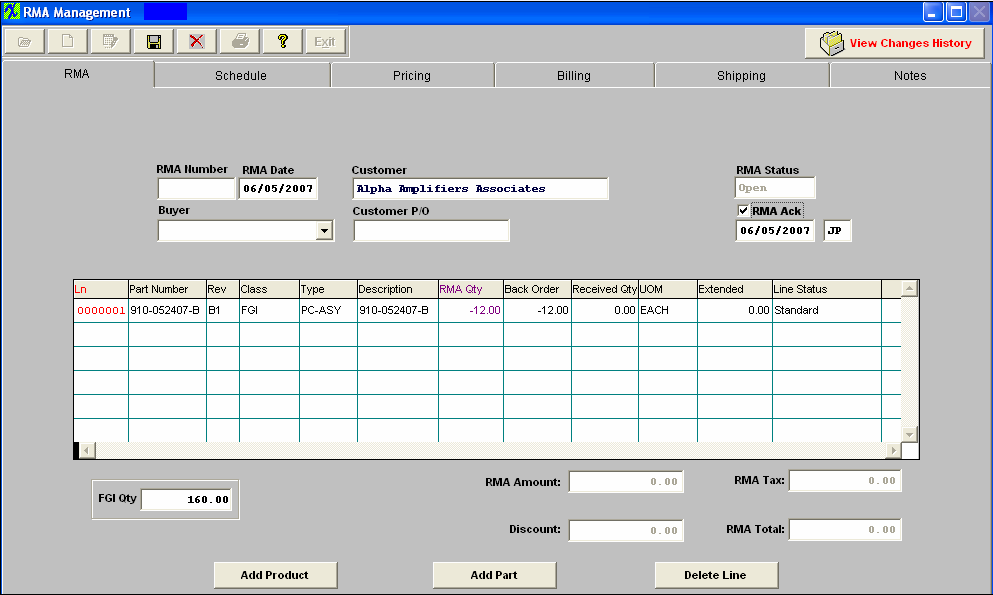
Once you’ve made your selection, the original information will populate the screen, as displayed below:
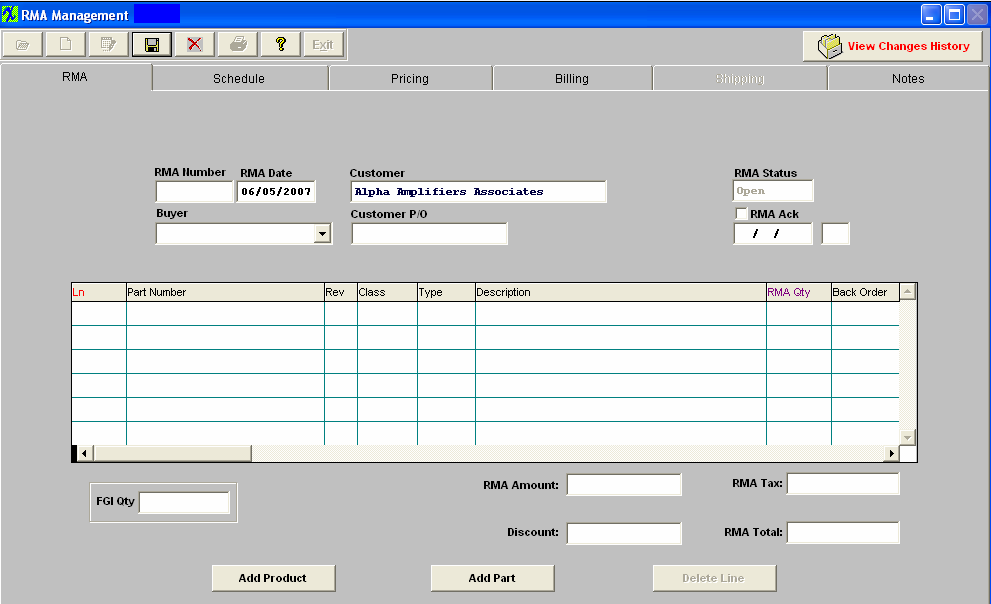
Click on the RMA Ack box, to acknowledge the RMA. The date and your initials will appear.
Depress one of the two buttons at the bottom of the screen, Add Product, or Add Part.
Add Product, or Add Part.
|
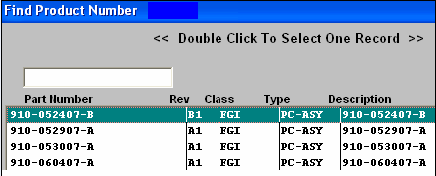
If you depress the Add Product button, a list of all of the products will appear, as displayed:
The product numbers displayed are either only for "Standard Price", or the customers that are added into the customer list in the Sales Price List module.
Type the Product Number into the red box or highlight your selection and double click.
If you selected Add Part, the same type of selection procedure will take place.
|
 |
Type the RMA quantity in a negative amount into the column.

|
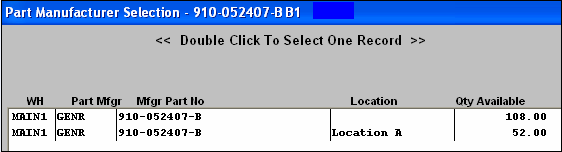
If there are multiple manufacturers or locations for the part in the Inventory Control Quantity Info tab, the following selection list will appear:
Highlight the warehouse location and double click.
|
 |
The completed screen will appear as follows:
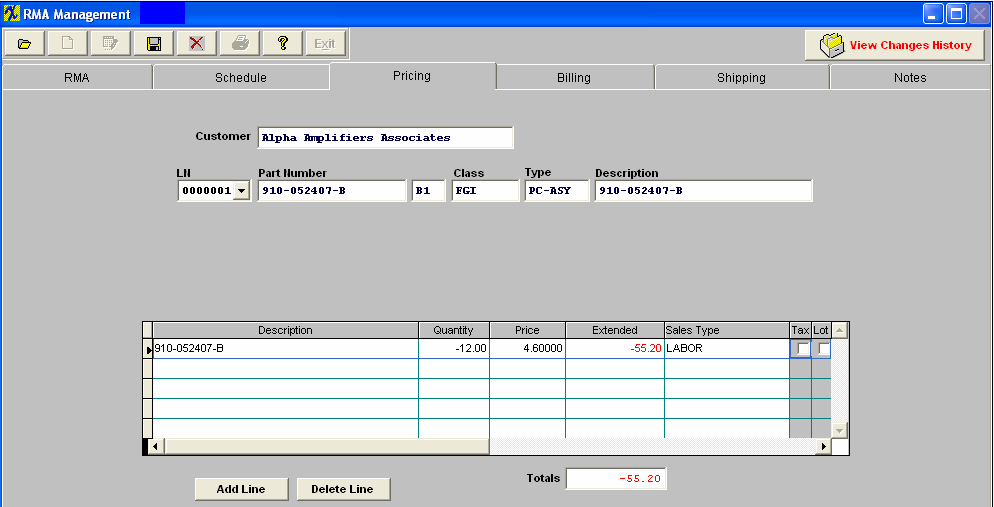
Depress the Pricing Tab. The following screen will appear:
There are three options on pricing.
1. The user may enter zero for both the return and the re-work. For further detail on how this affects the GL accounts see Article #3397 .
2. The user may enter full price for both the return and re-work. For further detail on how this affects the GL accounts see Article #3396 .
3. The user may enter zero on the return and a dollar amount for the re-work.
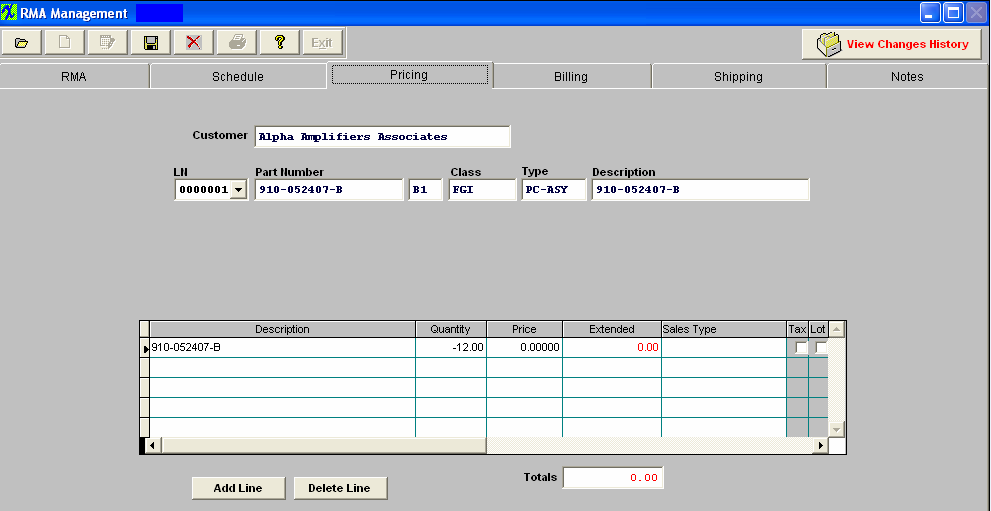
Enter the Price per unit in the Price column. The Extension column will update automatically, and will display as a negative.
|
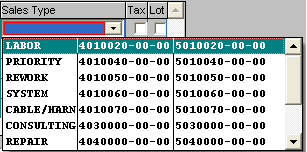
Go to the Sales Type column, depress the Enter key. A list of Sales Types will appear:
Select the Sales Type you wish to use for the Credit Memo.
|
 |
The completed screen will appear as follows:
If you are NOT going to re-work or replace the order, depress the Save button and Exit the module. If you are going to re-work or replace the order, refer to Add a Re-Work/Replacement procedures below:
Add a Rework/Replacement
RMA Tab
While the RMA order is still open, depress the RMA tab. Depress one of the following buttons: Add Product, or Add Part.
|
If you depress the Add Product button, the following screen will appear:
Type in the Part Number or highlight your selection and double click. The Product will populate the screen.
If you selected Add Part, the same type of selection procedure will take place.
|
|
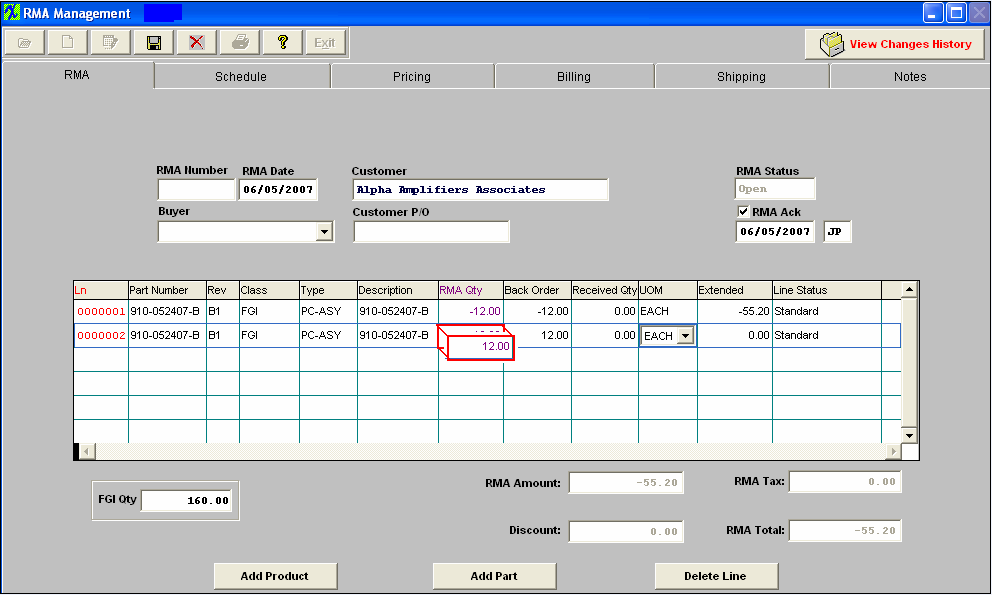
Type the RMA quantity being re-worked or replaced in a positve amount into the column.
|
The part manufacturer screen will display if there is more than one manufacturer or location assigned to the product in the Inventory Control Quantity Info screen.
Highlight the appropriate line and double click.
|
|
|
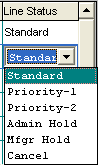
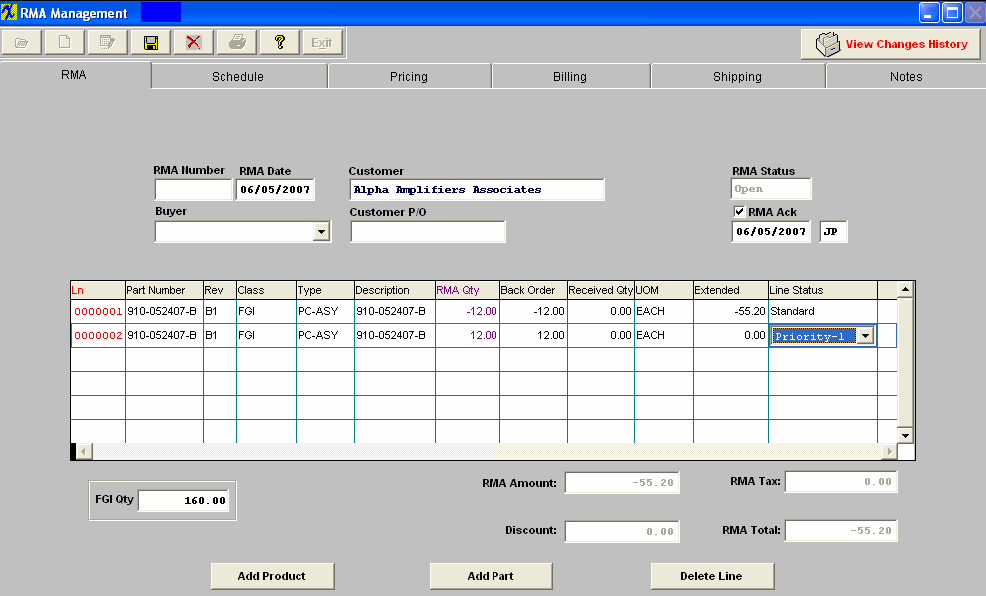
If you want to accelerate the re-work or replacement with a higher priority than standard, go to the Line Status column and depress the Enter key. The following selection will appear:
Select the appropriate priority for the re-work/replacement.
|
 |
The completed screen will appear as follows:
Schedule Tab
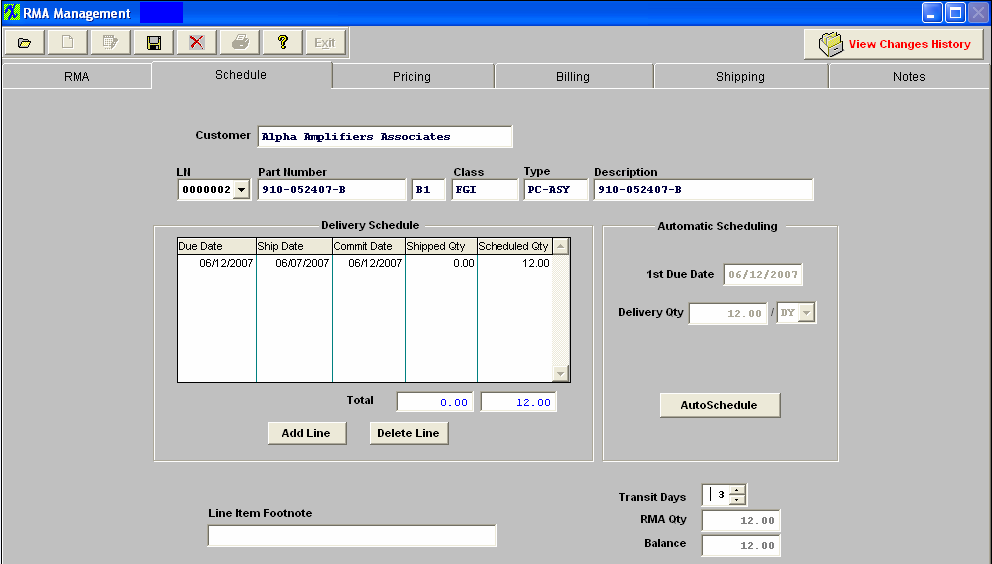
Depress the schedule tab.The following screen will appear:
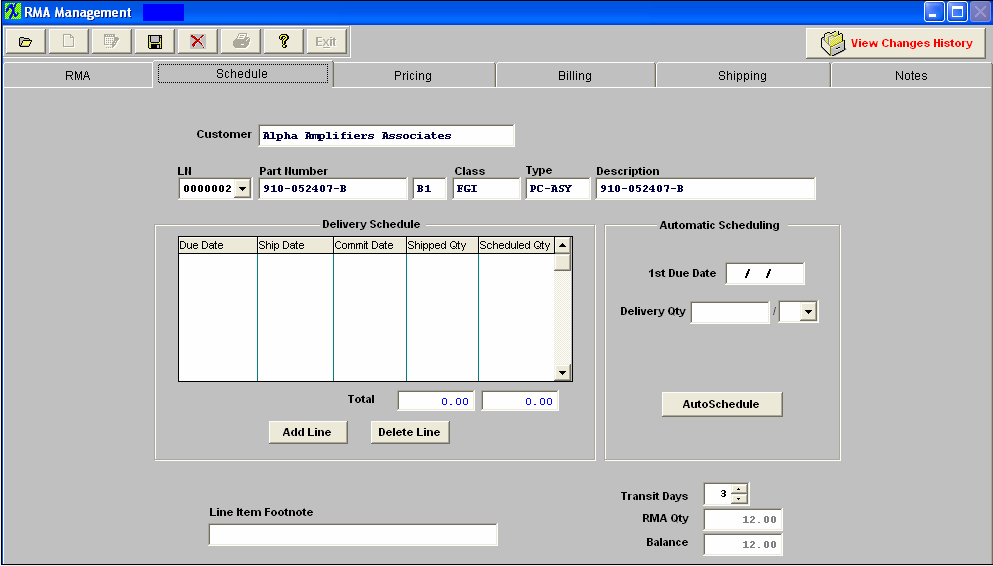
There are two modes available for completing a scheduled delivery for a product: Automatic and Manual. In the Automatic mode, ManEx will take a beginning date and a quantity to be delivered each period (Days, Weeks or Months) and schedule out the delivery.
The following activities are available:
Sales Order Line number: Select the line number using the down arrow. Be sure that you’ve selected the line number which pertains to the re-work/replacement.
|
Automatic Scheduling. Pressing this button enables the scheduling box and places the scheduled date in the 1st Due Date box. The user may establish a default number of days from the current date in the System Setup. The user can then use that date, or enter the first (beginning delivery) date the customer expects to receive the order. The Delivery Qty screen allows the user to divide the shipment into multiple deliveries of equal parts. For example, if the order is for a total of 100 pieces, and the customer wishes delivery to be at the rate of 10 units each day, then the delivery quantity should be entered as 10. The next box allows the user to select the delivery intervals. The options are by day (DY), week (WK) or month (MO).
After selecting the delivery interval, pressing the SAVE button creates a line for each delivery date in the sequence requested.
|
 |
|
In this screen, the user may further edit, delete or add lines.
Manual Scheduling. Pressing the Add Line button enables the delivery schedule box and places the cursor in the Due Date box. The user can then enter the first (beginning delivery) date the customer expects to receive the replacement.Next, the Ship Date (the date the order is to leave the user’s dock) will be entered by ManEx based on the transit days entered. This date can then be modified by the user if a different date is desired. Then the scheduled quantity is entered.The Shipped quantity will be completed by ManEx when the line has material shipped against it. Additional lines may be added or deleted by pressing the appropriate button. The total number of units scheduled will be displayed at the bottom of the box, so the user can verify all units have been scheduled.
|
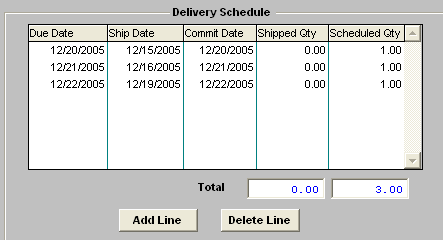 |
A Line Item Footnote may be entered for comments on the delivery schedule for reference.
The completed screen will appear as follows:
Pricing Tab
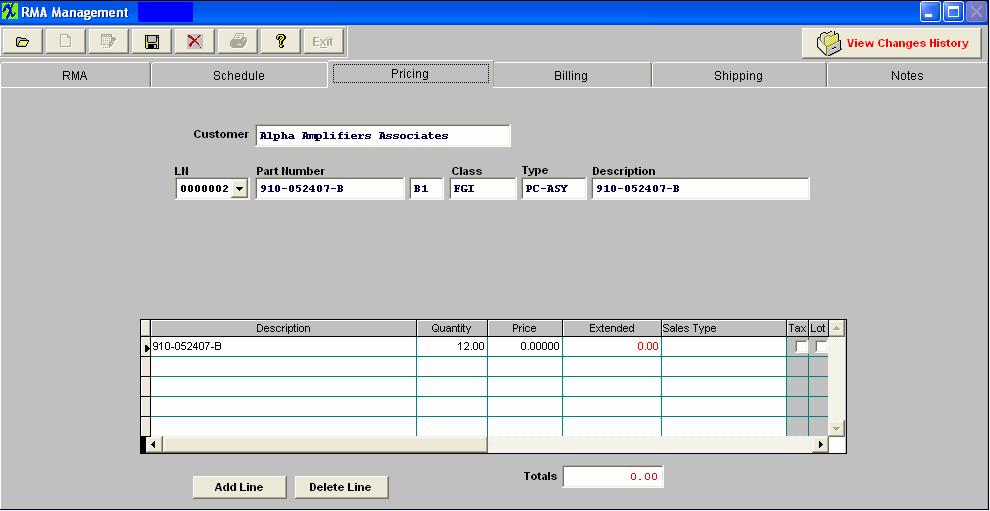
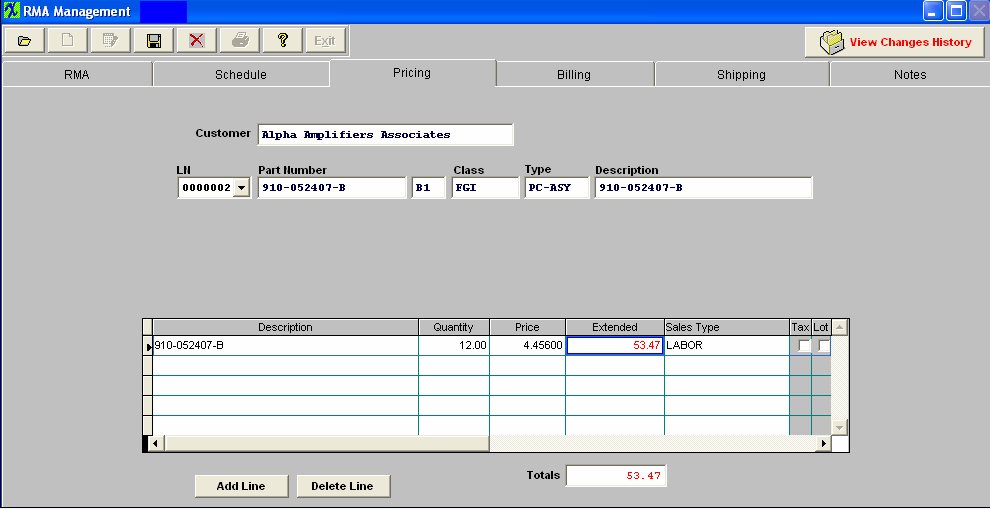
Depress the Pricing tab. The following screen will display:
Then the unit price for the product can be entered. Once entered, the extended price field is completed.
|
Place the cursor in the Sales Type column and depress the Enter key. The following selection will appear:
Select the appropriate sales type.
The user may select if the unit is taxable by clicking on the Tax box on the right side of the screen.
For Sales Order Items with no Tax, leave the Tax box unchecked. No further action is required.
|
|
To Manually add Tax (if not set up in Customer Information), enter line item and then in Pricing Screen click on Add Line and enter description of Sales Tax and Tax Amount manually. A Sales Type for the appropriate Tax G/L number should be setup in Accounting so that it can be selected when entering the Sales Tax manually. The full amount of the Tax will be Invoiced upon shipment of the first item so using manual sales tax entries may not be useful for shipments with multiple shipments against the same line item.
Checking the Tax box in Sales Order Pricing will not calculate or add Tax for a line item unless the Shipping Address for the particular Customer selected in the Sales Order Header has been set up. Shipping Address Tax Setup is done in the Tax and Shipping Mode screen under the Ship To tab in the Customer Information Module.
Adding a Sales Tax or a Shipping Charge Tax in Customer Information requires that those items added be entered in System Setup under Sales Tax Authority Table.
If a particular Customer Ship To Address has more than one Tax (such as a Sales, Use, Excise, etc. tax), then the taxes may be entered in System Setup individually and added individually to the appropriate Customer Ship To addresses.
If there is more than one Tax setup for a Customer Ship To Address, Manex will add up the tax rates and apply the combined percentage to the pre-tax line item total.
If the user has completed the Pricing Screen for the product, then the pricing will be automatically entered.
Clicking on the Add Line button allows the user to enter additional charges for the product. These charges may carry a different unit price, and may be of any description.
As the information is completed, the total cost for the line item is carried to the bottom of the box, to be validated with the customer’s purchase order.
If a price is to be assessed as a lot charge rather than as a cost per unit charge, then the user may check (by clicking) the Lot box at the right of the screen. This will take the unit cost as a lot charge for the item without extending the units by the price. This may be used if a flat fee is charged for a number of parts.
A Non-inventory line added on this screen will be invoiced on the first shipment made for this sales order.
The completed screen will appear as follows:
Billing Tab
Clicking on the Billing screen tab brings up the following:
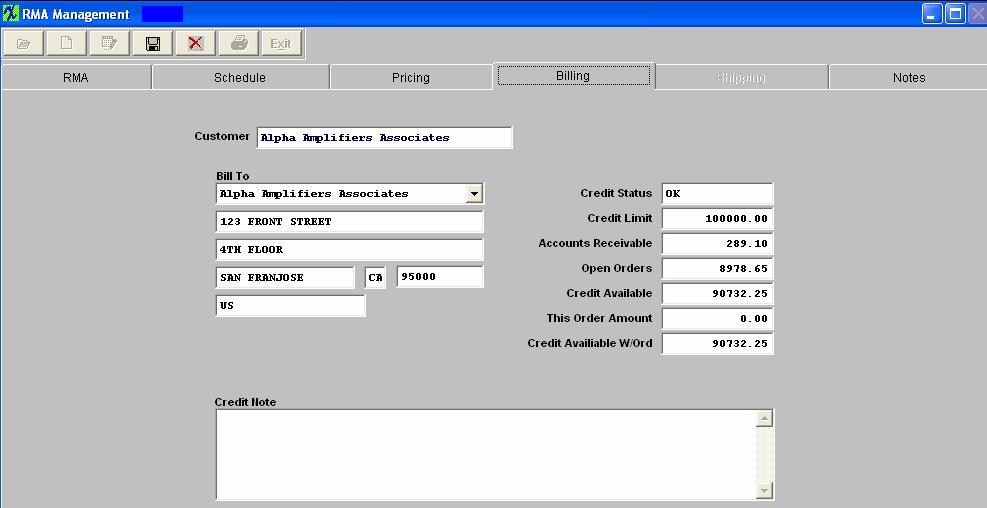
In this screen, a Bill-to address will be completed with the default address established in the Customer setup. The Bill-to address also may be selected from any other addresses entered in the Customer setup.The first prompt is to enter the Bill-to address. The user may accept the default address, or select from any address established in the Customer Module. All address information in the set up will be displayed when the down-arrow is pressed at the right side of the field:
After selecting the appropriate bill-to address, the information fields on the screen are populated with the correct data.
Shipping Tab
Clicking on the Shipping screen tab brings up the following:
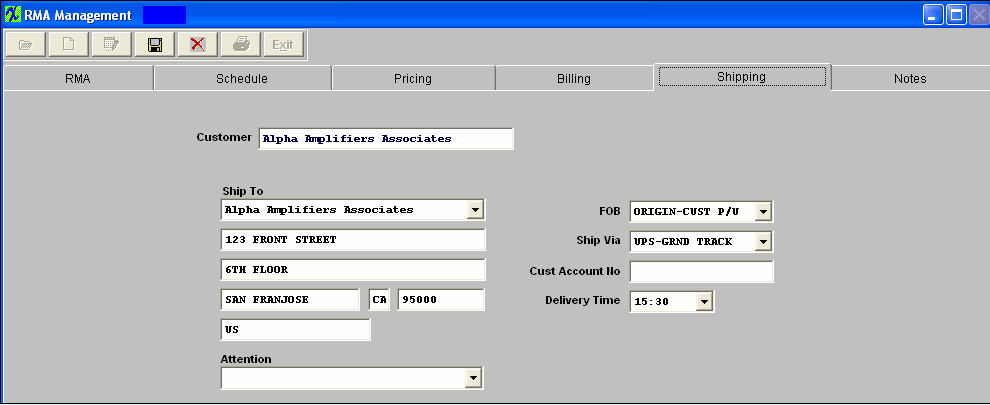
As in the Billing screen, the user may select from established ship-to addresses by pressing on the down-arrow at the right of the first field:
Once the ship-to address is established, the address fields are populated from the Customer file. In addition to the address, the FOB, Ship Via, Customer Account and Delivery Time are also populated from the Customer File, if they were completed there. If not, or the user wishes to change them, the user may select the appropriate response by clicking on the down-arrow next to the field, and viewing choices set up in the System Setup module.
Notes Tab
In the last screen, the NOTES screen, provisions are made to establish RMA Notes, and RMA Acknowledgement notes. These notes are available in their respective sections.
The RMA Acknowledgement Footnote will appear on the Acknowledgement printout.
Note that when any note is entered on this screen, the screen tab NOTES turns red to indicate there is data in the notes.
Depress the Save button.
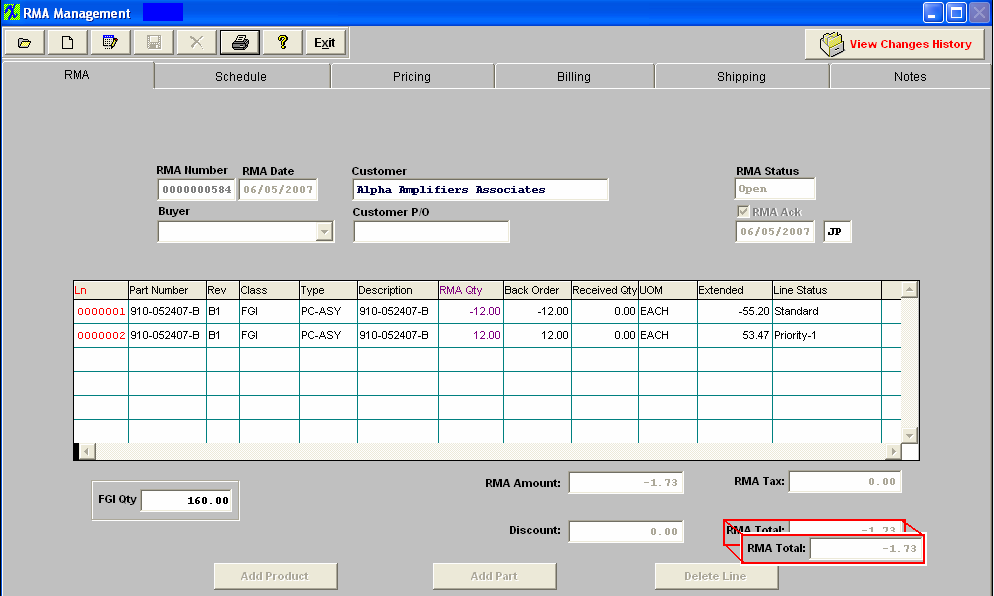
Note that the RMA Total in the RMA tab will update for the net difference between the material to be returned and the material to be re-worked/replaced, as illustrated below:
|