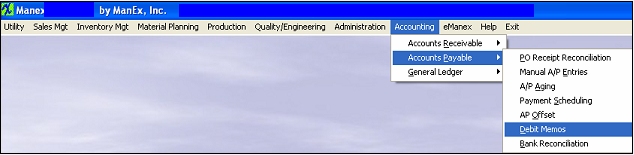
| Depress the down arrow next to the Supplier Name field. A list of suppliers will appear: |
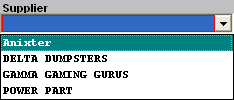 |
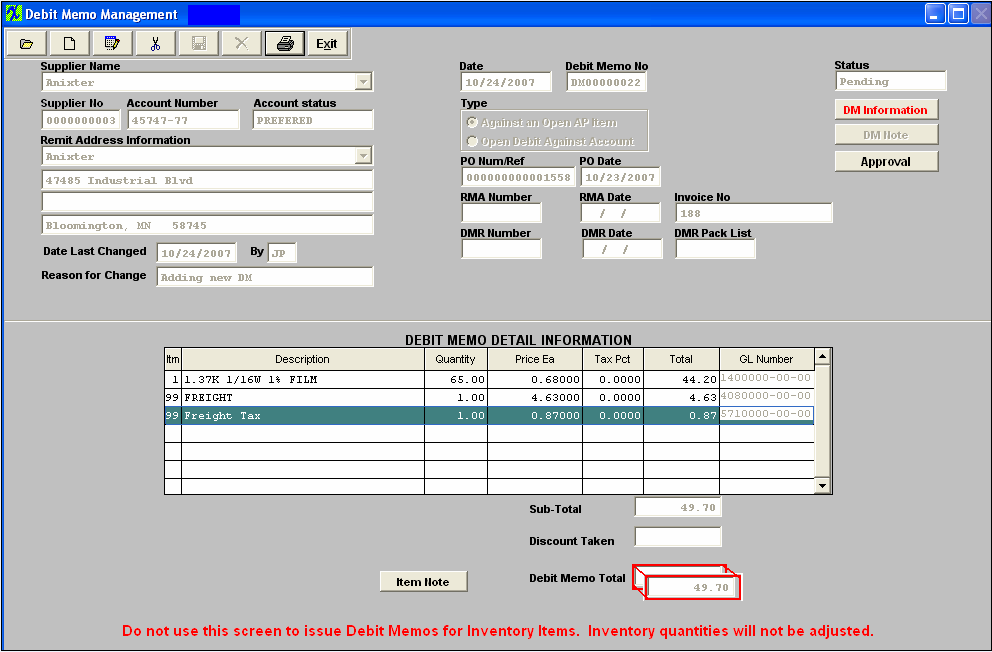
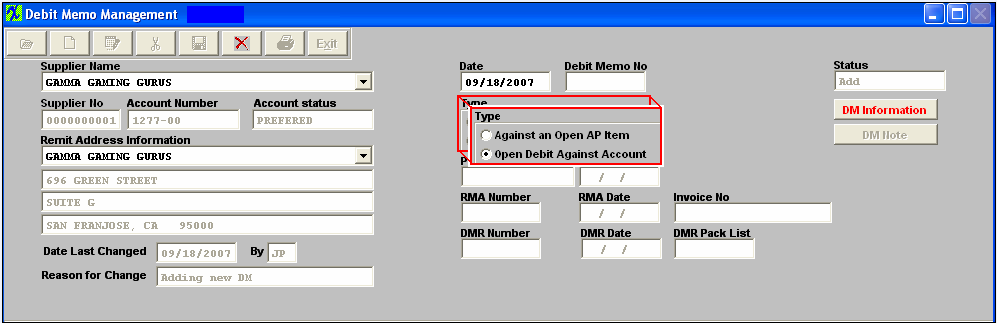
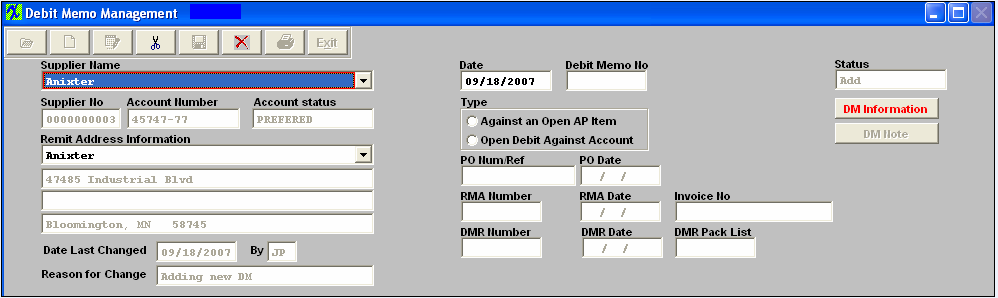
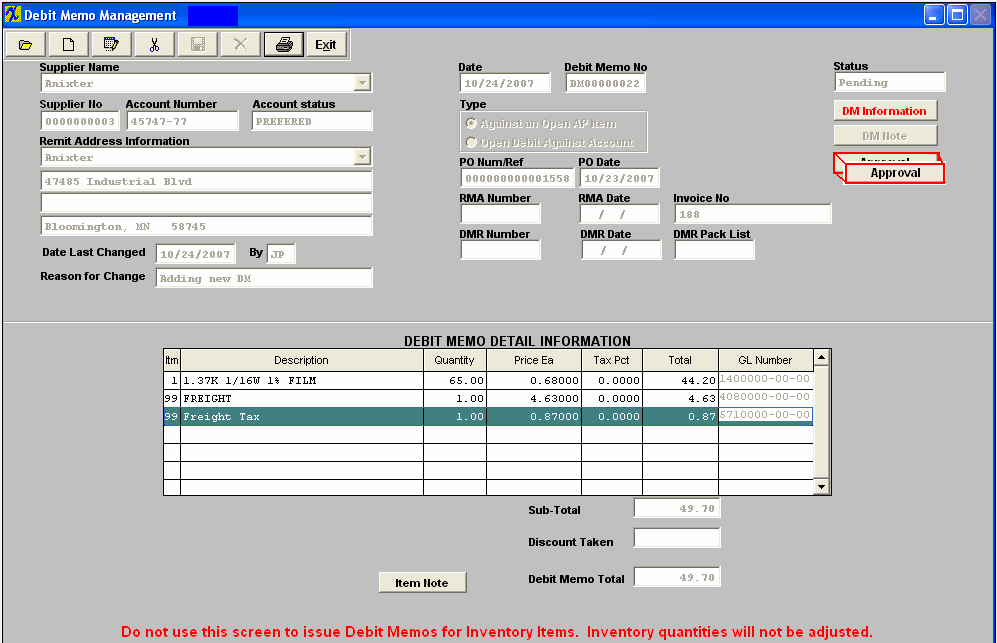
Once the supplier is selected, pertinent information will appear in the screen:
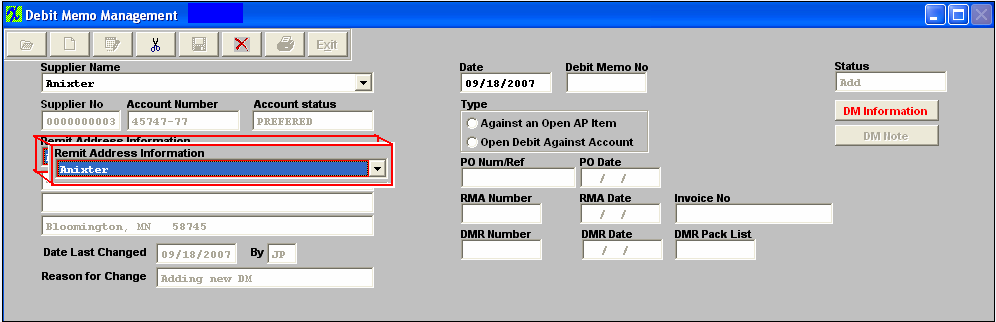
If you need to change the Remit Address Information, depress the down arrow next to the Remit Address Information field. Other address options will appear:
Select the address that pertains to this DM.Click on the Radial for Type as Against an Open AP Item.You will receive the following warning:

Depress the Ok button.
If you want to add a DM Note, depress the DM Note button, depress the Edit button, type in your note, and depress the Save button. Depress the Exit button when complete.
Enter the EXACT invoice number. The PO Number or Reference will update automatically.
Depress the Add Detail Button. Type in the Item Number. The rest of the information pertaining to that Item Number will automatically update.
Type in the quantity for this line item.
The extension for the Total will update. (If you want to add an Item Note, depress the Item Note button, depress the Edit button, type in the note, and depress the Save button, depress the Exit button when finished). The Item Note button will then be displayed in Red.
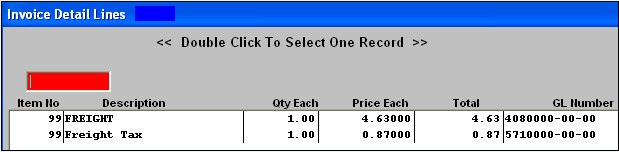
To add freight charges or freight tax to Debit Memo, depress the "Add Detail" button, enter "99" in the item field and the following selection screen will appear that will list the freight and freight tax that was associated with the original Invoice.
Highlight and double click on the freight and/or freight tax to have it included on the AP Debit Memo. The debit memo total will update including the freight and freight tax.
When the DM is completed, depress the Save button to save changes, depress the Abandon Changes button to abandon changes. Once the DM is saved, the Approval button will appear.
Depress the Approval button.
The following Message will appear:
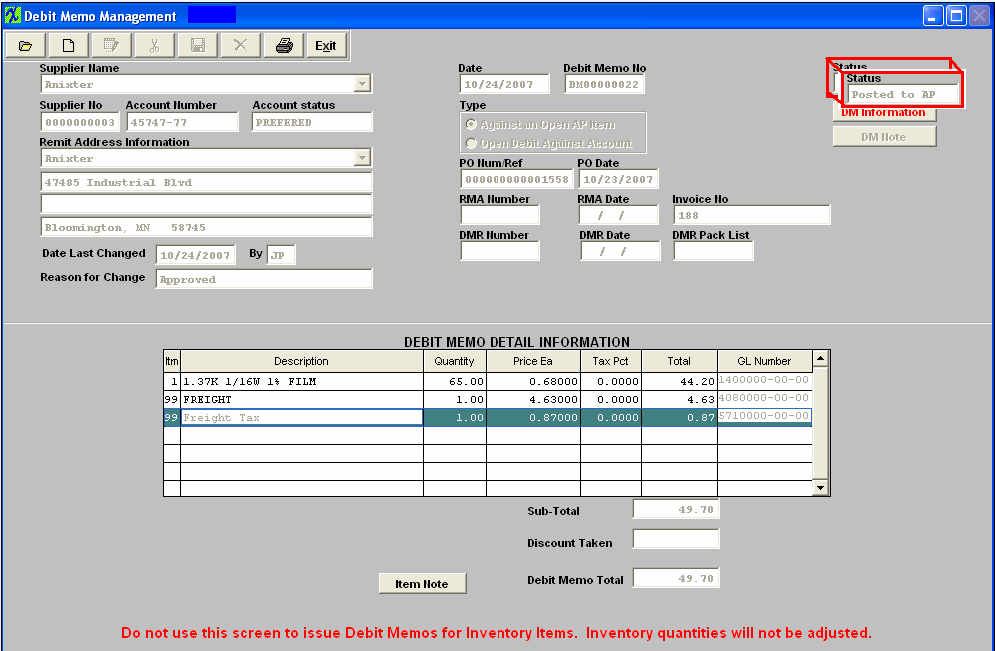
Depress the Yes button. Enter in your password. The invoice amount in the A/P Aging will be adjusted downward by the amount of the DM.
The Status of the Debit Memo will be updated to “Posted to AP”, and the appropriate journal entry will be created for posting into the General Ledger.
Add an Open Debit Against Account
Follow the steps above, with the following exceptions:
For Type, click the radial for Open Debit Against Account.
In the Debit Memo Detail Information section, depress the Add Item Button. Type in Item number, Description, Total and the General Ledger Number.
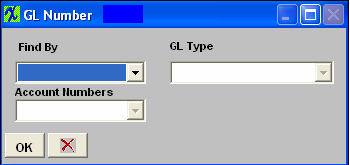
Note: if you don’t know the G/L number, place the cursor in the G/L field and hit the Enter key twice. This will bring up the following:
Depress the arrow next to the Find By field. Select either Find By Account Type or Account Numbers.
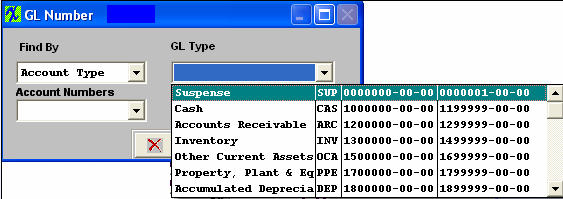
If you selected by Account Type, the following listing will appear, once you’ve depressed the down arrow next to the GL Type field:
Scroll up or down until the appropriate G/L range is found.Then depress the down arrow next to the Account Numbers field.The following selection for the posting account will appear:
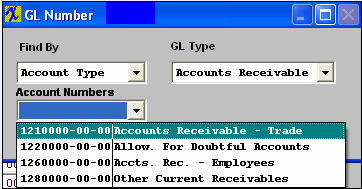
Select the account. Depress the OK button.
The completed screen will look like this: