| Enter Manex.exe Accounting/Accounts Payable/PO Receipt Reconciliation |
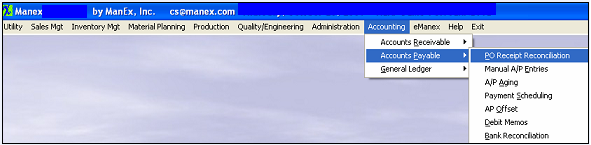 |
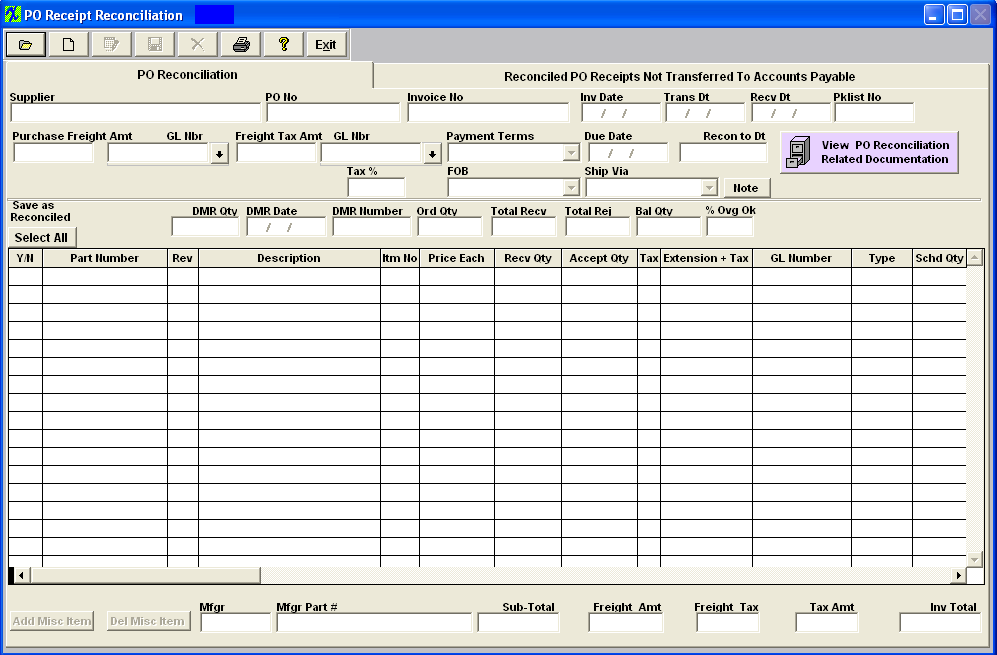
The following screen will appear:
|
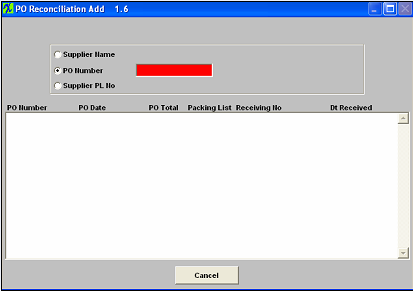
Depress the Add Record action icon. The following screen will appear:
Select the Find by radio button; Supplier Name, PO Number or Supplier PL No.
|
 |
|
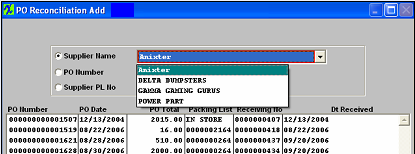
If you select by Supplier Name, a list of Suppliers will appear.
Once the desired Supplier is selected, a further selection screen will appear.
Highlight and double click on the desired Receiving No.
If you decide to search by PO Number or Supplier PL No., type the PO Number or Supplier PL into the red box.
|
 |
The screen will fill with the following data:

Type in the Invoice Number and Invoice Date. If you want to enter a different Transaction Date and/or Received Date, you may do so.
If there is Freight or Freight Tax associated with the invoice, type the amount into the field.
|
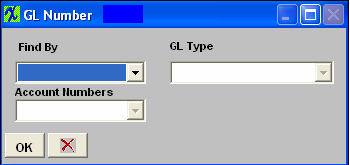
Type in the GL NUMBER or search by depressing the down arrow next to the field. The following selection screen will appear:
Depress the arrow next to the Find By field.
Select either Find By Account Type or Account Numbers.
|
 |
|
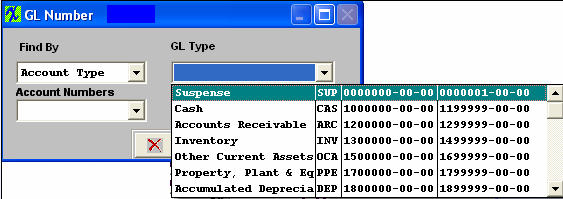
If you selected by Account Type, the following listing will appear, once you’ve depressed the down arrow next to the GL Type field:
Scroll up or down until the appropriate range is found.
|
 |
|
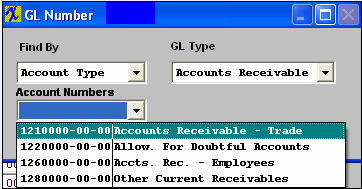
Then depress the down arrow next to the Account Numbers field. The following selection for the posting account will appear:
Select the account. Depress the OK button. |
 |
You may change the payment terms or the due date, as desired.
If you wish to add a note regarding this Supplier Invoice, depress the Note button. Depress the Edit button. Type in the note. Depress the Save button. Depress the Exit button.
If any portion of the Invoice is subject to tax, enter the tax percentage in the Tax % box.
The user may change the FOB or Ship Via fields by depressing on the applicable down arrow and making a new selection.
 |
This will give the users the ability to scan the packing list, invoice, or any other related documentation directly into the ManEx system, and attached it directly to the item in the PO reconciliation module. For more detail see Article #2394. |
Once a line item is highlighted in the lower section, information regarding DMR, Original Order Quantity, etc. will appear, as follows:

All of the line items on the PO which have been accepted will appear in the lower section. Note: The user will not be able to overpay an invoice. Only those quantities which have been ACCEPTED in PO Receiving will forward.
The user may toggle on the Yes/No to reconcile. The user may change the Price Each. If the line item is subject to tax, check that box.

If there is a miscellaneous item associated with the invoice which was not included in the PO, the user may depress the Add Misc Item button at the bottom of the screen. Type in the description of the item, the pricing, whether or not subject to tax, the accepted quantity and type in or select the GL Number.
Entering Negative Amounts
Note: The user may enter a NEGATIVE amount within this screen. Say to record a Coupon or something of that nature. The user should NOT record an early payment discount here as that is handled by the Payment Scheduling module.
To enter a negative amount:
Depress the Add Miscellaneous Item button. Type in the description. Type in the price, as a negative amount. Type in the accepted quantity as 1. Type in or select the General Ledger account number.
Once all is completed, depress the Save record action button at the top of the screen.
|