|
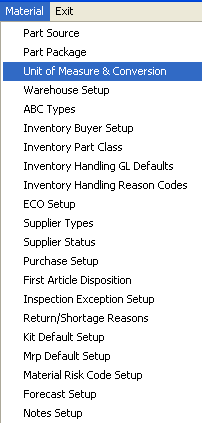
| Enter System Setup/Material/Unit of Measure & Conversion Module |
 |
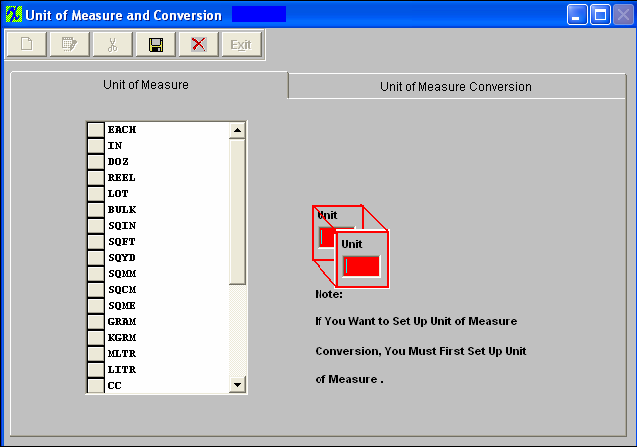
The followng screen will appear:

Data in this table is already entered in the basic system. Therefore, it is not necessary for the user to enter any information here, but the user may have some specific requirements that they may add to the table. Unit Of Measure table is used in all materials related modules.
To add, depress the Add button. A "Unit" window will appear.

Type the unit into the window. Depress the Save button. Find the new entry and highlight it. Depress the Unit of Measure conversion tab.
These items may be sorted in any order by clicking on and dragging the box on the left side, to the (vertical) position desired. This order will be the order displayed in the pull downs when using this list in other modules within the system. Suggestion: Have the one most used at the top of the list.
Prerequisites
Each Unit of Measure must be in the Unit of Measure table before establishing a conversion factor.
When the user expects to purchase material in different units than which it is stored and used in BOMs, the conversion factors are required.
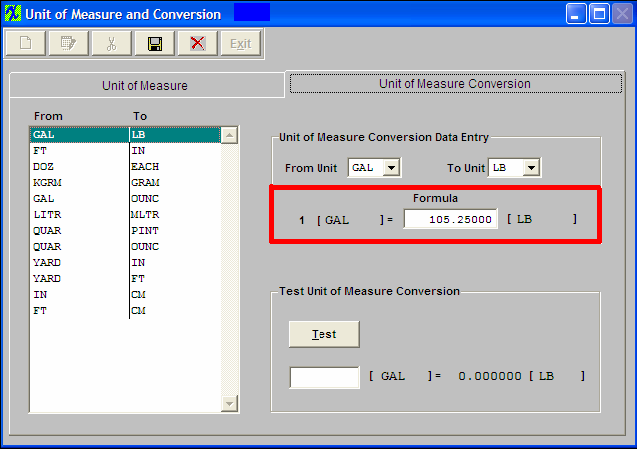
These factors may be entered in the second page (tab) of the Units of Measure screen. To ADD a new conversion, depress the Add button, and the units of measure data-entry fields are made available for editing. The user selects the unit of measure for purchasing, and the unit of measure for stocking, and then enters the conversion factor. The user may test the equation by entering a number in the lower field and pressing the test button. When the user is satisfied with the equation, depress the Save button. Conversion factors already entered may be Edited or Deleted but the user must be aware of any currently open orders using the factor.

Depress the Add button. The From Unit field will be available. Depress the down arrow next to the From Unit field. Click on the new unit you just added. It will appear in the From Unit field. Then depress the To Unit field down arrow. Select the To Unit from the list by highlighting. The To Unit should appear in the To Unit field. Go to the Formula field. Type in the equation as 1 (new) = nn (to unit). For example, say there are 20 gallons in each new unit, the Formula display will appear as highlighted above.
To test the unit of measure conversion, type in the same number you entered above into the blank field appearing under the Test button, then depress the Test button. The exact same formula should appear in the test section. Once you are satisfied, depress the Save or Abandon changes button.
Where Used: In all Purchasing and Receiving Modules
«Mark as Completed in RoadMap Section B Item 4-c»
|