|
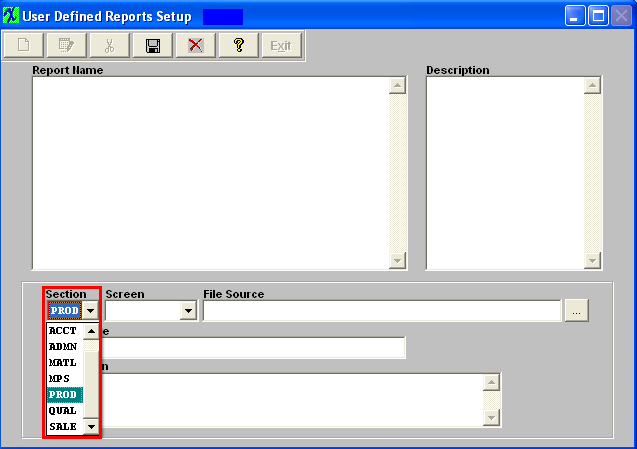
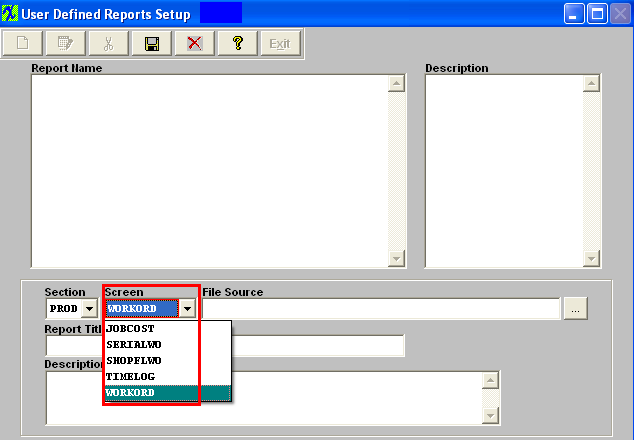
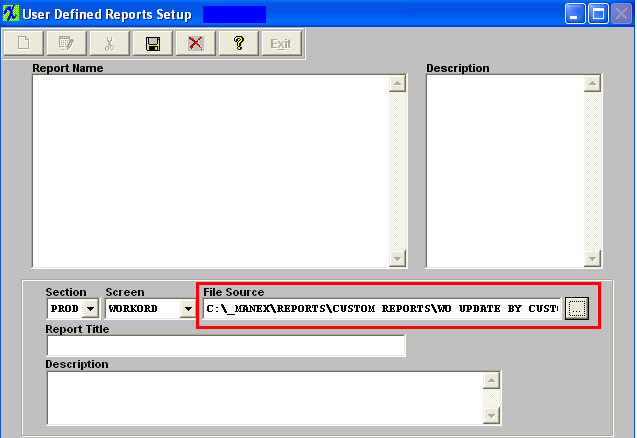
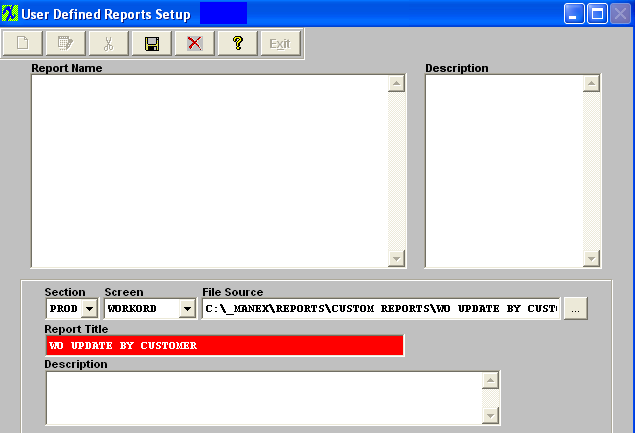
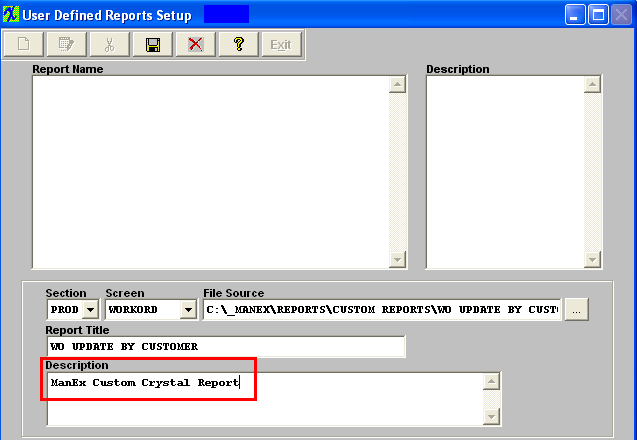
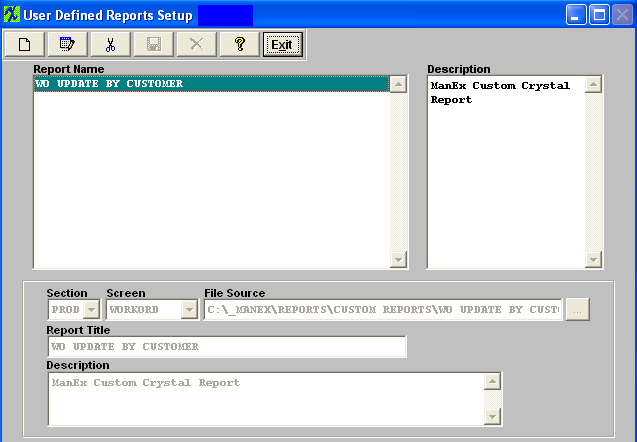
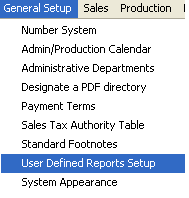
| Enter System Setup/General Setup/User Defined Reports Setup Module |
 |
The following screen will appear:
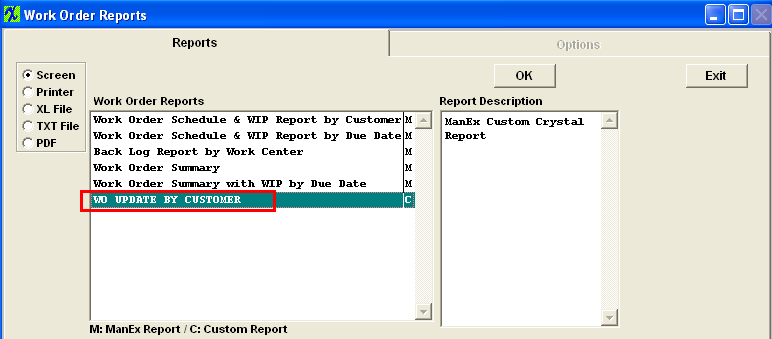
When you visit the applicable module, the report you created will appear in the Reports Selection window, as illustrated:
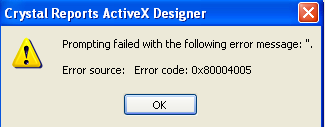
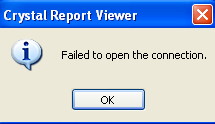
If the following error appears when attempting to access the Custom Report. Make sure that the ODBC for Crystal Reports is setup correctly. For further detail see Article #3012 . |
 |
 |
PRECAUTIONS WHEN USING CRYSTAL REPORTS AND CRYSTAL REPORT DESIGNER WITH THE MANEX DATABASE
1. Crystal Reports must not be designed using "live" ManEx DBFS tables. Data will be corrupted in ManEx if the any of the tables used for the design are accessed and changed while the design is in progress. To use Crystal Report Designer, create a copy of the DBFS and use the copy to design the report.
2. ManEx has no reason to believe that running a previously designed Crystal Report using live ManEx files will cause any problems. It does not matter if the report was designed using Crystal Report Designer or written as a custom executable.
3. However, when using Crystal Report Designer or running a pre-existing Crystal Report, the user's workstation should be using "absolute" not "relative" paths to the DBFS files in use (ie. X:\Manex\DBFS\xyz.dbf NOT \\Manex\DBFS\xyz.dbf). Therefore, workstations setup with shortcuts to ManEx using relative addressing (for security reasons*) shouldn't be used to run Crystal Reports.
* Normally ManEx suggests that users use the ManEx shortcuts with relative addressing (not mapped to the server) to keep users from accessing the ManEx Server files in Windows Explorer.
4. If you accidentally corrupt the ManEx DBFS files using Crystal Report Designer or relative addressing, get all users off of ManEx and reindex TWICE. The first time clears the incorrect End of File table and the second time writes a corrected index.
So in conclusion, as long as you don't design on the live database and you use absolute mapping to the server, using Crystal Reports to look at the live data after the report is designed should not be a problem.
"Mark as Completed RoadMap Section B Item 1-h"
|