Adding Tooling Information
|
The Tooling tab is used to describe the tooling requirements for the Work Center. It also provides for a location notation and an Expire Date. An example of a Check List item as discussed above might be to perform the Work Center tooling, as detailed in this tab. |
 |
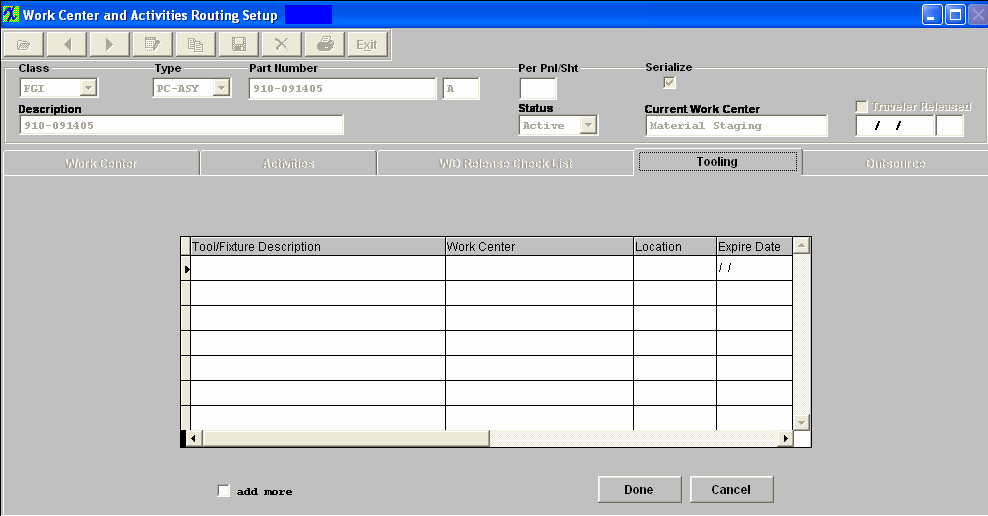
Find the desired Product number, enter the Tooling screen.
|
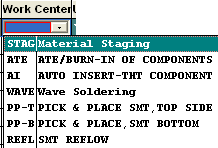
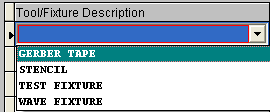
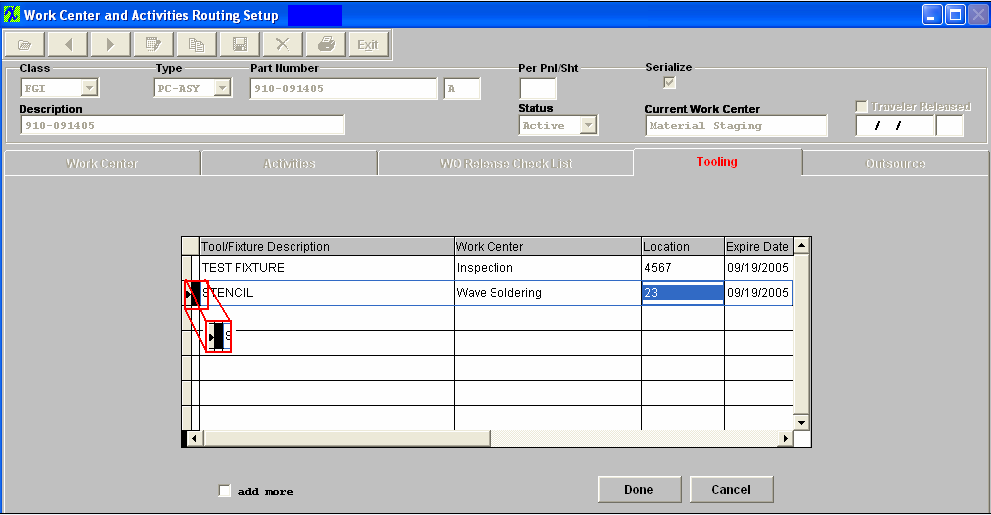
Depress the "Add" button. Select the description from the available pull down selections (originally setup within the System Setup/tooling Setup). Select the Work Center from the pull down menu, as illustrated: |
 |
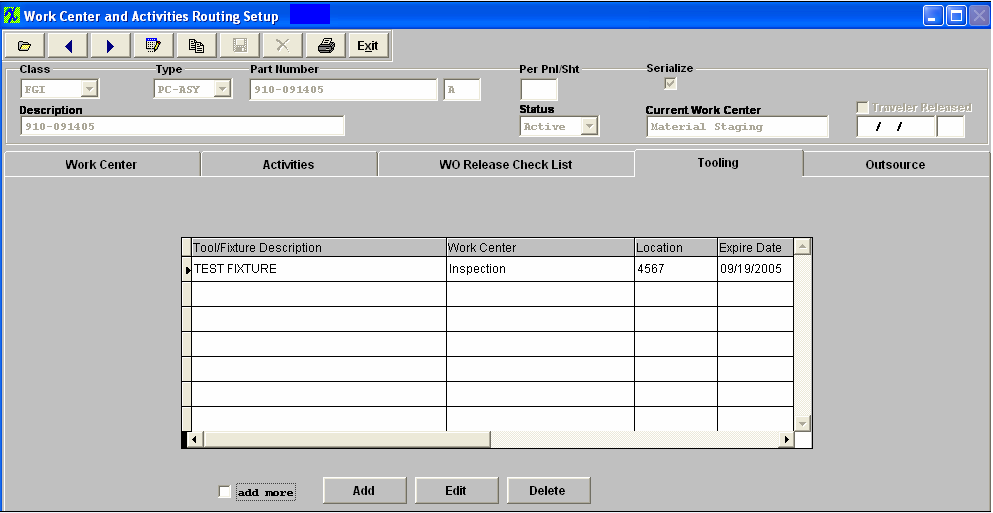
Type in the Location. Type in the Expire date. Depress the Done button. The completed screen will appear as follows:
You may Edit any of your entries after depressing the Edit button.
To delete a line item from the Tooling Tab. Highlight the line item. Depress the Delete button. Click on the second column (which is NOT labeled), the field will change to Black.
Depress the Done button.
The item will then be removed from the record. |