The Manexservice file is installed as a Windows service that runs background tasks such as verifying system license information and monitoring and sending system messages. Also it is required for emailing reports from MX
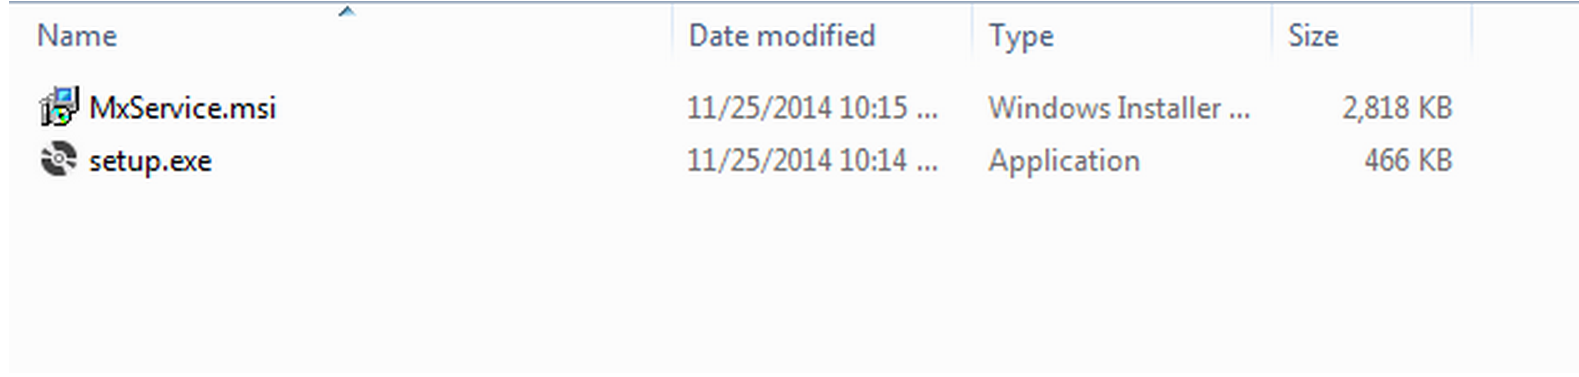
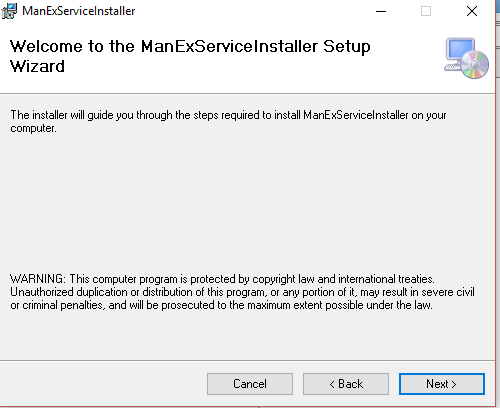
Once the latest Manexservice file is provided to you from Manex you will need to unzip the .MSI and .EXE files from the zip file.
You will need to run the .EXE not .MSI.
You will then want to name your Service and provide a description. See my example below. Then Click Next 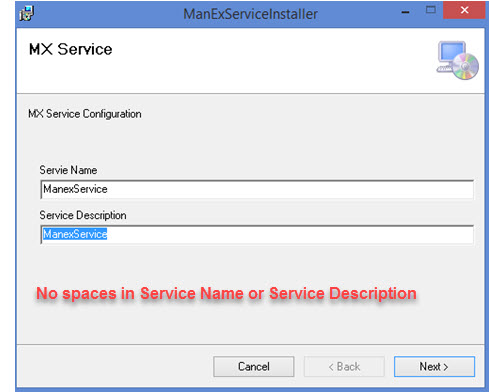
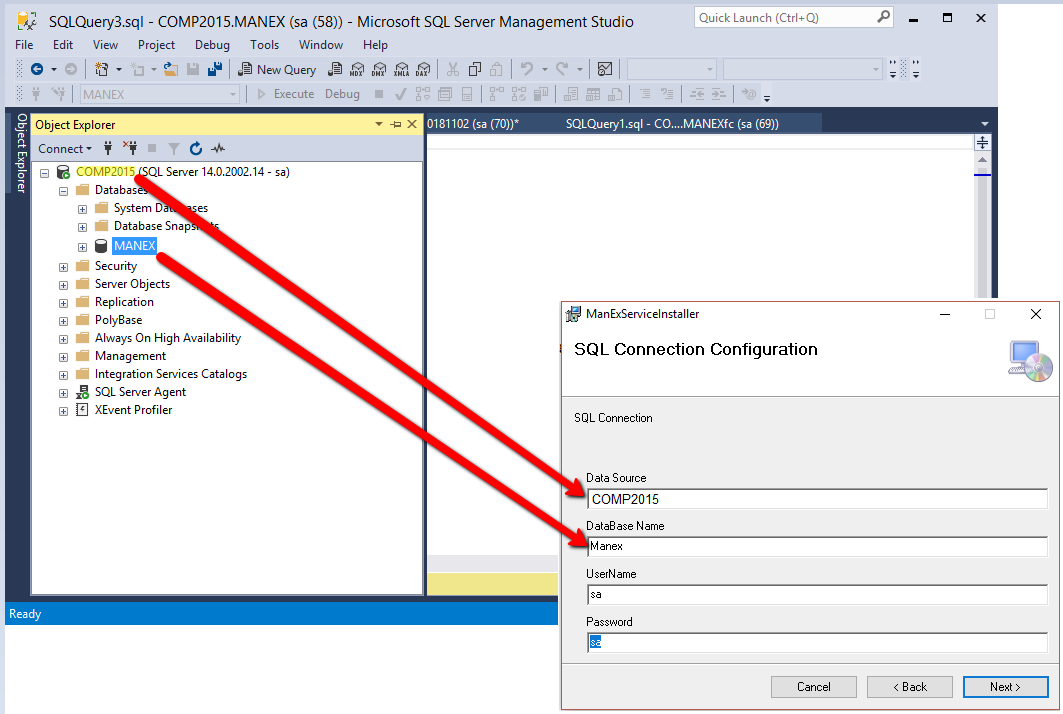
You then need to fill in your Data Source, Database Name, Username and Password.
This is connection information to SQL Data.
Data Source: is the Connection to your Sql Server Name
Database Name: is the name that you assigned to the database within SQL Manager
UserName and Password: would be the user name and password that you use to access the database via SQL Manager.
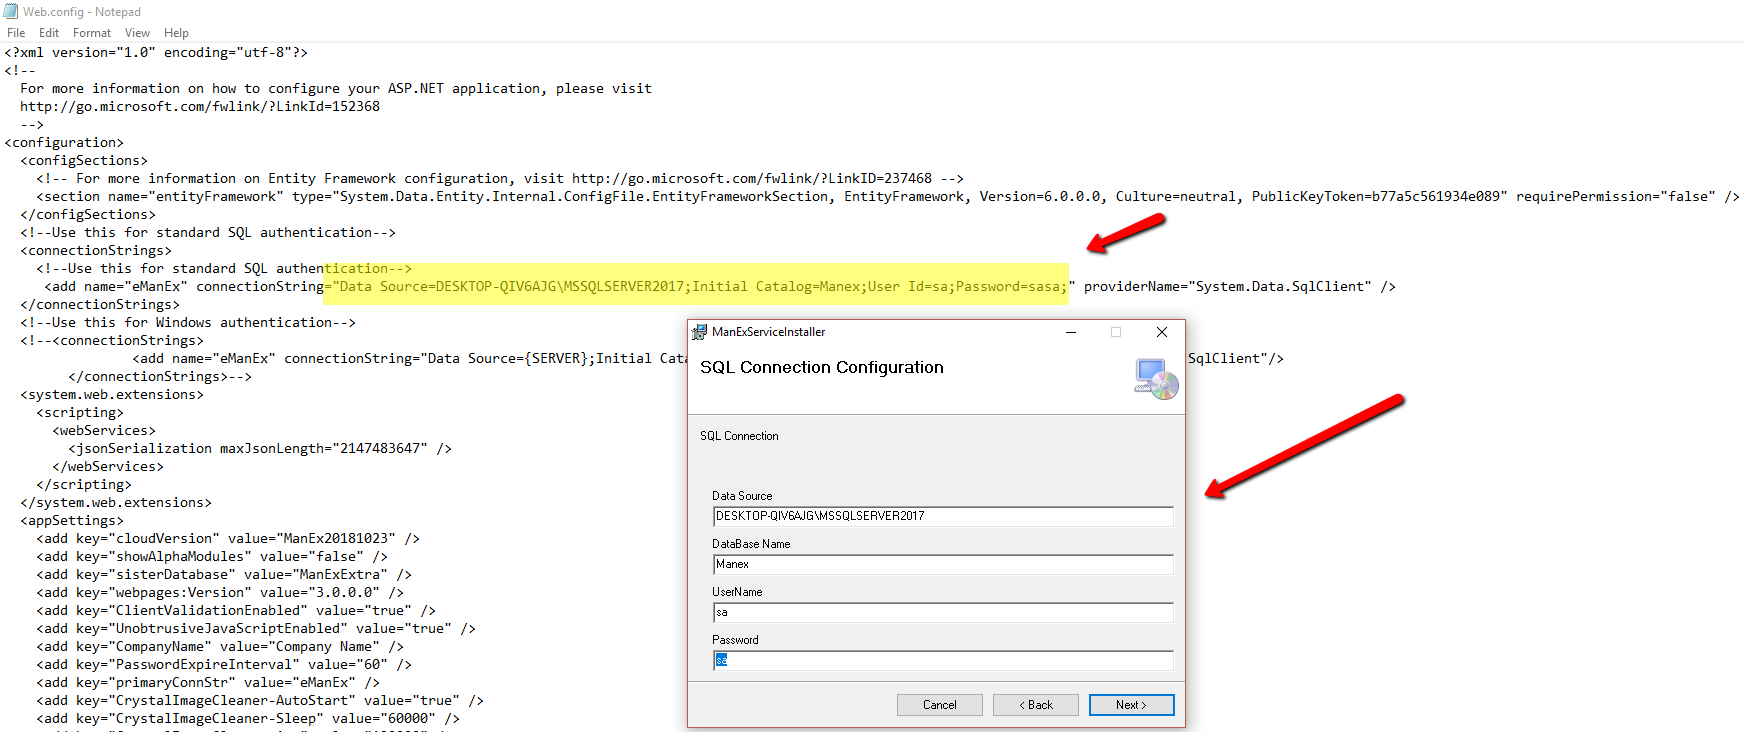
If you don't know this information and you happen to previously installed Manex on your system. You could reference the Web.config file in your ManexCloud directory. It would look similar to the below.
Click Next
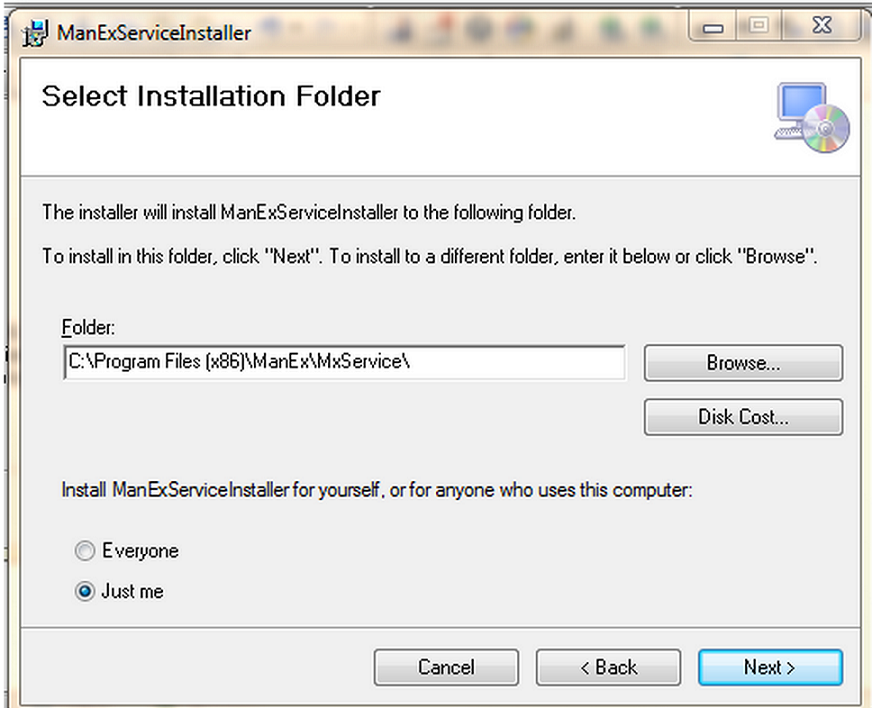
You can decide if install is for just you or everyone and install location. Click Next
Click Next
 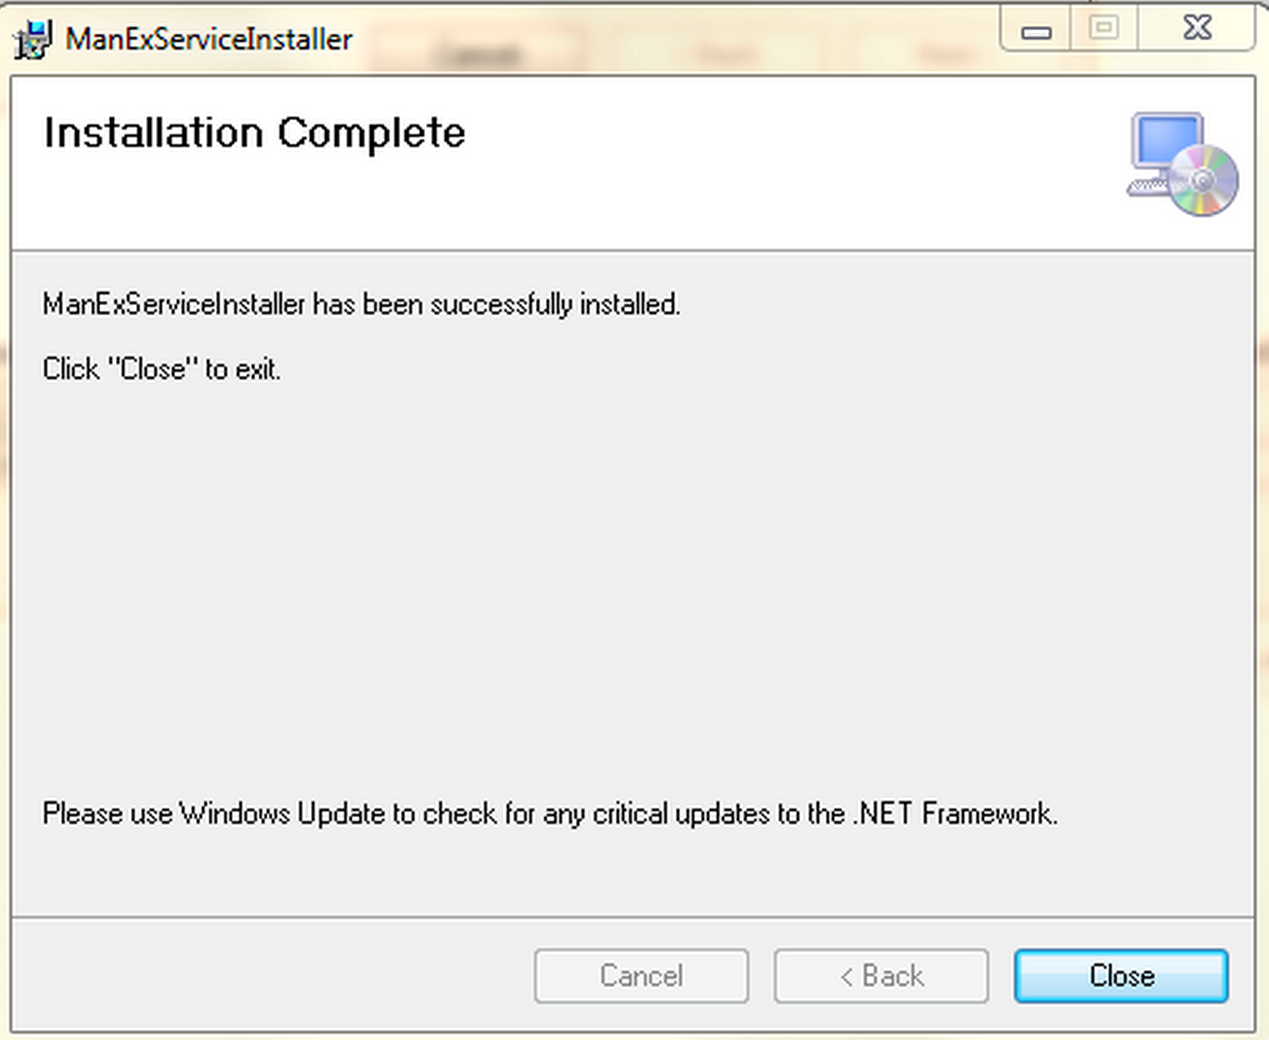
Hit Close
You will then need to check your connection string in the ManExService.exe.config file located in the {Program Files} or {Program Files (x86)}/ManEx/MxService folder.
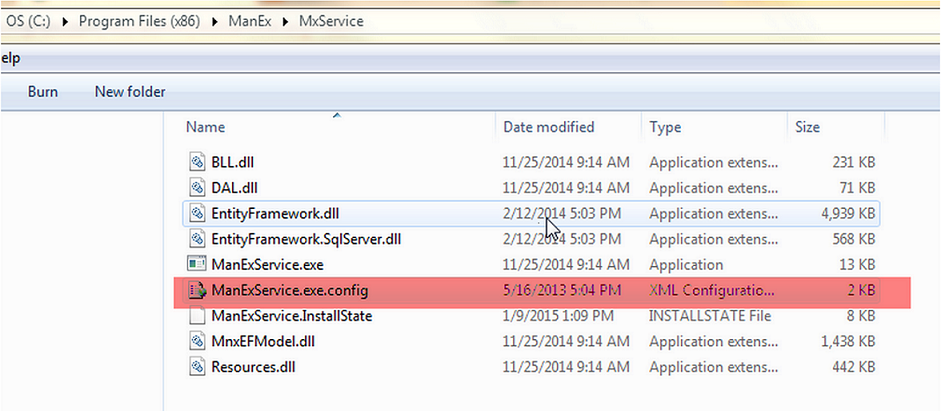
Open the config file with note pad or your default editor. Check to make sure your Connection String matches your SQL Server Connection. If it doesn't, you can modify the highlighted connection string to match your SQL server connection
(note you may want to open file as admin user to make sure you have rights to save in the same directory.)
As you can see in the example below, my connection string matches my SQL Server Connection from the above screenshots.

Save and close the file.
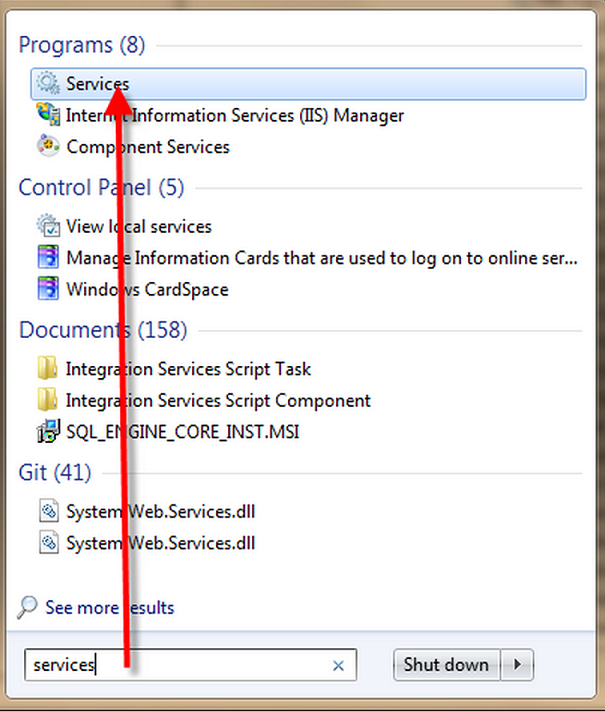
Now you can go to Windows services and start the service. Make sure it is set to automatically start but with "delayed start" as it requires SQL service to be started prior to it being able to start in Windows.
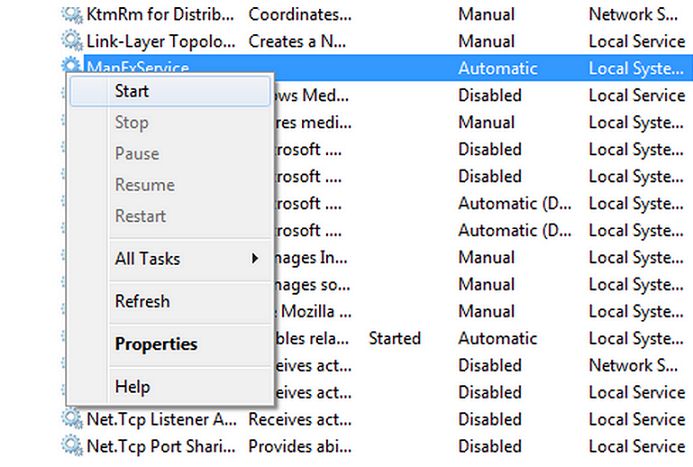
Should show started

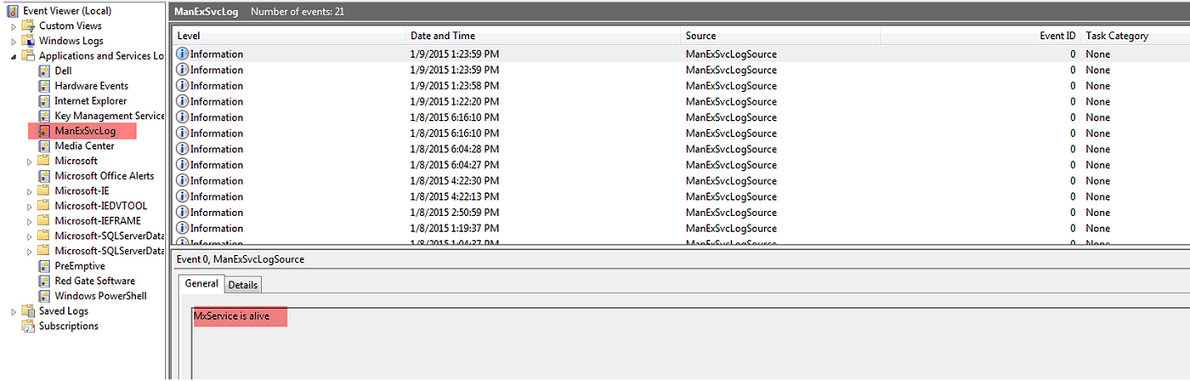
You can also verify in event viewer the Manexservice log should show that Mxservice is alive.
If you happen to have additional database such as a 2nd company data file on the same server and require to have a 2nd instance of the Manex service installed Please follow instructions here: Install 2nd Instance of Manex Service
When ready proceed to Step #2: Turn On Internet Information Services (IIS) Windows Feature on your Web Server |